

Introduction
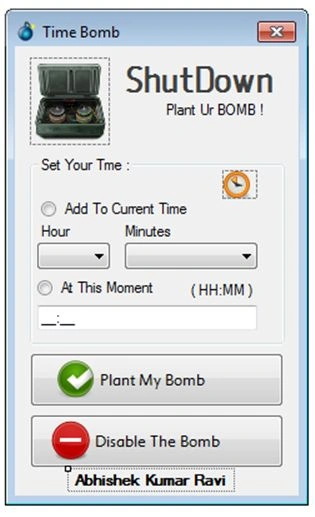
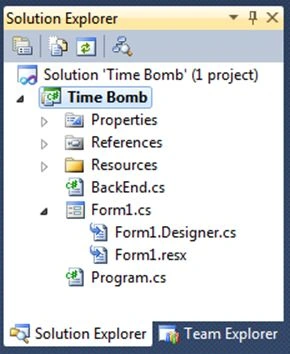
- class BackEnd {
- // Data Fields
- public static int hour { get;
- set; }
- public static int minutes { get;
- set; }
- }
Step 4
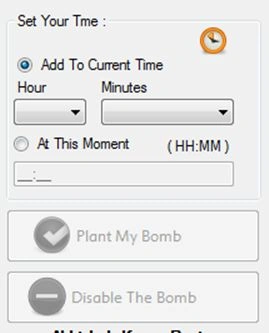
Now, we will code those two Radio Buttons.
For the first Radio Button:
- private void radioButton1_CheckedChanged(object sender, EventArgs e) {
- // Pre defined : RadioButton 1
- if (radioButton1.Checked) {
- hourCombo.Enabled = true;
- minutesCombo.Enabled = true;
- } else {
- hourCombo.Enabled = false;
- minutesCombo.Enabled = false;
- }
- }
Here, we want both the combo boxes to be active when this Radio Button is checked (by default, their Enabled Property is set to False). HourCombo and MinutesCombo are the respective Combo Box's name.
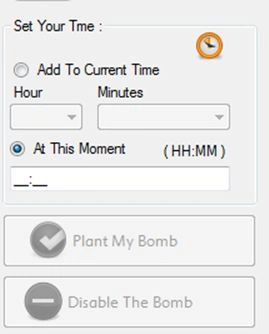
And, for the second Radio Button:
- private void radioButton2_CheckedChanged(object sender, EventArgs e) {
- // Custome Time
- if (radioButton2.Checked)
- customeTime.Enabled = true;
- else
- customeTime.Enabled = false;
- }
Here, all are disabled except the masked Text Box (customeTime).
Step 5
Now, we will code the Combo Boxes.
For the Hour Combo Box, first add the Combo Box's value.
Get the Items Property of the Combo Box:
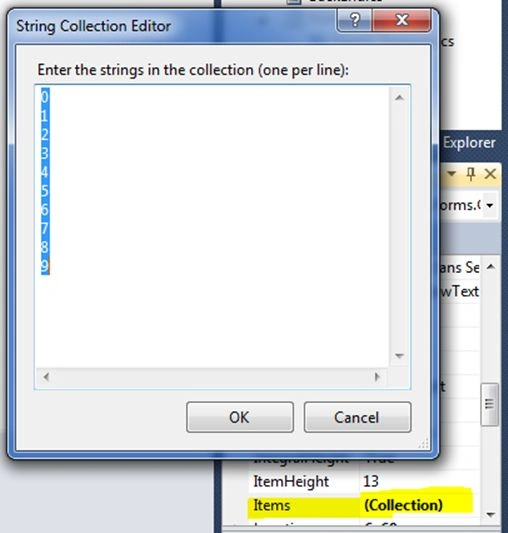 And, your code will be:
- private void hourCombo_SelectedIndexChanged(object sender, EventArgs e) {
- // When 'Hour' got Selected
- BackEnd.hour = DateTime.Now.Hour + int.Parse(hourCombo.SelectedItem.ToString());
- PlantBombButton.Enabled = true;
- }
Here, we are adding the Selected Hour to the current hour of the computer's time.
Note: As when a user wants his Laptop or Desktop to be turned off after two hours.
And we do the same for the Minute Combo Box's Property:
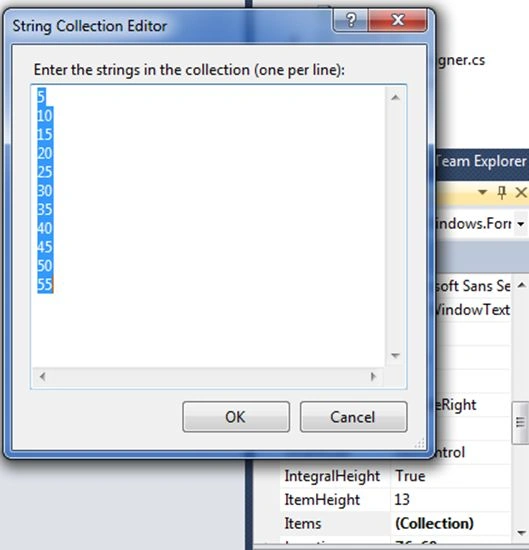 And the code of the Combo box will be:
- private void minutesCombo_SelectedIndexChanged(object sender, EventArgs e) {
- // When 'Minutes' got Selected
- BackEnd.minutes = DateTime.Now.Minute + int.Parse(minutesCombo.SelectedItem.ToString());
- PlantBombButton.Enabled = true;
- }
Step 6
For the Masked Text Box, we need to do a little extra.
 Go to the Mask Property of your Control,
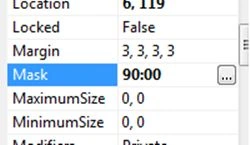 And choose:
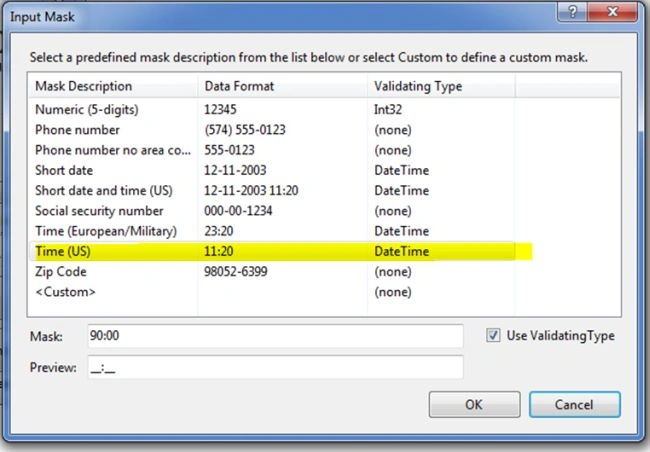 After doing this, we want to code the event.
Generally, we code the Click event but this time we will code the Leave event so that the Backend's property (Backend.cs) gets the value just after you leave the Text Box.
After doing this, we want to code the event.
Generally, we code the Click event but this time we will code the Leave event so that the Backend's property (Backend.cs) gets the value just after you leave the Text Box.
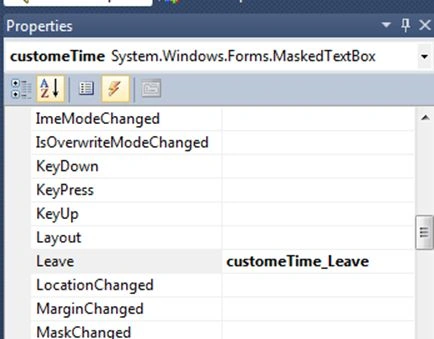 In that event we put this:
- string test;
- private void customeTime_Leave(object sender, EventArgs e) {
- string hr, min;
- // For Substring, you need a secondary String type variable
- test = customeTime.Text;
- // leave Event : After The Selection of Text Box
- hr = test.Substring(0, 2);
- min = test.Substring(3, 2);
- if (int.Parse(hr) < 13 && int.Parse(min) < 61) {
- BackEnd.hour = int.Parse(hr);
- BackEnd.minutes = int.Parse(min);
- } else {
- errorProvider1.SetError(customeTime, "Hour Must be Less than or Equal to 12");
- }
- //MessageBox.Show(BackEnd.hour+":"+BackEnd.minutes);
- PlantBombButton.Enabled = true;
- }
Here, we have used an error provider control. You can leave it if you are not comfortable with it.
And the rest is explanatory.
And, one more thing is that we want the Plant My Bomb Button to be active after this. So:
- private void customeTime_MouseClick(object sender, MouseEventArgs e) {
- // Enable The Plant Bomb text Box
- PlantBombButton.Enabled = true;
- }
Step 7
We will now code the main button.
- private void button4_Click(object sender, EventArgs e) {
- // This Is Plant Bomb Button
- if (BackEnd.hour.ToString() == "" || BackEnd.minutes.ToString() == "")
- MessageBox.Show("We Give us The Correct Time :( !!", "Invalid Input Error", MessageBoxButtons.OK, MessageBoxIcon.Warning);
- else {
- if (MessageBox.Show("Your Bomb Will Activate At : " + BackEnd.hour + " : " + BackEnd.minutes + " GMT .\n Do You Want To Proceed ?", "Confirmation Report ", MessageBoxButtons.OKCancel, MessageBoxIcon.Information) == DialogResult.OK) {
- // If You Pressed Ok
- // Start Timer
- tim.Elapsed += new ElapsedEventHandler(tim_Elapsed);
- tim.Interval = 1000;
- tim.Enabled = true;
- PlantBombButton.Enabled = false;
- fuseButton.Enabled = true;
- //Notify Icon Setup
- bombNotify.ShowBalloonTip(2000);
- this.Hide();
- }
- }
- }
- void tim_Elapsed(object sender, ElapsedEventArgs e) {
- if (DateTime.Now.Hour.ToString() == BackEnd.hour.ToString() && DateTime.Now.Minute.ToString() == BackEnd.minutes.ToString()) {
- // Shut down Process
- Process.Start("shutdown", "/s /t 0");
- tim.Stop();
- this.Close();
- }
- }
In the first part of the code it checks if there is no NULL input. And the Print a Message Box depends on it.
If everything is fine then it will start a Timer (tim).
For every second it calls an event method (tim_elapsed ). And, there we have also defined the interval in milliseconds (and, 1000 is equivalent to 1 second). Finally, enable the Timer and start it.
Now, have a look at the Event Handler method.
There is an "if" statement that checks whether the current Time matches the specified time.
If yes, then execute the Shut down process or leave it.
Process. Start() is used to call any other process via C# code. And, we have done the same to call a shutdown process.
Note: Keep the arguments in the Start() method as it is.
You can change 0 with any other number because it represents TIME (it's better to leave it). Finally, we close that Timmer and Form.
Step 8
Here we have a Notify Icon control (bombNotify) to ping the last message.
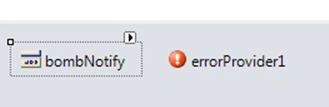 So, put this Information in its Property window.
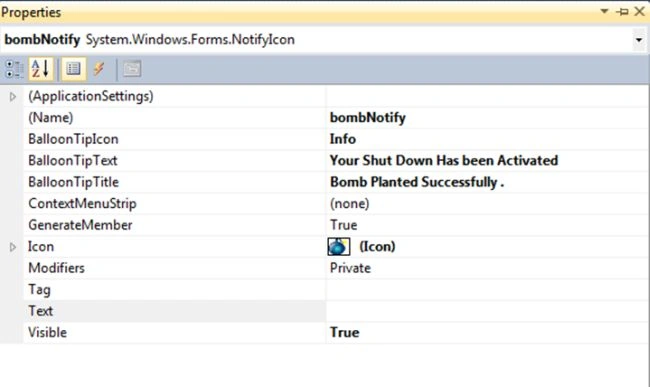 If you click on the Notify icon then it will pop-up the Form windows. So, for that:
- private void bombNotify_Click(object sender, EventArgs e) {
- // MessageBox.Show("Notify Button Clicked ");
- this.Show();
- }
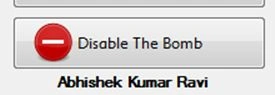
For the Disable Button:
- private void button2_Click(object sender, EventArgs e) {
- fuseButton.Enabled = false;
- PlantBombButton.Enabled = true;
- customeTime.Clear();
- //Timmer
- tim.Stop();
- tim.Enabled = false;
- //MessageBox.Show(BackEnd.hour+":"+BackEnd.minutes+" And Your Current"+DateTime.Now.Hour+":"+DateTime.Now.Minute);
- }
I hope all sections have been covered (if not then try to find it in the Solution File).
So, let's move to debugging.
Output
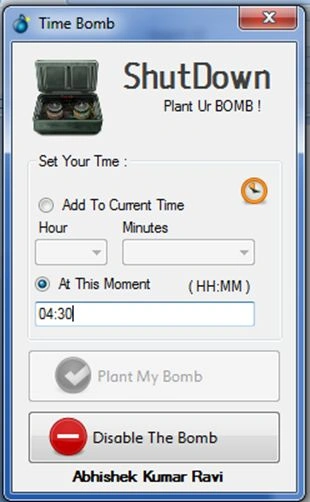
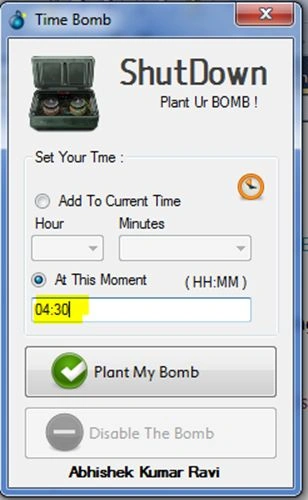 Set the Time to 04:30.
Then, click on "Plant My Bomb".
Set the Time to 04:30.
Then, click on "Plant My Bomb".
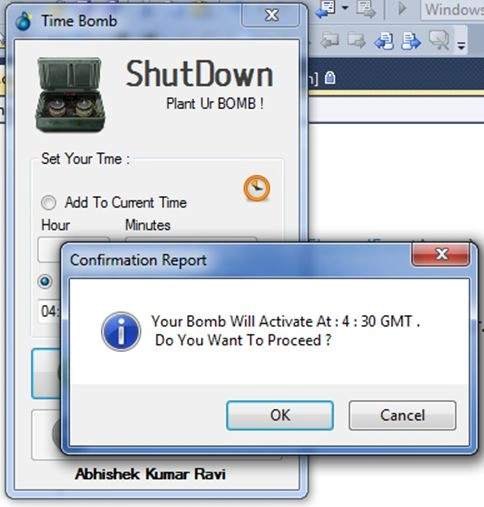 And, they are asking for confirmation.
And when I click on "OK", then:
And, they are asking for confirmation.
And when I click on "OK", then:
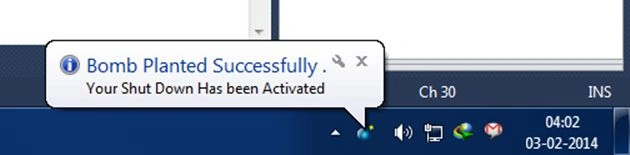 Then, it shows a Popup in the System tray.
And, if you want the Bomb to be disabled then for that, you need to click on the Bomb Icon. Then, it comes up with this.
To disable, click on the Red Button.
Then, it shows a Popup in the System tray.
And, if you want the Bomb to be disabled then for that, you need to click on the Bomb Icon. Then, it comes up with this.
To disable, click on the Red Button.
 If you encounter any issue with it then message me or try to get it with the enclosed solution file.
Samarth SrivastavaPosted Jun 12, 2016, 6:13 AM
In windows 10 the form opens slightly disarranged....can we make UIs correct for all platforms. how?
Ravi ShekharPosted Feb 4, 2014, 3:36 AM
Good one...