

Click here to download the source code for this article or use your source code if you prefer.
This tutorial was split into 3 main topics so you can step from one topic to another.
In this article, in order to make it easier to understand some concepts, all important information will be highlighted and titled as "What is the catch?"
From this point on, it’s about 5 minutes reading and 10 minutes to apply this tutorial.
Tutorial’s overview
- Each topic in this tutorial is separated in steps like #Step 01, #Step 02 and so on. Each sentence starts with a word in bold like Open, Click and so on.
- For reference, all sentences contain keywords and hyperlinks for other articles in this Blog or other blogs.
- At the end of each main topic, you will find my opinion about it.
- The “What is the catch?” sentence is always highlighted like the example below:
What is the catch? You can download the source code used for that tutorial without reading anything. Just go to my GitHub and get it.
Prerequisites for this tutorial
Don’t worry if you have never used Azure DevOps before. I’ll try to explain every topic in this tutorial. For this tutorial, you will need to -
- Install any version of Visual Studio 2017, even the Community version (it’s free). To install Visual Studio these days it’s such an easy job, different when I installed the first time.
- You have to create a Microsoft account. If you already use any of Microsoft’s services like Skype, MSN, Live, Office 365, you will use that same credential.
- To proceed, you have to create an Azure DevOps account and choose a subdomain for it, like mine fabiosilvalima.visualtudio.com account. Azure DevOps is free, create your account here.
- Also, you have to check if the FSL.Framework.Core solution is on your computer and if it is compiling.
Uploading your Source Code in GIT of Azure DevOps
What are we going to do?
We’ll upload our FSL.Framework.Core source code to a GIT repository in Azure DevOps to manage branch versions and to control the developer updates.
So, let’s do it!
Step 01
Step 02
Step 04
Step 05
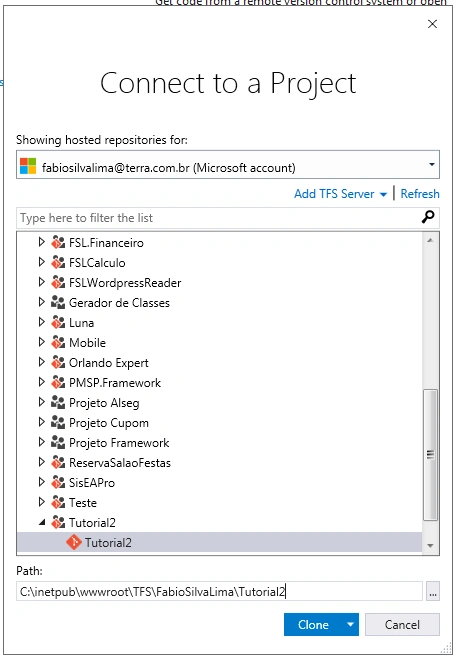
Step 06
Step 07
Ignoring folders and files with the .gitignore configuration file
Step 08
- \.vs
- \bin
- \obj
- \packages
We don’t need to version these files and folders when we update our project code in GIT. We only need to update text source code not DLLs or executables files.
Step 09
Glossary
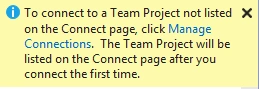
Manage Connections: Configuration and selection of source code in GitHub or Azure DevOps.
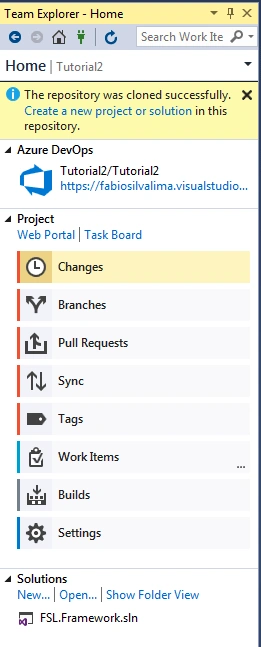
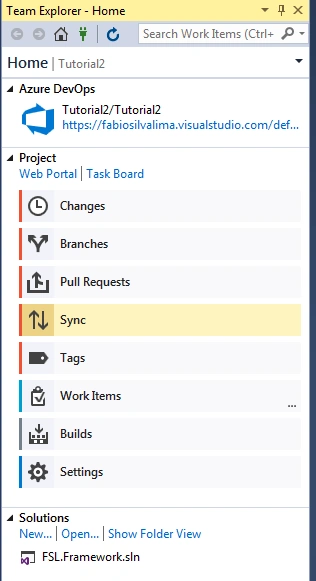
Team Explorer: Visual Studio window that has all features integrated with GIT engine.
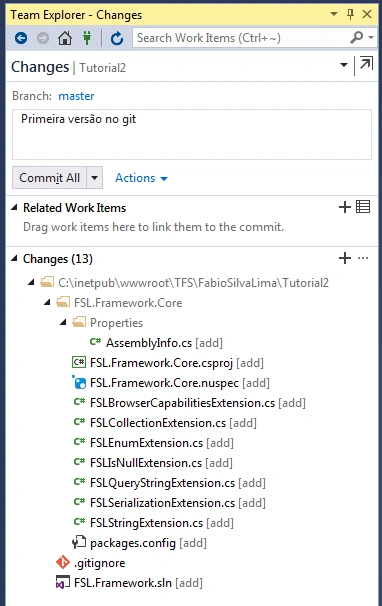
Changes: It is a Team Explorer window option that shows us changes made to source code.
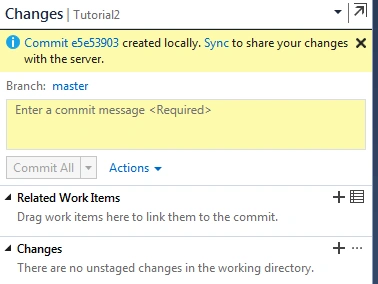
Commit: It is a Team Explorer window option to save source code changes to the local git repository. Commits are always local until you push them to the web server, in that case, Azure DevOps.
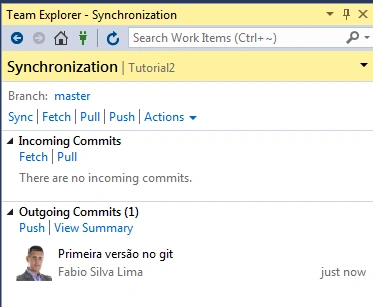
Push: It is a Team Explorer window option to send all commits from the developer’s machine to the Azure DevOps. Don’t forget to push all your commit at least once a day.
Branch: It’s a source code versioning. Each GIT repository starts with just one branch and the name is master. You can create other branches from master branch, renaming it as you wish.
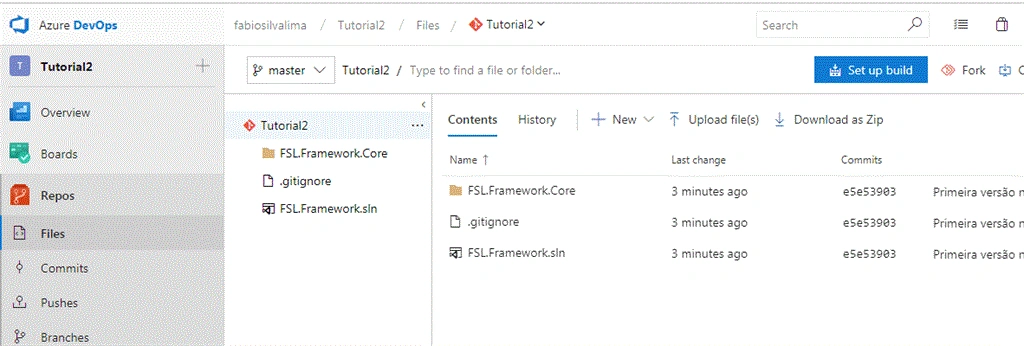
Visualizing the source code in Azure DevOps
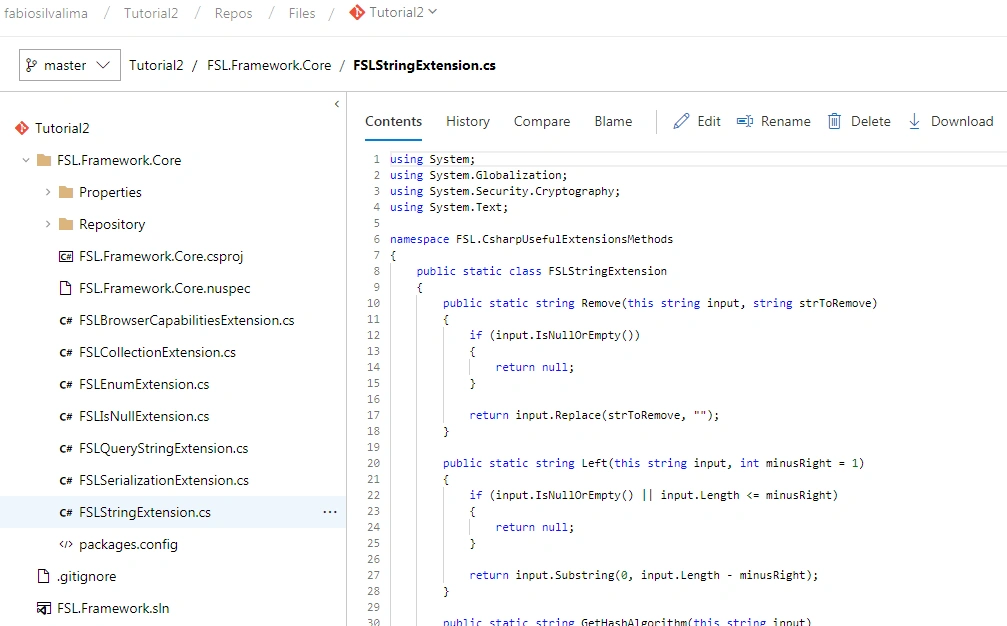
Switching from one branch to another in Azure DevOps
The master branch, by convention, it is a copy of the source code that is in the production environment. On real-world programming we shouldn’t develop using the master branch, we need to create another branch for it.
We have to create a development branch to understand how the merge between two branches works.
Step 13
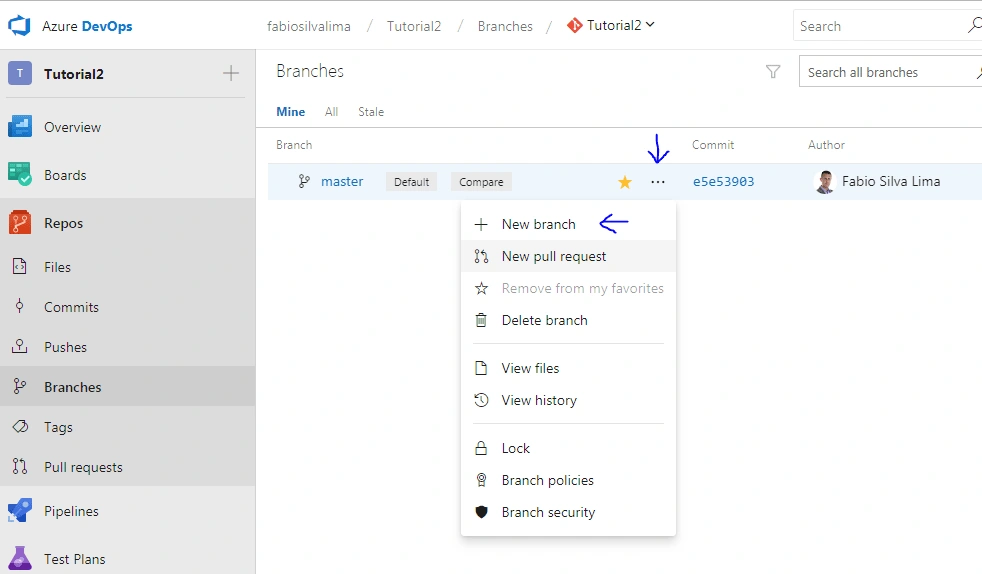
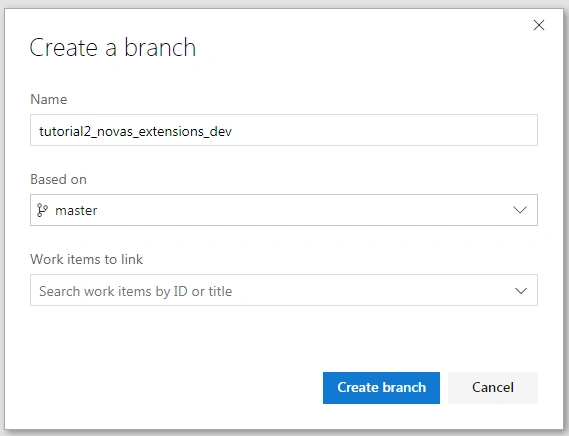
Step 16
Step 17
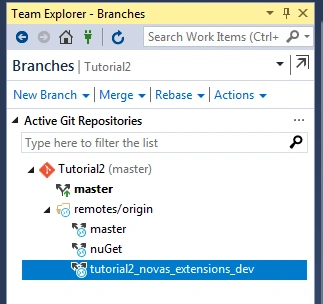
Editing a development branch
Step 18
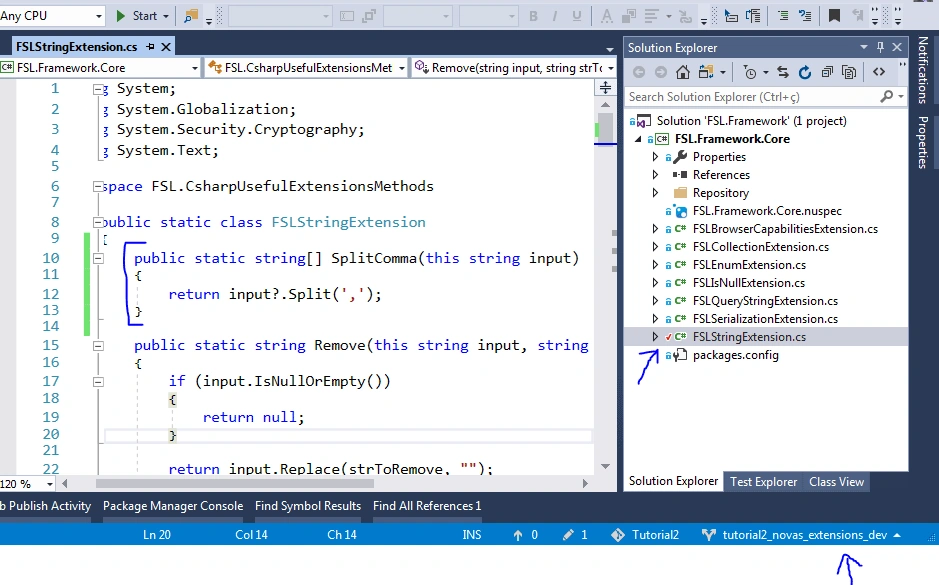
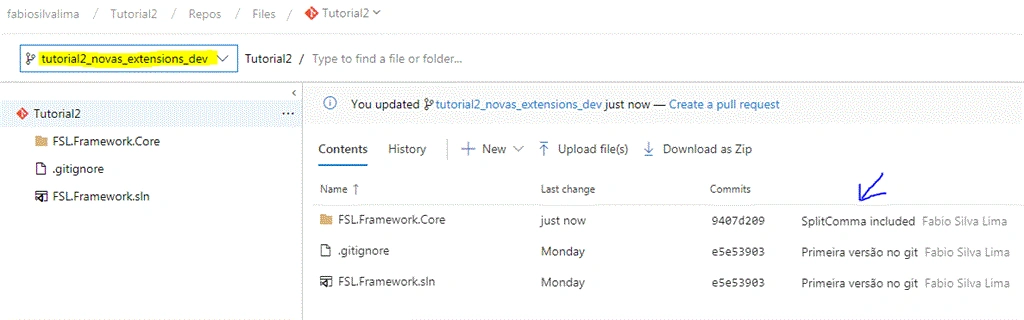
Merging branches
Step 19
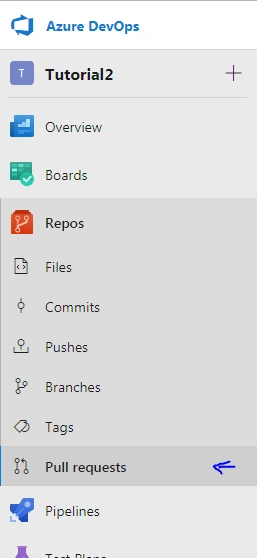
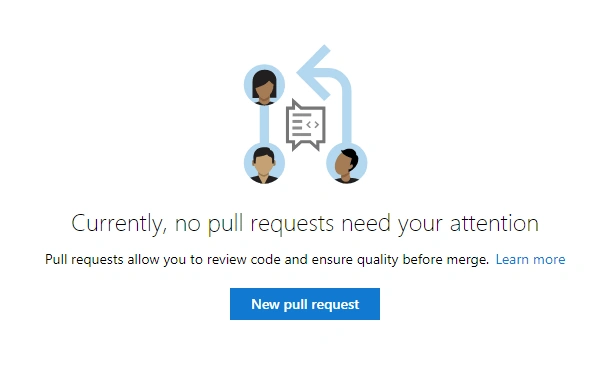
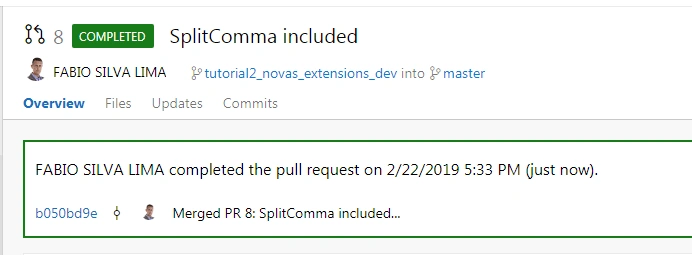
Assuming that you have done all the testing required, now would be the time do a Pull Request, so that someone on the team would review the code and merge it to the master branch.
Step 20
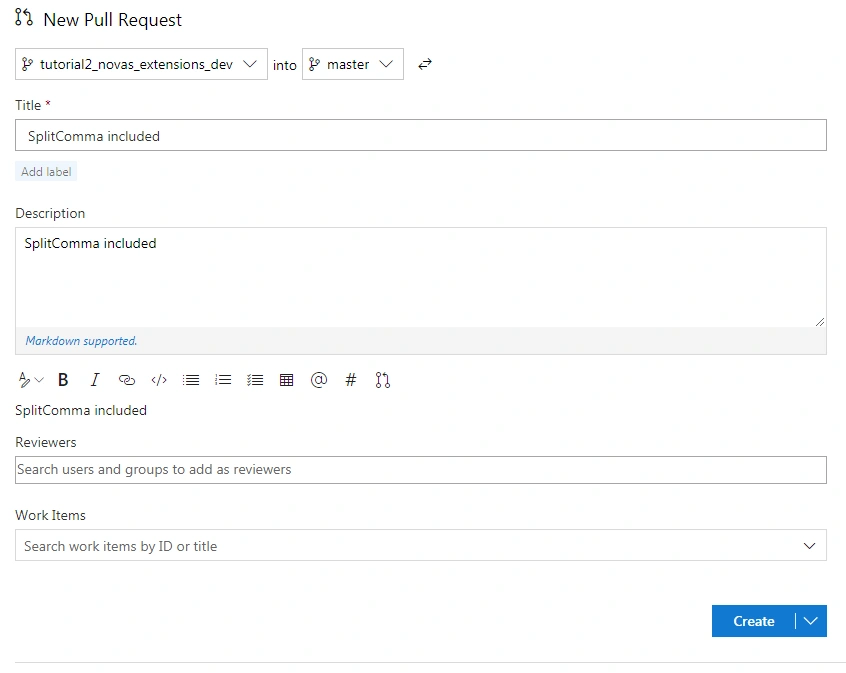
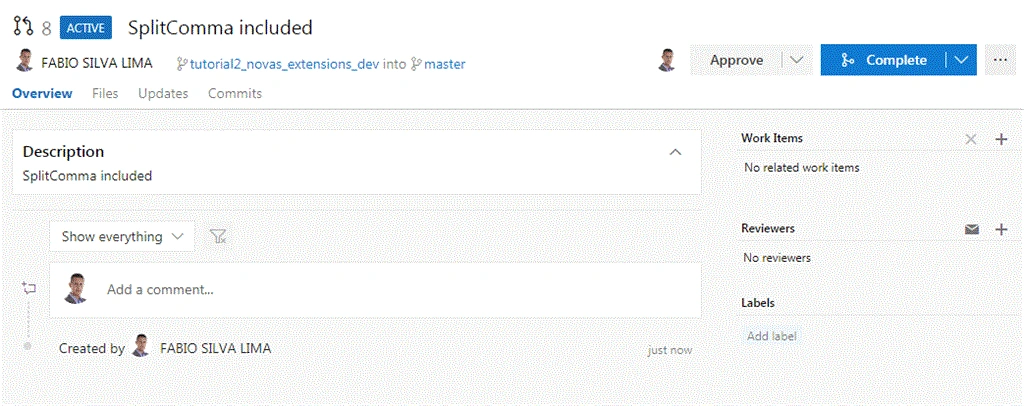
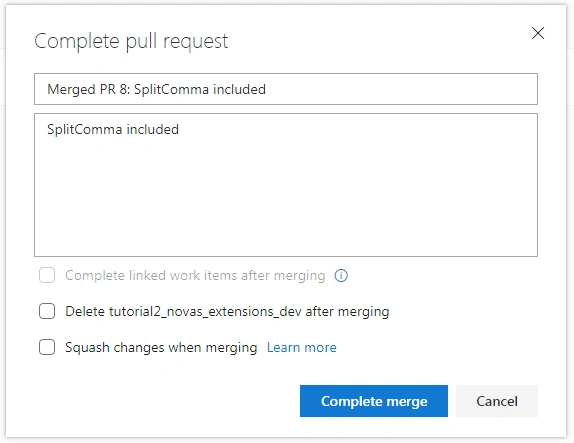
Final comments
The main goal for this tutorial is to commit source code from a developer’s machine to the GIT source code repository in Azure DevOps.
I have also shown you some other features like creating branches and merging between branches.
I have named my branch tutorial2_novas_extensions_dev exclusively for this tutorial, but you can choose any name you want. Branch naming conventions is a discussion for another article.
Have you found some error? Did you like this article?
Thank you.
Join the conversation! Your thoughts help the community grow.