
Here we will see the various types of views in the Solution Explorer using LightSwitch Visual Studio 2012.
Types of Views in Solution Explorer using LightSwitch
1. Logical View
2. File View
Procedure showing various views in Solution Explorer.
Step 1
Open the LightSwitch Application in Visual Studio 2012 and go to the Solution Explorer.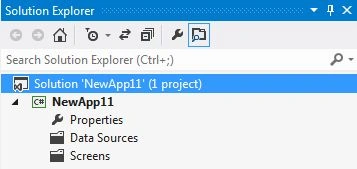
Right-click on Data Sources and choose "Add Table".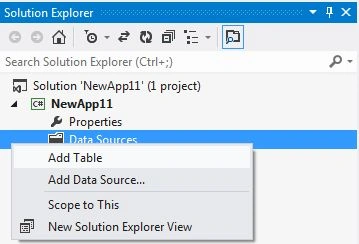
The table appears in the table designer window. Insert the records in the following table.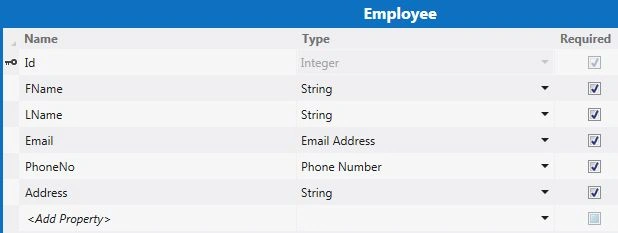
Step 2
Now once again go to the Solution Explorer, right-click on Screens and choose "Add Screen".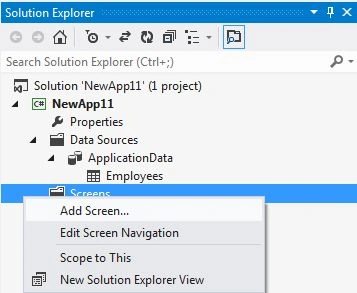
The Add New Screen dialog box appears. Select the "New Data Screen" from the Screen Template, under screen information, choose "Employee" under screen data and provide some name to the Screen and click the "OK" button.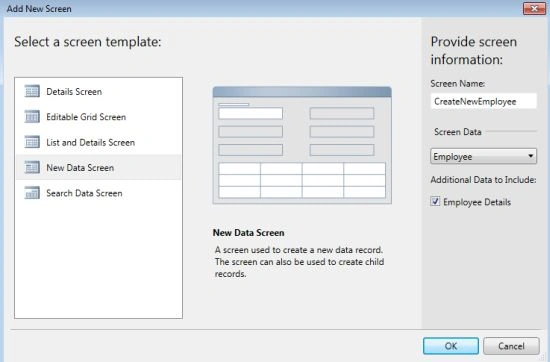
The Screen Designer appears as shown below.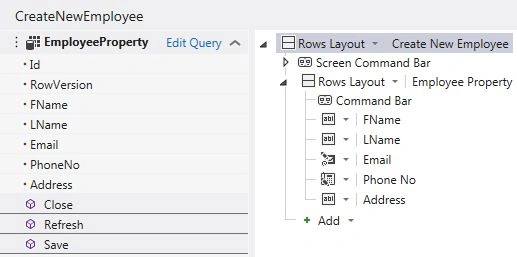
Step 3
Once again go to the Solution Explorer, click on the project's view dropdown button, a drop down list will appear.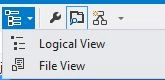
Step 4
Logical View is one in which we do not care for anything but we only want to get the job completed in one way or the other.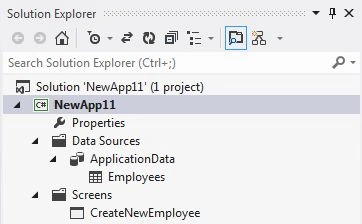
Step 5
File View is one in which we want to see each and every step of completing the job. 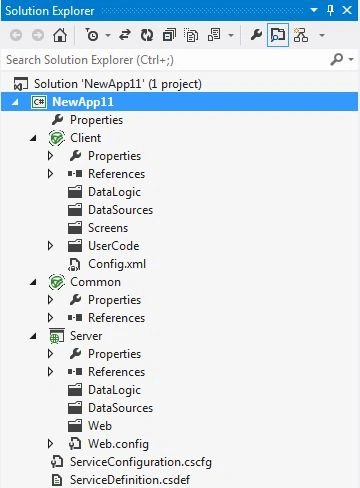
This is the only difference between Logical View and File View that I have described in this article.

Join the conversation! Your thoughts help the community grow.