

Background
Today, Internet of Things (IoTs) are everywhere. They are in our homes, our cars, in wearables, in offices, on roads, and everywhere you can imagine and almost every industry is moving towards the IoT implementation to automate and control their industrial as well as manufacturing assets.
Implementing the IoT devices for a business solution might be easy but managing millions of devices including their data and entire device life cycle including deployment, upgradation and securing the IoT devices is much more difficult with their limitations. Microsoft introduces a service in its its Azure cloud called Azure IoT Hub Device Provisioning service that helps us manage devices life cycle.
Let's learn about the IoT Hub Device Provisioning Service.
What is Azure IoT Hub DPS?
Azure IoT hub device provisioning service is responsible to enroll IoT devices before devices get registered into the Azure IoT hub.
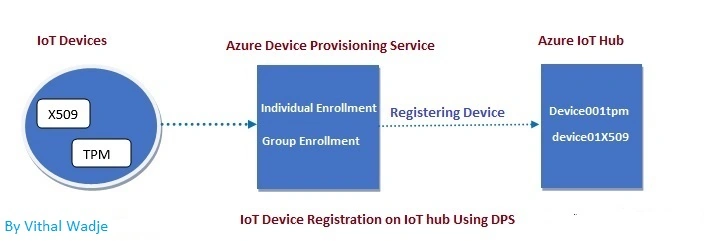
Devices can be directly registered with IoT hub, but Azure device provisioning service make easier to manage the entire life cycle of millions of IoT devices. Enrollments of devices can be done via the portal as well programmatically with the help of Azure DPS REST services or the SDK. The devices enrolled into the Azure DPS can be registered into the Azure IoT hub with the help of REST Services as well as the SDK.
Features of Device Provisioning Service
- Device provisioning service helps to manage and connect thousands of IoT devices without worrying about setup configuration
- Device provisioning service helps of automatically balance the load of device across the multiple IoT Hubs
- Device provisioning service provides the feature to automatically connect the device to the IoT hub with the nearest location of device
- Whenever required change in the configuration of existing connected device, Device provisioning service provides the feature of how the device will be reprovisioned without or changing the existing configuration
- Easily secure the devices with X509 certificate and TPM which allow verifying the identity of the device when device trying to connect from a deployed location
- Device provisioning service allows to connect individual or group of devices to the IoT hub with the help of devices enrolled using the feature group and individual enrollment
- Device provisioning service helps to manage the configuration of single or group of devices
Creating Azure IoT Hub Device Provisioning Service
Now let’s create an Azure device provisioning service in a step by step tutorial via Azure portal.
Prerequisites
To create any service in Azure portal, we required a valid azure subscription whether it’s paid or trial subscription. Please make sure you have a valid azure subscription.
Step 1 - Go to Azure Portal
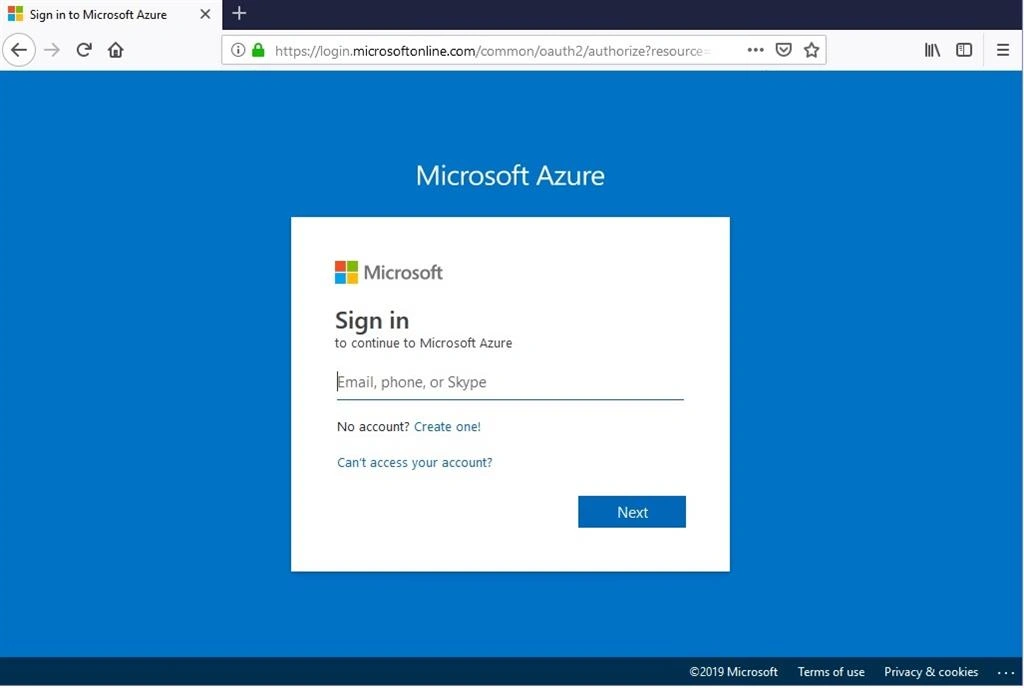
Navigate to the portal.azure.com using a Web Browser and login into the portal with valid credentials, as shown in following image.
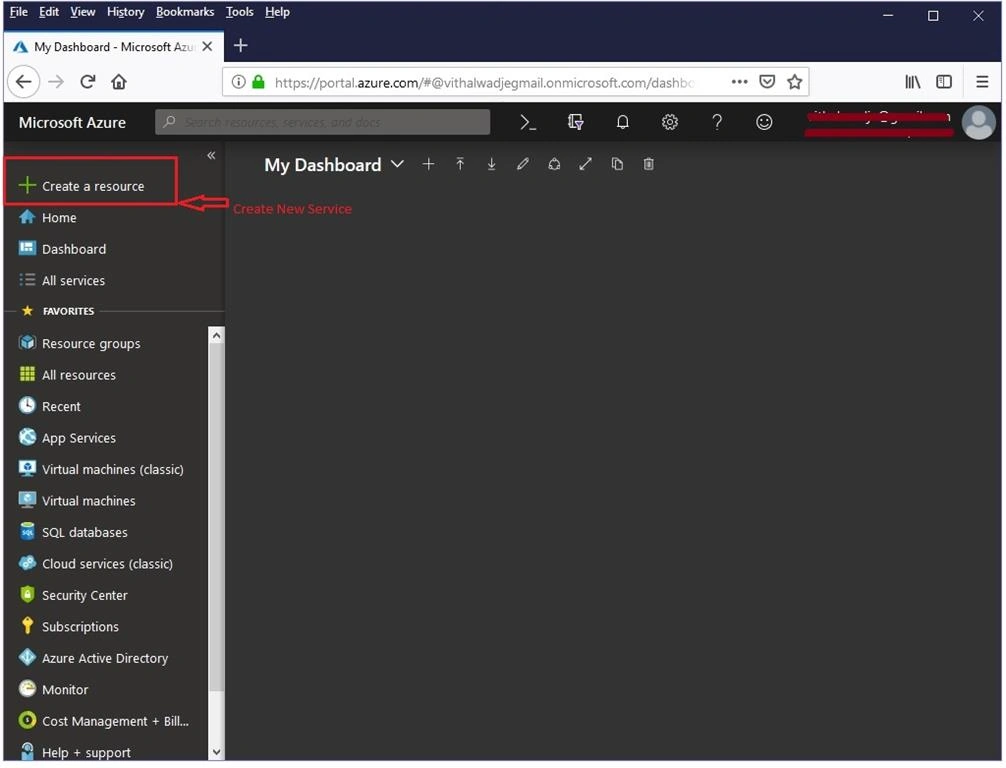
After successful login, page will be redirected to the azure portal default dashboard page as shown in the following image.
Step 2 - Create IoT Hub Device Provisioning Service on Portal
Find the create resource option which can be found in the left top side of the portal as shown into the following image or follow any other option which you may know to create the resource (service) in azure portal.

Click on the left side option to create a resource & type IoT hub device provisioning service into the populated search box. It will pop up the following screen which is shown in the following image.

As shown in the preceding image click on create button. It will show the following screen.

Provide required details as shown in the preceding image as
- Name
Name of the IoT hub device provisioning service which must contain only alphanumeric characters or hyphen.
Example
- Subscription
Choose the available azure subscription which you want to use for creating service from drop-down list
- Resource Group
Choose existing resource group or create a new resource group that you may want to use.
- Location
Choose the deployment location for IoT hub device provisioning from given list, however the device provisioning service is global and associated with any specific location, but you must specify a location for the resource group where the metadata associated with the service profile will reside.
After providing all required details, click on create button. It will take some time to create the service. Once the service is created, you will see a notification as shown in following image.
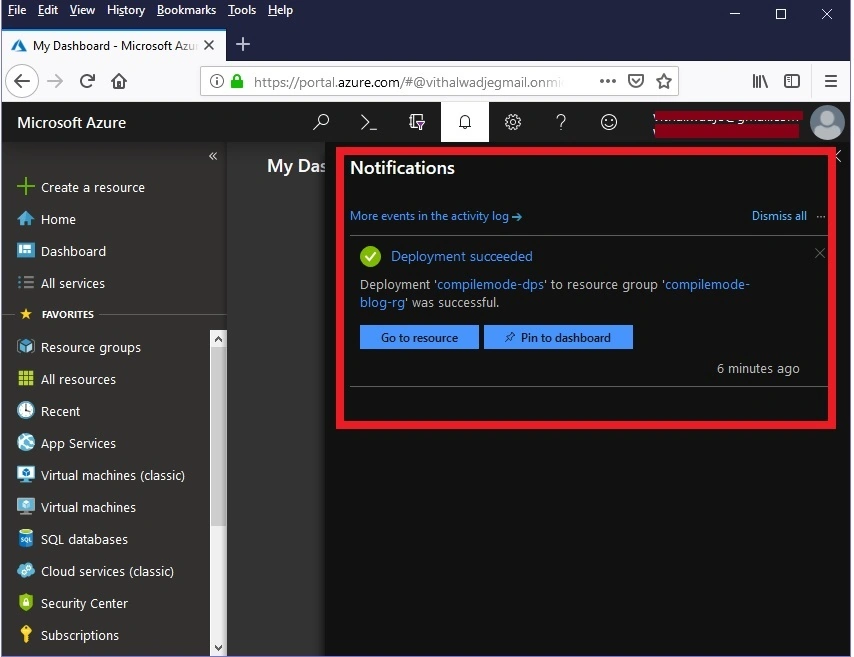
Now click on Go to resource button it will redirected to the newly created IoT hub device provisioning service as shown in the following image.

Let’s setup the IoT hub device provisioning service settings and overview section:
- Resource Group
The name of the resource group in which IoT hub device provisioning resides.
- Service Endpoint
Unique URI to connect to the IoT hub device provisioning for device enrollment related operations
- Status
IoT hub device provisioning working status
- Global Device Endpoint
Global endpoint of IoT hub device provisioning service to perform the device provisioning related operation.
- ID Scope
Unique Id for identifying your specific IoT hub device provisioning service for device related operation since device operation related endpoint is global to all device provisioning services
- Subscription ID
Name of the subscription id in which your IoT hub device provisioning service resides
- Pricing & Scale Tier
Each IoT hub device provisioning service has pricing tier which can be decided to use based on the what scalability and performance required for an application. Currently IoT hub DPS support S1 tier which cost $ 0.10 that is INR 6.610 for 1000 operations
- Shared Access Policies
Shared access policies section reside the different keys & connection string to connect with IoT hub device provisioning service programmatically using SDK’s & REST services
- Linked IoT Hub
This property allows to link up to ten IoT hub to the device provisioning service as well to see the list of linked IoT hubs. All the enrolled devices after provisioning registered into respective IoT hubs
- Certificates
This section allows adding the device certificates which can be assigned to the devices during enrollment.
- Manage Enrollments
This section allows to enroll the various types of security feature devices such as TPM (Trusted Platform Module) and X.509. device enrollment can be enrolled using the following two concepts,
- Individual Enrollment
This allows enrolling the one device at a time that allows unique configuration per device.
- Group Enrollment
Group Enrollment allows enrolling the group of devices at a time that allows common configuration for group of devices.
- Manage Allocation Policy: Device provisioning service allows to link the multiple IoT hub & using manage allocation policy we can set the IoT hub allocation policy for enrolled devices which automatically decides on which IoT hub device should belong when the device is connected or registered.
Following are the allocation policies can be set:
- Lowest latency
This policy automatically assigns device to the closest IoT hub ((Datacenter) of device location which will make faster communication between devices and IoT hub.
- Evenly weighted distribution
This is the default policy and recommended by Microsoft which will equally distribute devices to the linked IoT hubs, Let’s say we have ten IoT devices and two linked IoT hubs then five devices will be assigned to one IoT hub and five devices to another IoT hub
- Static configuration
This policy assigns the devices to the specific IoT which is selected during the device enrollment.
Summary
Hope this article useful to understand the basics about the Azure IoT hub device provisioning service. In this series of Azure IoT article, next we will learn about the Azure IoT hub.
Next Recommended Article >> Consuming ASP.NET Core 2.0 Web API Using HttpClient.
Join the conversation! Your thoughts help the community grow.