

Step 1
Open Expression Blend 4 -> Select WPF -> Select WPF Application -> Change Name and Location accordingly -> hit OK, a Blank Window appears on ArtBoard.
Step 2
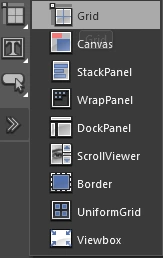
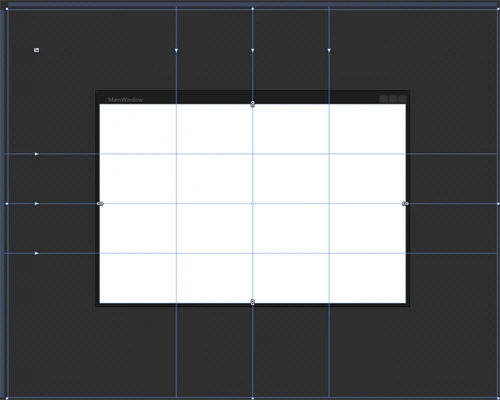
Select ToolBox -> Select Grid, draw Grid as shown below:
Step 3
When we Insert Grid on Artboard the XAML take's place automatically as
shown below:
<Window
xmlns="http://schemas.microsoft.com/winfx/2006/xaml/presentation"
xmlns:x="http://schemas.microsoft.com/winfx/2006/xaml"
xmlns:d="http://schemas.microsoft.com/expression/blend/2008" xmlns:mc="http://schemas.openxmlformats.org/markup-compatibility/2006" mc:Ignorable="d"
x:Class="Grid1.MainWindow"
x:Name="Window"
Title="MainWindow"
Width="640" Height="480">
<Grid x:Name="LayoutRoot">
<Grid Background="White">
<Grid.RowDefinitions>
<RowDefinition Height="0.238*"/>
<RowDefinition Height="0.238*"/>
<RowDefinition Height="0.238*"/>
<RowDefinition Height="0.238*"/>
</Grid.RowDefinitions>
<Grid.ColumnDefinitions>
<ColumnDefinition Width="0.244*"/>
<ColumnDefinition Width="0.244*"/>
<ColumnDefinition Width="0.244*"/>
<ColumnDefinition Width="0.244*"/>
</Grid.ColumnDefinitions>
<Grid.LayoutTransform>
<TransformGroup>
<ScaleTransform ScaleX="1.6" ScaleY="1.95"/>
<SkewTransform/>
<RotateTransform/>
<TranslateTransform/>
</TransformGroup>
</Grid.LayoutTransform>
</Grid>
</Grid>
</Window>
Step 4
Here, Grid is divided into Row's and Columns automatically as shown above. We can manage the Height-Width, Margin, Alignment, Orientation Padding as shown above.
Note: Here, when we Insert Row's-Column's the Default Value of Width-Height is set .
Step 5
Select any Image from Folder according to your choice, apply Copy-Paste Command, Insert Image according to your choice in the Grid as shown below:
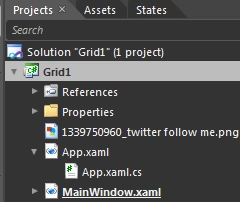
Note: When we select Image Copy the Image in the Grid1 File as shown above.
Step 6
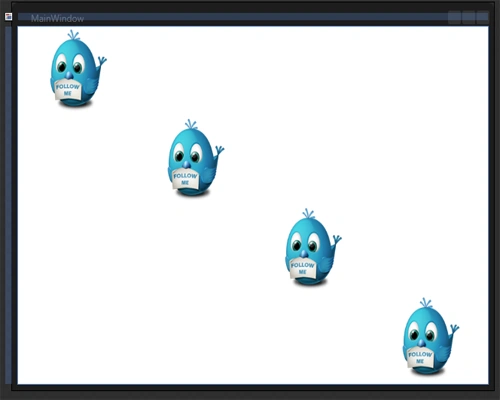
Here, when we Insert Image we can Define the Position of Row-Column according to our choice for the Insertion of Image as shown below:
<Image Source="1339750960_twitter follow me.png" Grid.Row="0" Grid.Column="0"/><Image Source="1339750960_twitter follow me.png" Grid.Row="1" Grid.Column="1"/>
<Image Source="1339750960_twitter follow me.png" Grid.Row="2" Grid.Column="2"/>
<Image Source="1339750960_twitter follow me.png" Grid.Row="3" Grid.Column="3"/>
Step 7
Press F5 and see the Result as shown below:
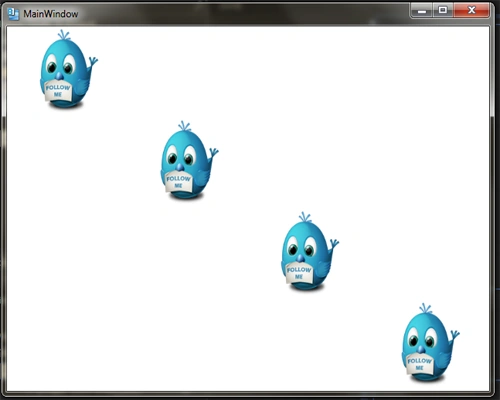
Through this Article we can learn the use of Grid in Expression Blend 4.
Join the conversation! Your thoughts help the community grow.