
In this article, we will discuss the use of Text Web part in SharePoint Online. This web part allows adding text content, images, pictures, table, and hyperlinks to the page, along with various formatting options.
Adding Text Web part in SharePoint Online Page
1. For inserting the Text Web part in the Site Page, click on Edit on the top right of the page to put the page in edit mode. Click on the + circled icon and select the Text web part. Click on Text and insert the web part.
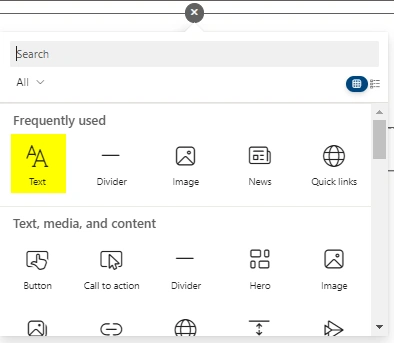
2. After inserting the Text web part, the formatting toolbar along with the Text box will be displayed as under:

The formatting toolbar contains options such as Move Web part, Duplicate Web part, Delete Web part, Font Style, Font Size, Font Color, Highlight color, Bold, Italic, Underline, Right, Center, Left, Justify Alignment, Bulleted List, Numbered List, Increase Indent, Decrease Indent, Insert Table, Insert Image, Strikethrough, Hyperlink, Remove Link, Superscript, Subscript and More Styles.
3. Enter the desired text and format it using the formatting toolbar. To view more formatting options, click on the ellipses (...) on the right side of the toolbar. It will open the Text and Table Formatting panel on the right side of the screen.
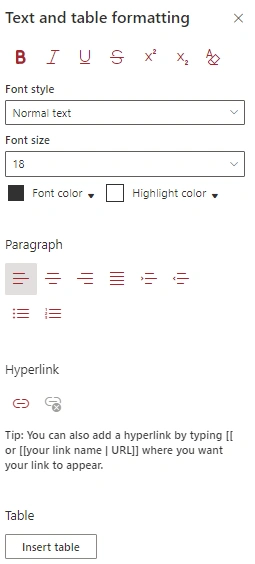
4. The options in Text and Table formatting are similar to the Formatting toolbar options as mentioned above.
5. The font style and font size available are as follows:
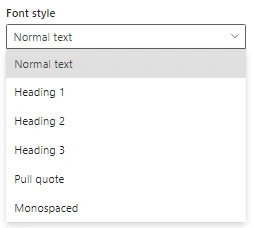
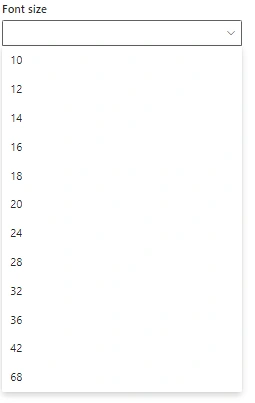
6. Insert Image in Text Web part
- Click on Insert Image in the formatting toolbar. A dialogue box with various options to insert images such as Recent, Stock Images, Web search, OneDrive, Site, Upload, and From a Link will appear. Select the relevant option and insert the image.

- Once the image is inserted, it can be formatted using various options such as:
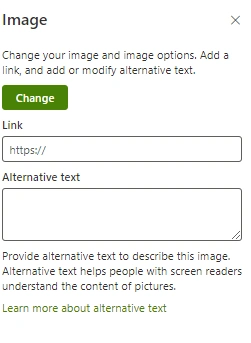
- Change Image: On click of Change Image option, the properties panel on the right side of the screen will be displayed providing us an option to change the inserted image or insert a link on the image or use the alternative text to describe the image.
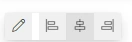
- Alignment - Inserted Image can be aligned right, left, or center.
7. Insert Table in Text Web part
- Click on the Insert Table icon in the formatting toolbar or click on the Insert Table option in the Text and Table formatting panel to insert a table in the Text Web part:

- Table with 3 rows and 3 columns will be inserted in the Text Web part.

- The inserted table can be formatted using various available options such as Table Styles, Insert and Delete (To insert or delete rows, columns or entire table) and Table Alignment (Left, Center, and Right)

This is how we can use the Text Web part in SharePoint Online.
Bernadette KiserPosted Feb 27, 2024, 8:51 PM
Is there any way to put text in columns other than in a table? I want two columns but I don't want table borders. The only way I can find to do that is to use the theme shading, which is dark gray because my table is only one row.