
In this article, we will see how to create a user control for ASP.NET and the some of the ways in which we can apply the fundamentals of re-usability through user controls. We will follow the creation of a web site for a fictitious company as we go along the article.
What is a User Control?
A user control is a custom, reusable control in ASP.NET, saved in a file with an extension.ascx.
User controls are compiled the first time they are accessed and then saved in client memory untill any changes are made to the control.
Build The User Control
Let us take up a very practical example for understanding user controls. Most, if not all, sites have a customized look and feel. A common example is a site-specific top bar on all pages in the site, which contains links for easy navigation and a left bar which may also contain commonly used links and images. We will build a fictitious web site with a header bar for site navigation.
Type in the following code (Listing 1) using your favorite text editor. Save the file as TopHeader.ascx. A detailed explanation follows the code listing.
<script language="C#" runat="server">
public String strSelection
{
get
{
return Selection.SelectedItem.Text;
}
set
{
for (int i = 0; i < Selection.Items.Count; i++)
{
if (Selection.Items[i].Text == value)
Selection.SelectedIndex = i;
}
}
}
void Selection_Changed(Object sender, EventArgs e)
{
Server.Transfer(Selection.SelectedItem.Text + ".aspx");
}
</script>
<table width="100%" style="background-color: lightblue; font: 10pt verdana; border-width: 1;
border-style: solid; border-color: black;" cellpadding="0" cellspacing="0">
<tr bgcolor="red">
<td colspan="2">
</td>
</tr>
<tr>
<td>
<b>Welcome to Fictitious Site</b></td>
<td align="right">
Navigate To:<asp:DropDownList ID="Selection" OnSelectedIndexChanged="Selection_Changed"
AutoPostBack="true" runat="server">
<asp:ListItem>Home</asp:ListItem>
<asp:ListItem>Products</asp:ListItem>
<asp:ListItem>Clients</asp:ListItem>
<asp:ListItem>Company</asp:ListItem>
</asp:DropDownList>
</td>
</tr>
<tr bgcolor="black">
<td colspan="2">
</td>
</tr>
</table>
The user control code defines a table with three rows. The first and third row are for cosmetic purposes only. The middle row contains the dropdown list with the navigation options and a label.
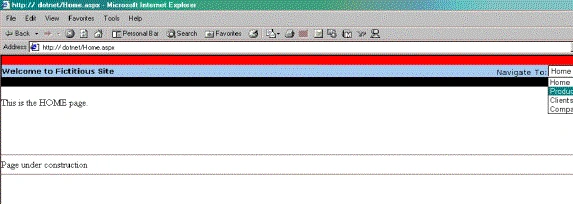
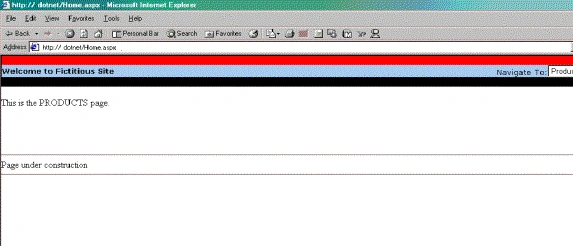
The user control contains a property strSelection for getting and setting the current Selection. The dropdown list handles the event OnSelectedIndexChanged. The only action taken in the event handler for the dropdown lists Selection Changed event is to navigate to a web page based on the new selection. The set method for the strSelection property iterates through the contents of the dropdown list and marks the list item which matches the new value set for the property.
Use the User Control
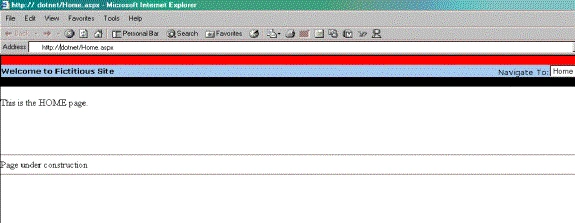
Here is the code for the web pages using our user control. Save the file in Listing 2 as Home.aspx, listing 3 as Products.aspx, listing 4 as Clients.aspx, listing 5 as Company.aspx in the same web directory as TopHeader.ascx.
<%@ Register TagPrefix="SiteSpecific" TagName="TopHeader" Src="topheader.ascx" %>
<%@ Register TagPrefix="SiteSpecific" TagName="LeftHeader" Src="leftheader.ascx" %>
<script language="C#" runat="server">
void Page_Load(Object sender, EventArgs e)
{
if (!IsPostBack)
{
MyTopHeader.strSelection = "Home";
}
}
</script>
<html>
<body leftmargin="0" topmargin="0" marginwidth="0" marginheight="0">
<form id="Form1" runat="server">
<SiteSpecific:TopHeader id="MyTopHeader" runat="server" />
<br>
This is the HOME page.
<br>
<br>
<br>
<br>
<br>
<hr />
Page under construction
<hr />
</form>
</body>
</html>
<%@ Register TagPrefix="SiteSpecific" TagName="TopHeader" Src="topheader.ascx" %>
<%@ Register TagPrefix="SiteSpecific" TagName="LeftHeader" Src="leftheader.ascx" %>
Join the conversation! Your thoughts help the community grow.