

Introduction
My previous article in this series explained how to create an API Controller with the Entity Framework. This article explains how to add a view for adding the HTML code.
Step 1
Add the "Admin" action method in the HomeController.cs file.
- In the "Solution Explorer".
- Expand the "Controller" folder.
- Select the "HomeController.cs" file.
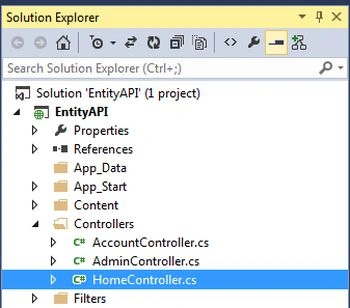
Add the following code in this file;
- public ActionResult Admin()
- {
- //Creates the URI to the web API, and we store this in the view bag for later.
- string apiUri = Url.HttpRouteUrl("DefaultApi", new { controller = "admin", });
- ViewBag.ApiUrl = new Uri(Request.Url, apiUri).AbsoluteUri.ToString();
- return View();
- }
The entire code of the "HomeController" looks like this:
- using System;
- using System.Collections.Generic;
- using System.Linq;
- using System.Web;
- using System.Web.Mvc;
- namespace EntityAPI.Controllers
- {
- public class HomeController : Controller
- {
- public ActionResult Index()
- {
- ViewBag.Message = "Modify this template to jump-start your ASP.NET MVC application.";
- return View();
- }
- public ActionResult About()
- {
- ViewBag.Message = "Your app description page.";
- return View();
- }
- public ActionResult Contact()
- {
- ViewBag.Message = "Your contact page.";
- return View();
- }
- public ActionResult Admin()
- {
- //Creates the URI to the web API, and we store this in the view bag for later.
- string apiUri = Url.HttpRouteUrl("DefaultApi", new { controller = "admin", });
- ViewBag.ApiUrl = new Uri(Request.Url, apiUri).AbsoluteUri.ToString();
- return View();
- }
- }
- }
Now add the View file as in the following:
- In the "HomeController.cs" file.
- Right-click on the "Admin" action method.
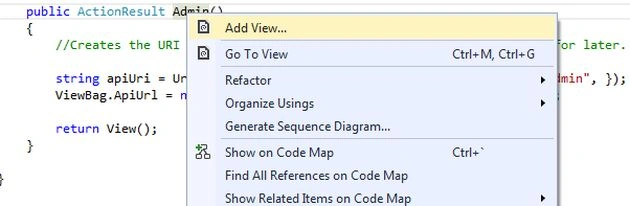
- Select "Add View".
- In the Open an Add View dialog box check the "Create a strong typed view" Checkbox.
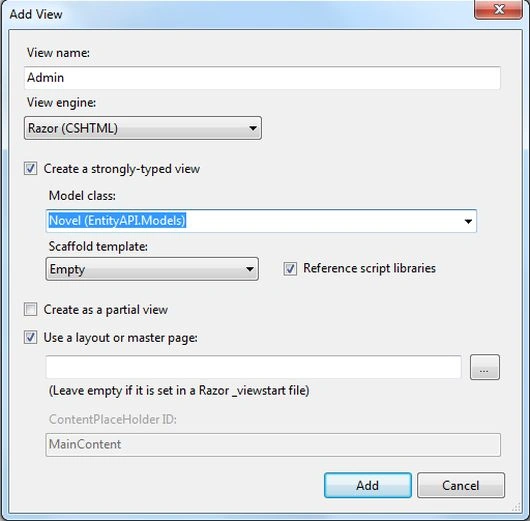
- Now click on the "OK" button.
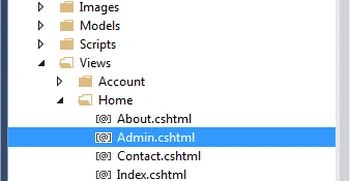
Add the following code in this view:
- @model EntityAPI.Models.Novel
- @{
- ViewBag.Title = "Admin";
- }
- <h2>Admin</h2>
- <div class="content">
- <div class="float-left">
- <ul id="update-products">
- <li>
- <div><div class="item">Novel ID</div><span></span></div>
- <div><div class="item">Name</div> <input type="text" /></div>
- <div><div class="item">Deal Price ($)</div> <input type="text" /></div>
- <div><div class="item">SellingPrice ($)</div> <input type="text" /></div>
- <div>
- <input type="button" value="Update" />
- <input type="button" value="Delete Item" />
- </div>
- </li>
- </ul>
- </div>
- <div class="float-right">
- <h2>Add New Product</h2>
- <form id="product">
- @Html.ValidationSummary(true)
- <fieldset>
- <legend>Contact</legend>
- @Html.EditorForModel()
- <p>
- <input type="submit" value="Save" />
- </p>
- </fieldset>
- </form>
- </div>
- </div>
Step 3
Now add a link in the "_Layout.cshtml" file as in the following:
- In the "Solution Explorer".
- Expand the "Views" folder and select the Shared folder.
- Open the "_Layout.cshtml" file and add this single line of code:
- <li>@Html.ActionLink("Admin", "Admin", "Home")</li>
Step 4
Now execute the application:
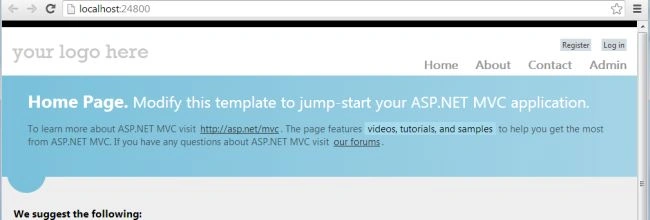
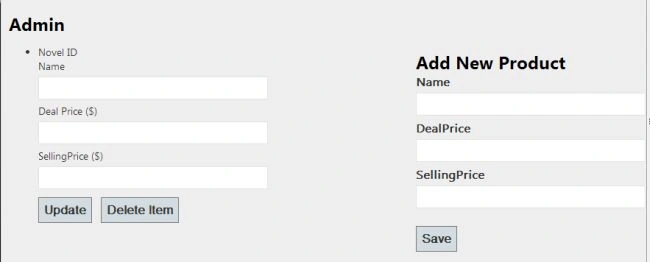
Here the "Admin" link is visible, we click on the Admin link. It is looks llike this:
Join the conversation! Your thoughts help the community grow.