

Excel Web Access Web Part
The following are the properties of Excel Web Access Web Part:
- Used to display an Excel workbook in browser.
- No need for Excel client application.
- Excel workbook appearance can be customized.
- Part of Excel Services.
Using Excel Web Access Web Part
Please use the following procedure to use an Excel Web Access Web Part.
Step 1: Create a Page
Open your site and create a new page and name it as Excel.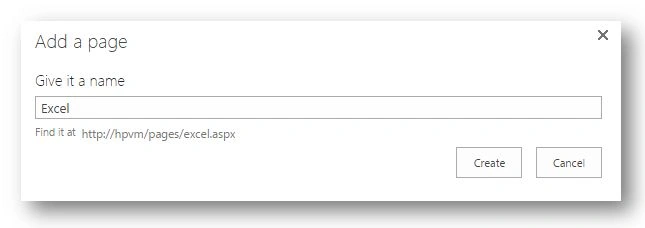
Step 2: Add Web Part
Edit the page and choose the insert a web part option. From the Business Data group choose the Excel Web Access web part.
Step 3: Select File
Click on the link highlighted below.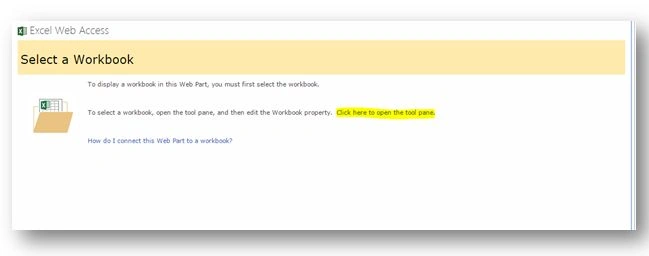
In the tool pane select the Excel work that was uploaded to a Document Library.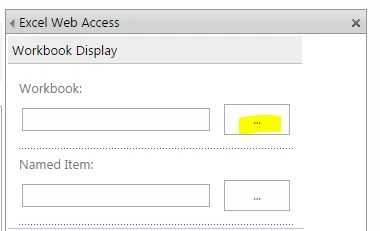
For the time being I am using a sample Excel file as shown below.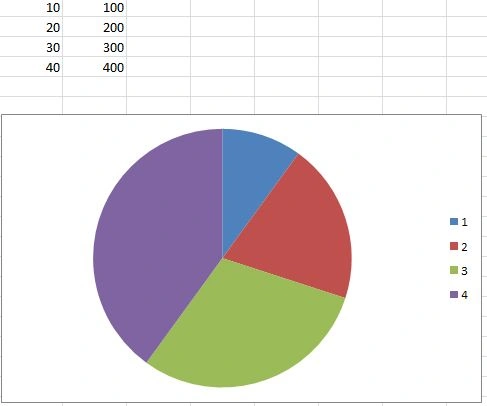
Step 4: Test Page
Click Ok to the tool pane and save changes to the page. You should be able to see the Excel file within SharePoint page as shown below.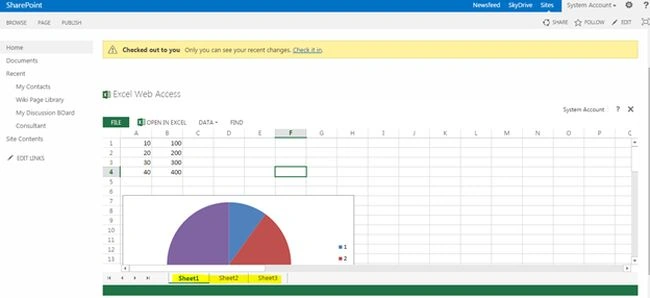
Please note the sheets as well. For downloading the file you can use the File > Save menu.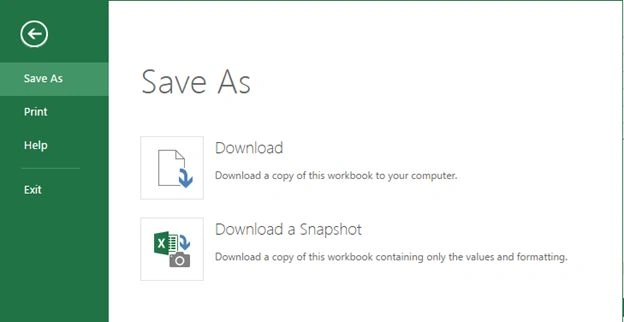
Note: Please note that you don't require Microsoft Excel to be installed in the machine. Alle the Excel cells are rendered using Excel Services application and browser.
Prevent Download
Open the page in edit mode and choose the Edit Web Part option of the Excel web access web part. Uncheck the option Open in Excel, Download, Download a Snapshot.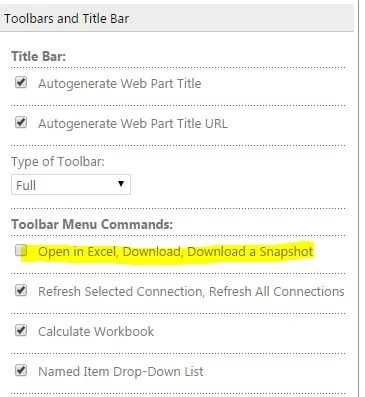
Save the changes and refresh the page. You should be seeing the Download options hidden now.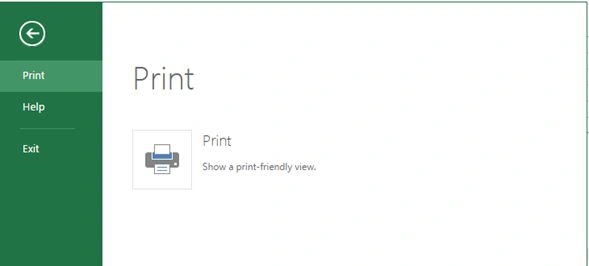
References
Overview of Excel Services in SharePoint Server 2013.
Summary
In this article we have explored how to use the Excel Web Access Web Part.
Jean PaulPosted Jan 23, 2015, 10:02 AM
Thank You Vithal!
Vithal WadjePosted Jan 23, 2015, 12:07 AM
nice