
Introduction
In this article, we will learn about basic authentication of ASP.NET WebAPI 2.0 and generating requests from Postman and Ajax.
Since WebAPI is on RESTFUL architecture, WebAPI plays an important role in handling server-side requests without storing the states on either the frontend or backend. WebAPI supports the backend of any type of application, such as mobile, web, etc., with basic http protocol.
To keep the WebAPI secure from unauthorized users, authentication comes into the picture, since the endpoints of the WebAPI can be easily accessible from the frontend.
There are multiple ways to secure the WebAPI with the following processes:
To keep the WebAPI secure from unauthorized users, authentication comes into the picture, since the endpoints of the WebAPI can be easily accessible from the frontend.
There are multiple ways to secure the WebAPI with the following processes:
- JSON Web Token(JWT)
- Basic Authentication
In this article, we will discuss Basic Authentication. It is the easiest and most conventional way to authorize the user in requests and provide access to perform operations.
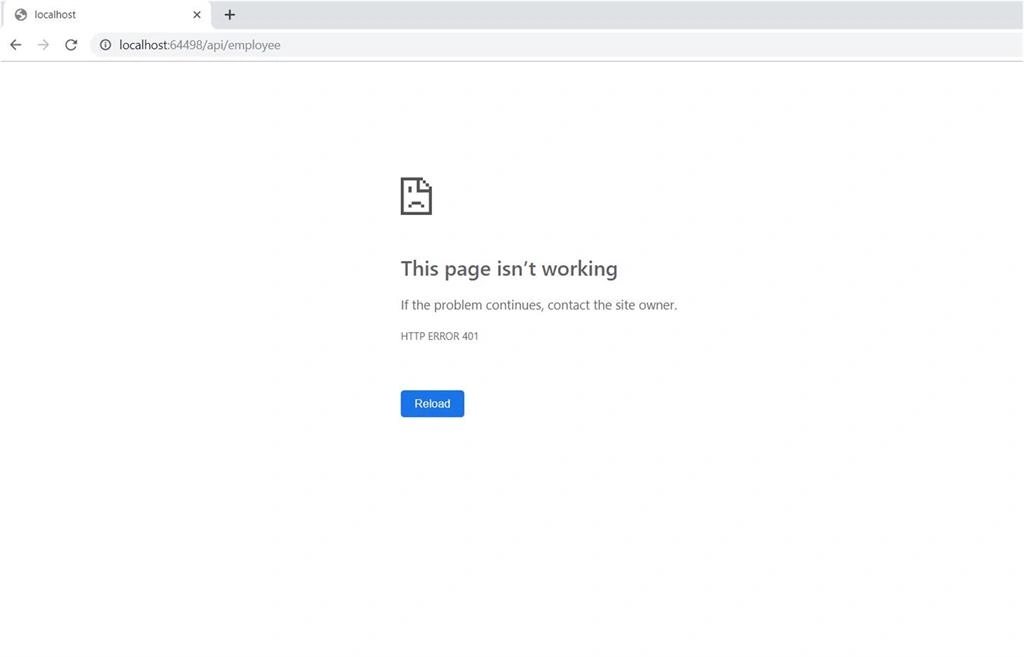
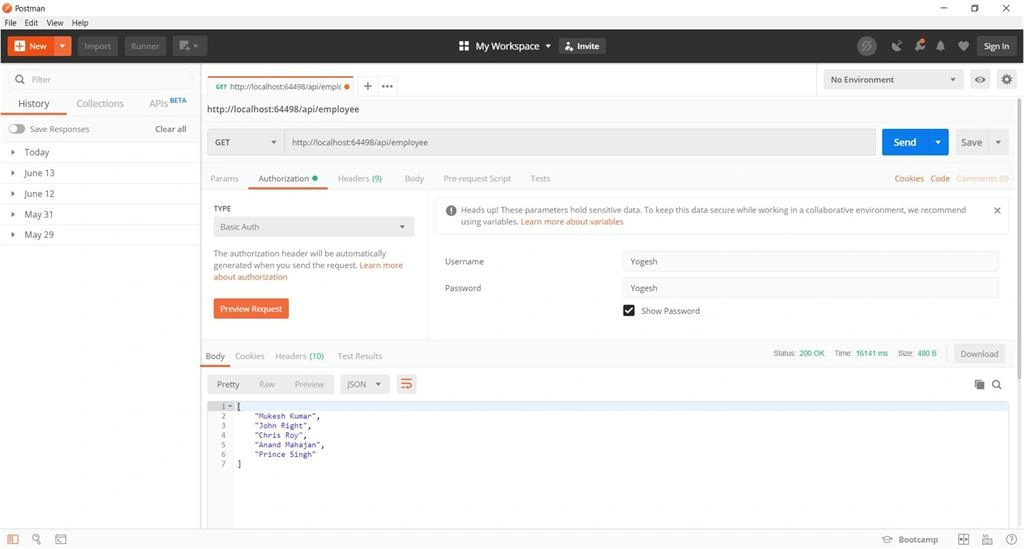
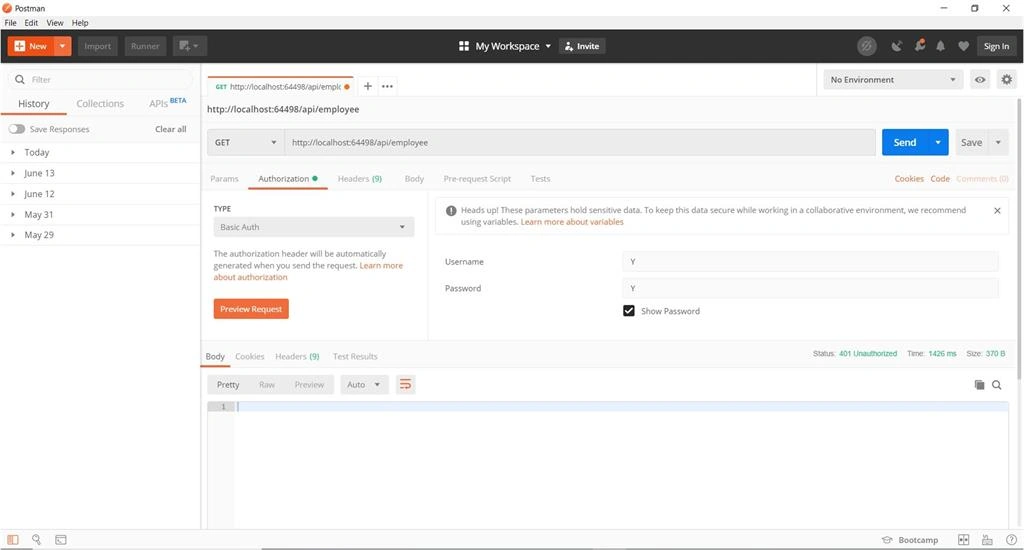
In Basic Authentication, the user passes their credentials [user name and password] on a post request. At the WebAPI end, credentials are verified. If the credentials are valid, then a session will initiate to accept the subsequent requests without validating the user again. If the credentials are not valid, then WebAPI returns the 401 unauthorized httpstatuscode.
In Basic Authentication, the user passes their credentials [user name and password] on a post request. At the WebAPI end, credentials are verified. If the credentials are valid, then a session will initiate to accept the subsequent requests without validating the user again. If the credentials are not valid, then WebAPI returns the 401 unauthorized httpstatuscode.
In this article, we will create ASP.NET WebApi 2.0 and use Postman for testing endpoints.
We will also create a project and request WebAPI for data using Ajax.
Let's start.
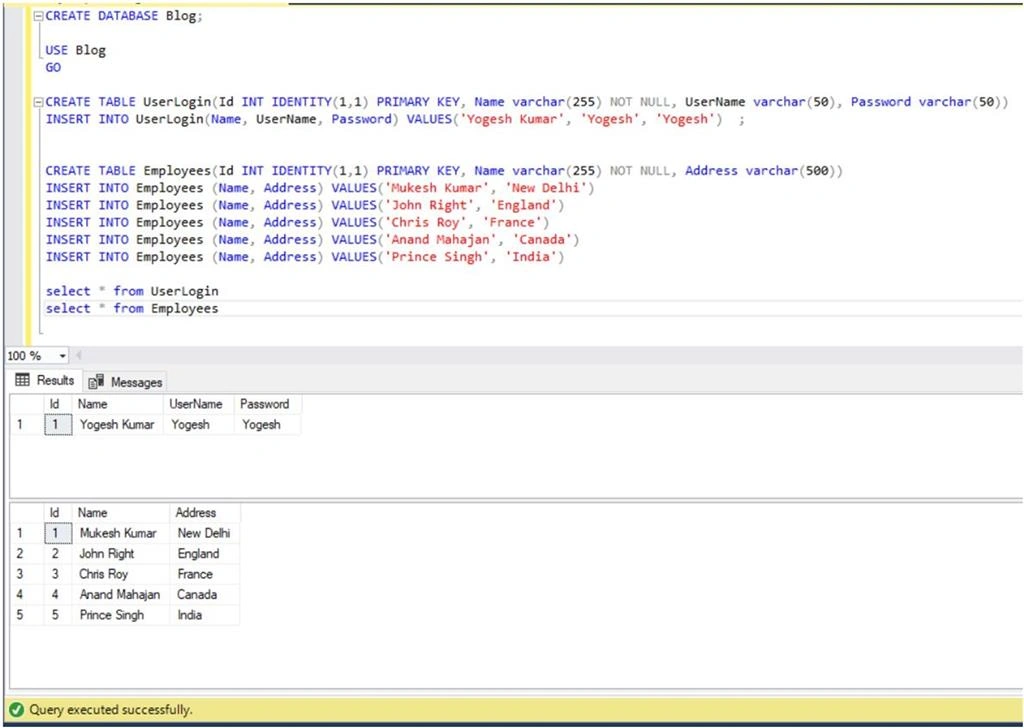
Create Databases and Tables
Create a Database and two tables. One is for User credentials and another one is for data.
Create a new ASP.NET Web API 2.0 project
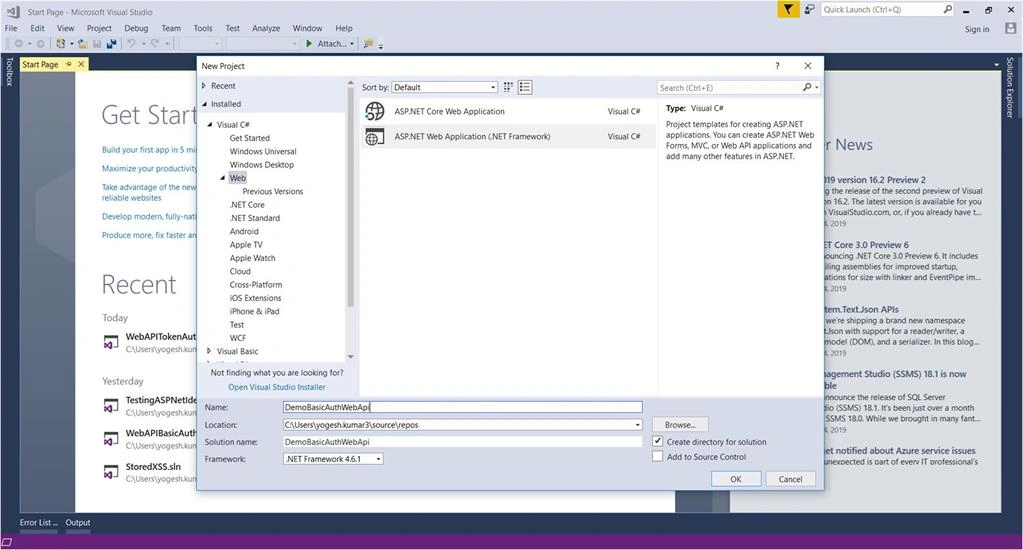
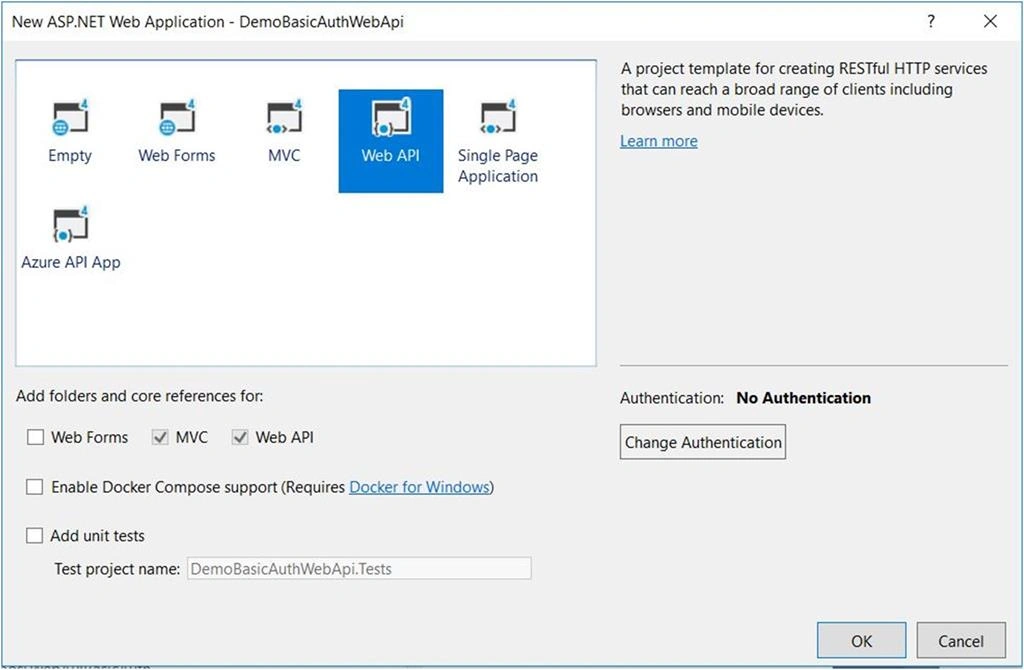
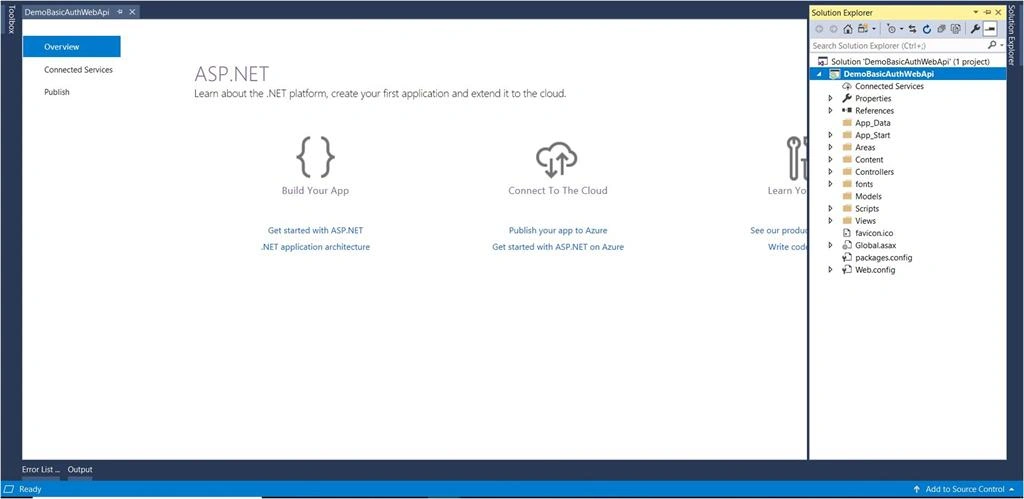
Open Visual Studio and select the file option to create a .NET standard project. Select a WebAPI with "No Authentication".
Create a connection with Database
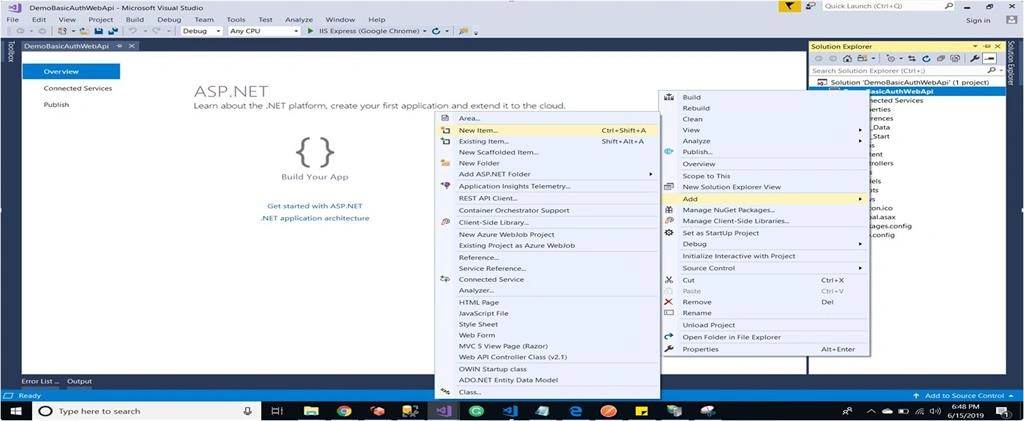
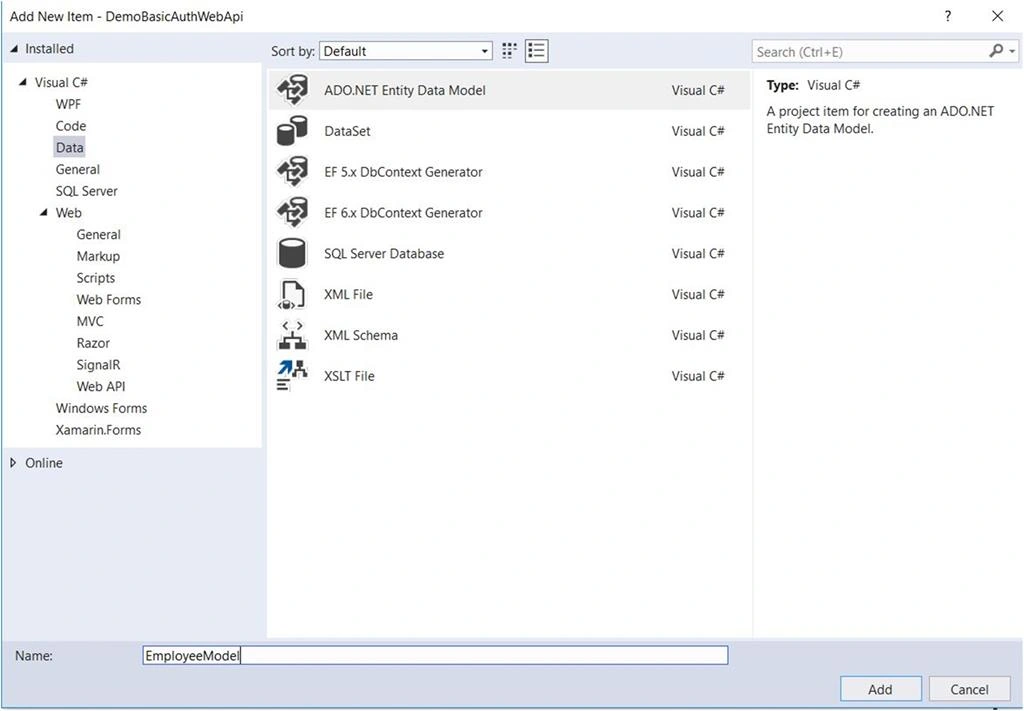
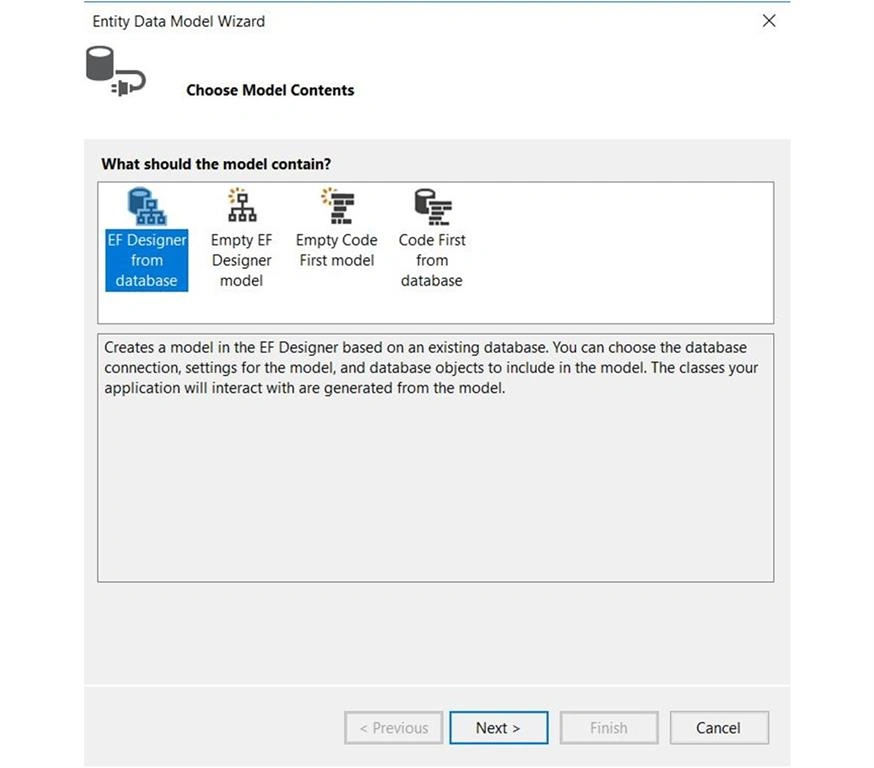
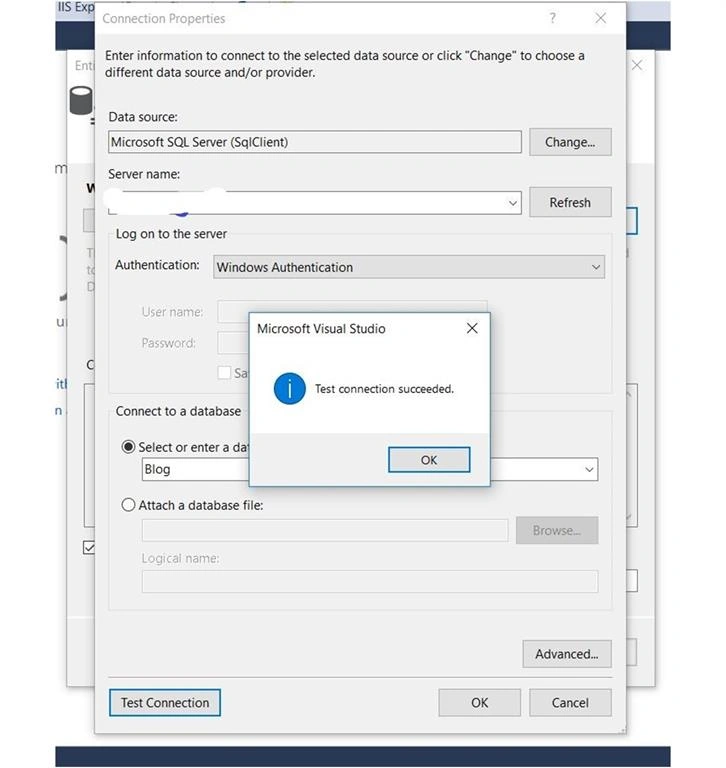
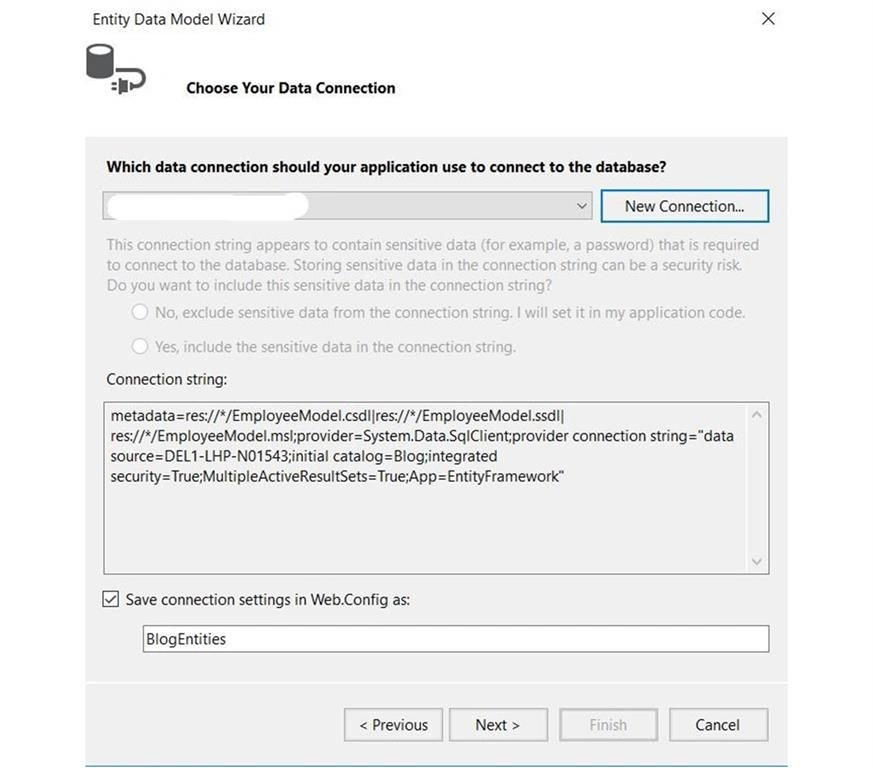
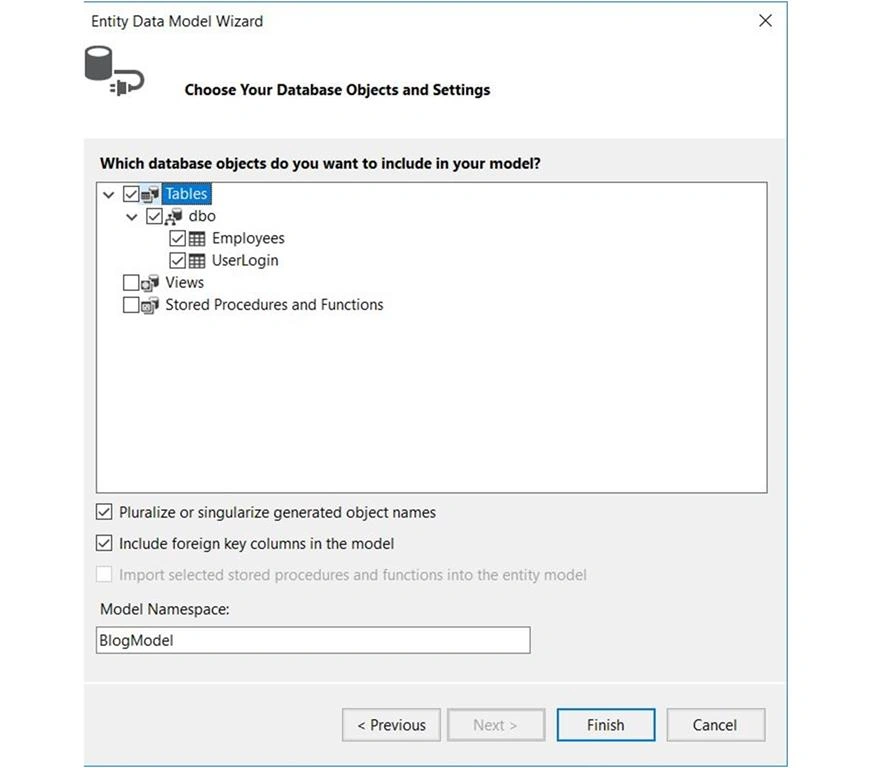
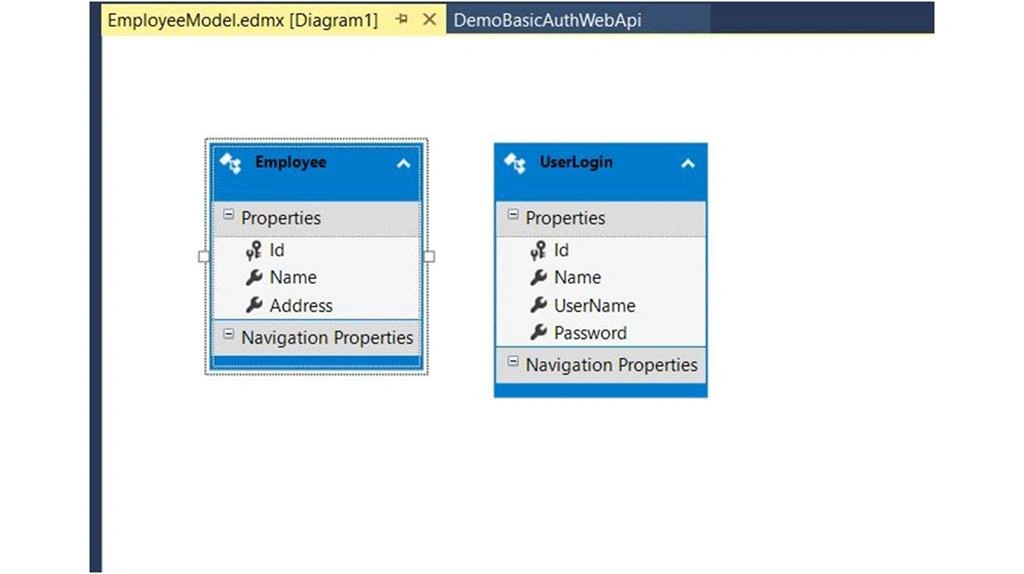
Right-click your WebApi project and Add a new item. Select ADO.NET Entity Data Model and make a new connection with the database. Select both the database table for validating users and fetching data.
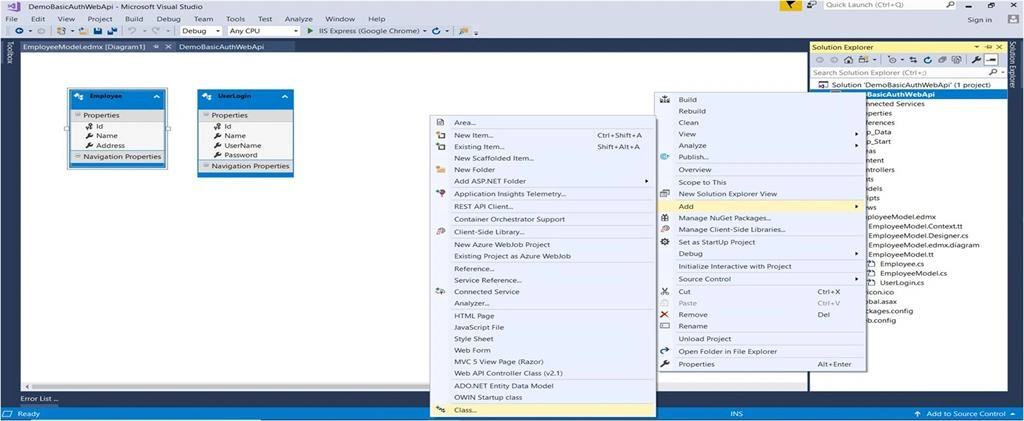
Create a new Class
Create a class that contains a static method with the boolean return type to check whether the user is authenticated or not. I used OrdinalIgnoreCase to ignore the alphabet case in the username.
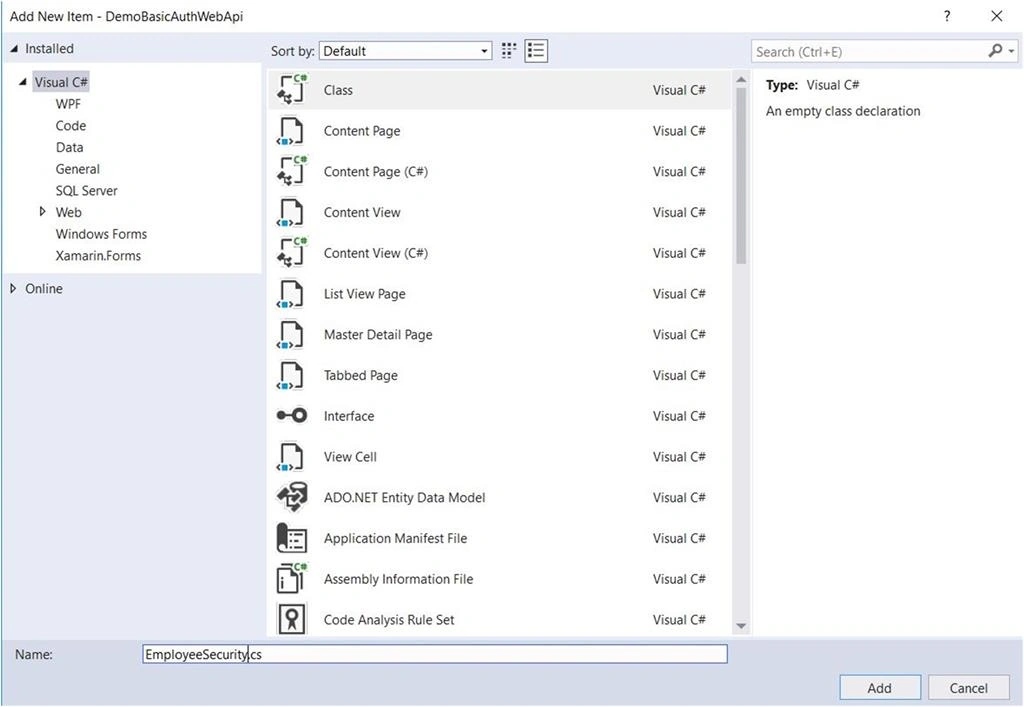
- {
- using(testEntities entity = new testEntities()) {
- return entity.tblLogins.Any(x => x.username.Equals(uname, StringComparison.OrdinalIgnoreCase) && x.pass == pass);
- }
- }
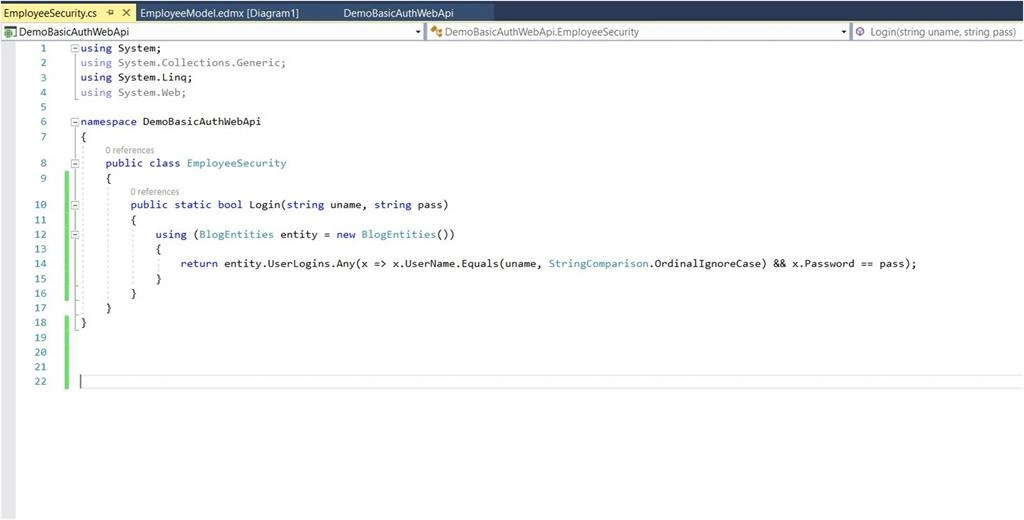
Create another new Class
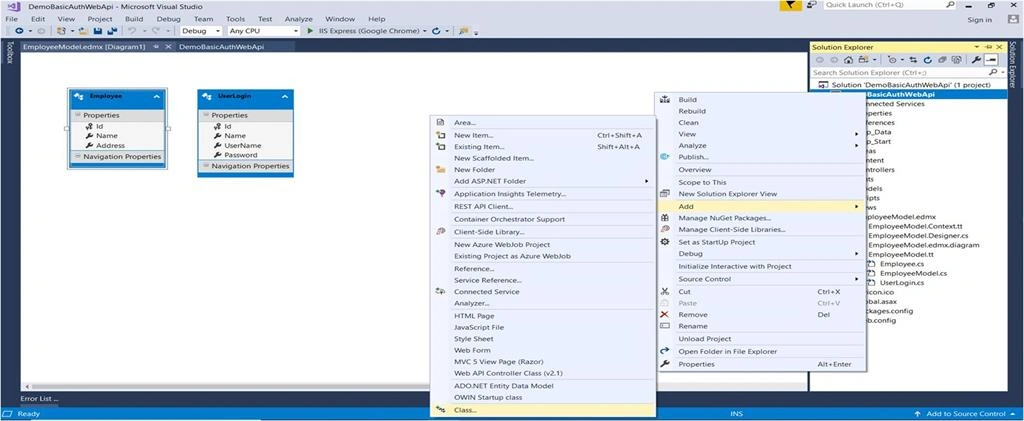
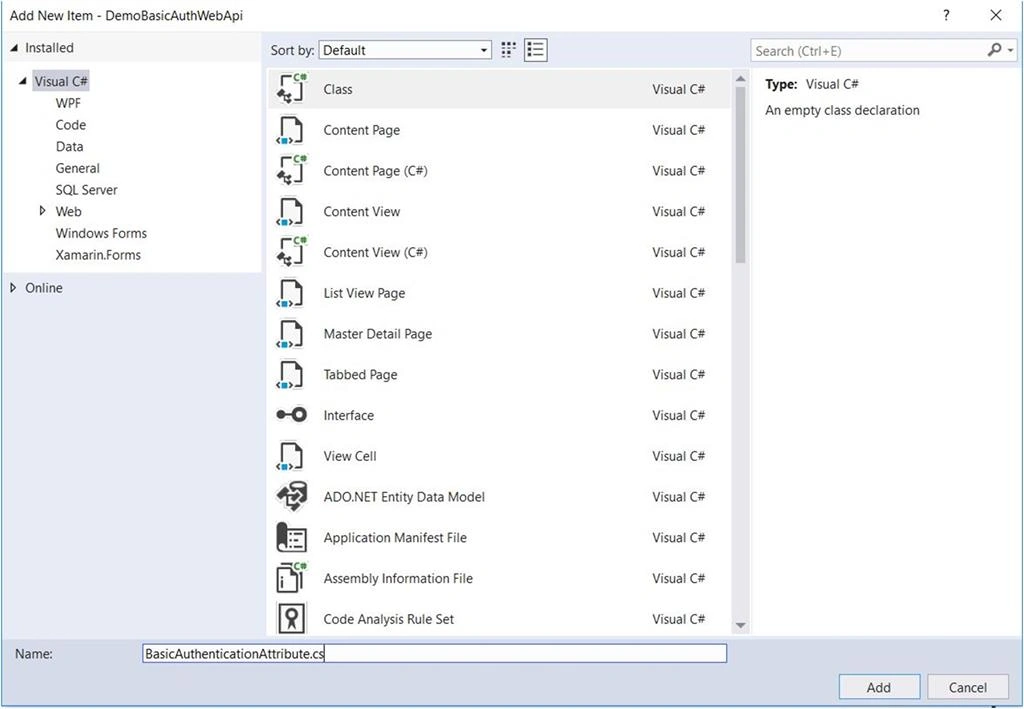
Add a new class to retrieve the username and password which is coming through the post request with Base64encoding. The username and password will come with colon-separated.
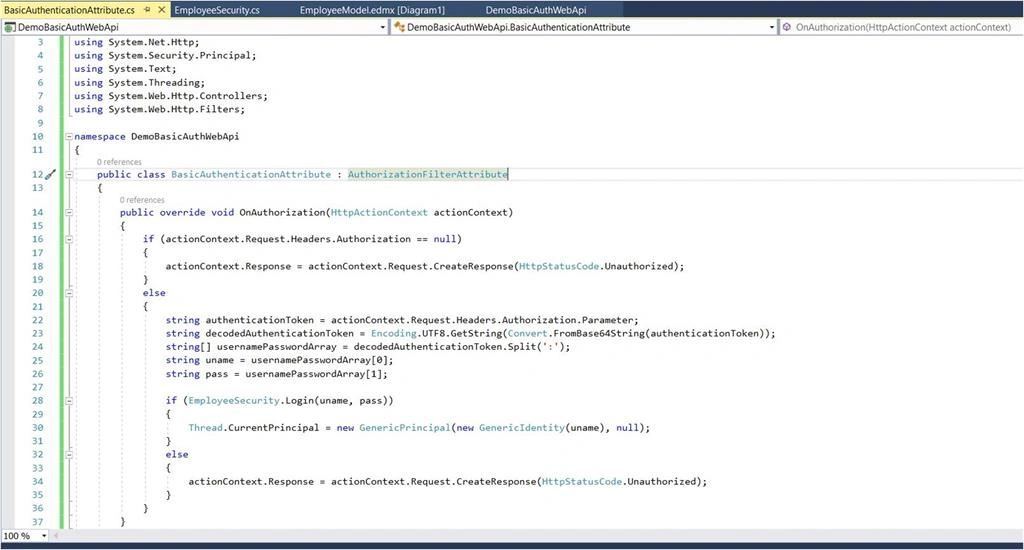
Add a new class to create a custom Authorization filter in which username and password will validate and allow or deny the requests. The “AuthorizationFilterAttribute” class needs to be inherited so that the “OnAuthorization” method can be overridden.
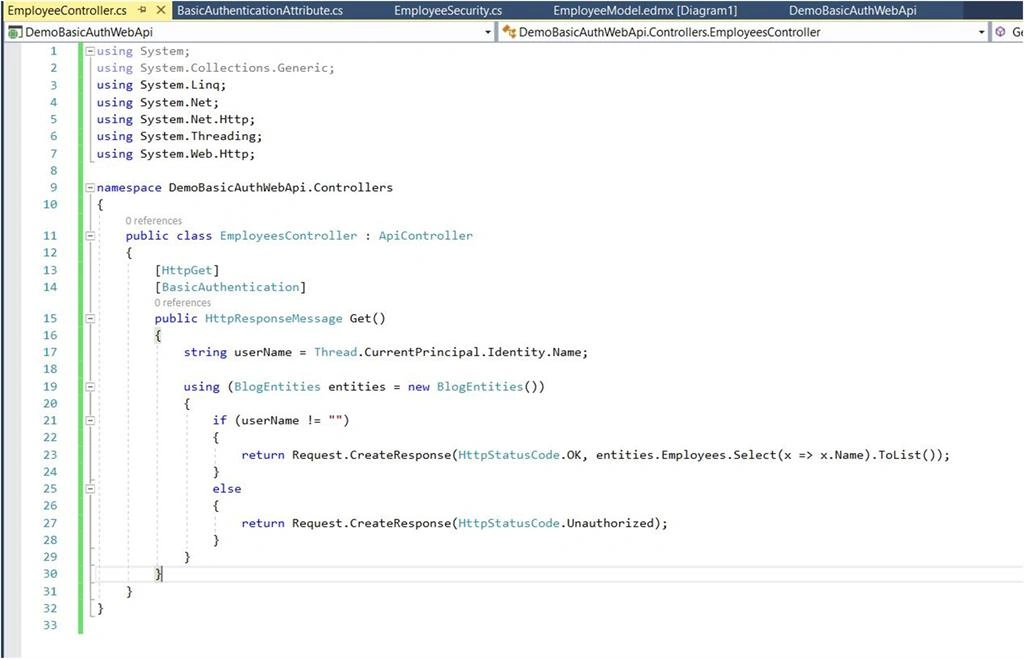
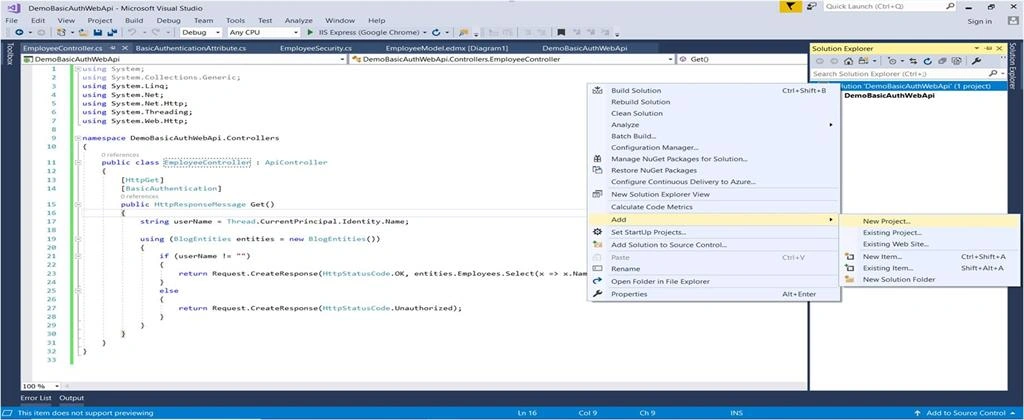
To use the custom Authorization filter class, add the [customAuthorizedClass] attribute over the controller or action. Once the request comes to that controller, first the user credentials will be checked to see if they are valid. Then, the Username is saved in Thread.CurrentPrincipal to maintain the session. Otherwise, it returns a 401 unauthorized httpstatuscode.
Add a new class to create a custom Authorization filter in which username and password will validate and allow or deny the requests. The “AuthorizationFilterAttribute” class needs to be inherited so that the “OnAuthorization” method can be overridden.
To use the custom Authorization filter class, add the [customAuthorizedClass] attribute over the controller or action. Once the request comes to that controller, first the user credentials will be checked to see if they are valid. Then, the Username is saved in Thread.CurrentPrincipal to maintain the session. Otherwise, it returns a 401 unauthorized httpstatuscode.
- public class BasicAuthenticationAttribute: AuthorizationFilterAttribute {
- public override void OnAuthorization(HttpActionContext actionContext) {
- if (actionContext.Request.Headers.Authorization == null) {
- actionContext.Response = actionContext.Request.CreateResponse(HttpStatusCode.Unauthorized);
- } else {
- string authenticationToken = actionContext.Request.Headers.Authorization.Parameter;
- string decodedAuthenticationToken = Encoding.UTF8.GetString(Convert.FromBase64String(authenticationToken));
- string[] usernamePasswordArray = decodedAuthenticationToken.Split(':');
- string uname = usernamePasswordArray[0];
- string pass = usernamePasswordArray[1];
- if (EmployeeSecurity.Login(uname, pass)) {
- Thread.CurrentPrincipal = new GenericPrincipal(new GenericIdentity(uname), null);
- } else {
- actionContext.Response = actionContext.Request.CreateResponse(HttpStatusCode.Unauthorized);
- }
- }
- }
- }
Join the conversation! Your thoughts help the community grow.