

Introduction
This article describes how to install WebLogic Server 8.1 software in your system. I am attempting to describe that in the very easiest way possible using images of the specific steps.
The following are the steps used to install WebLogic.
Step 1: First we run the setup; the following shows the image of what that looks like:

Step 2: Now you will see the following image. You then click on the Next button.

Step 3: Now the following window will appear. You must be accept the license agreement by selecting Yes; then click on the next button.

Step 4: The following window will show where you want to install to; you can browse to another location to instal to. And by default it will install in the c directory. Click on Next.
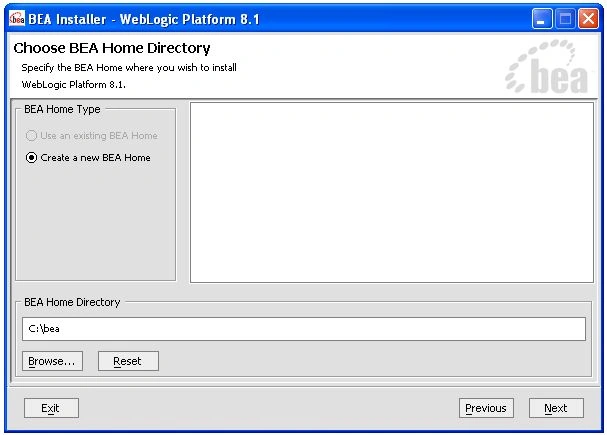
Step 5: Now the following window will appear showing the two options Typical installation and Custom installation. And the Default option is Typical installation but you can change it.
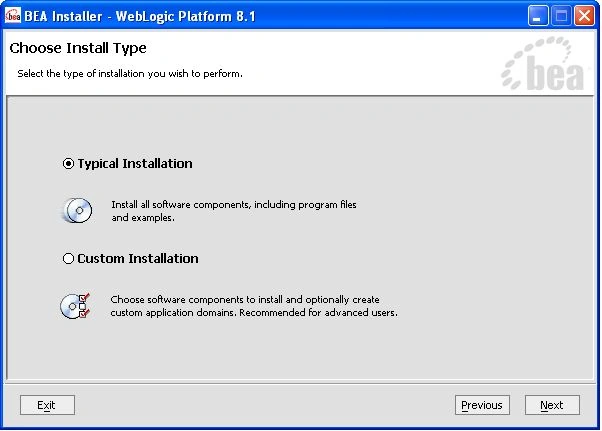
Step 6: After the fifth step, a window will appear for selecting the installation directory. We will tell you in Step 4 and after clicking on the Next Button the following window is shown.
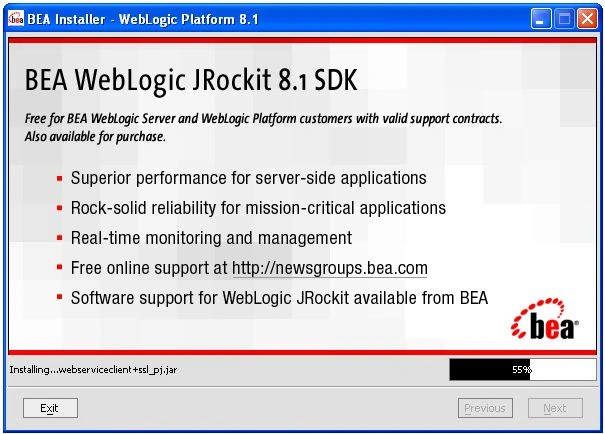
Step 7: This is the last step; click on the done option in the following window.
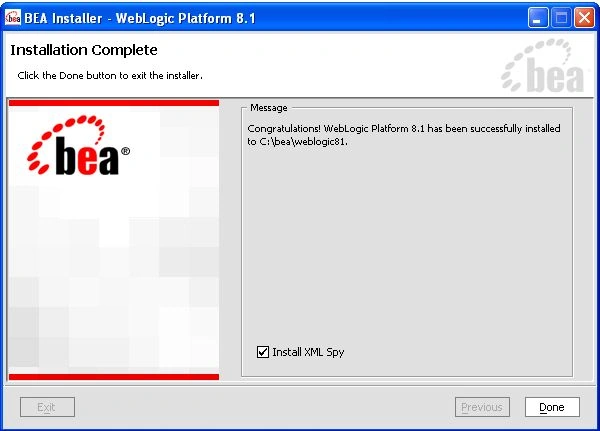
Following Steps are for creating a user Space.
Step 1: After installation you need go to the configuration wizard of WebLogic; then the following window will appear. Here you can edit your existing work space.
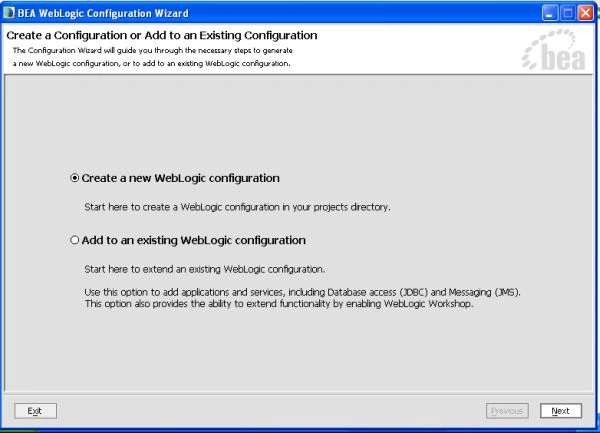
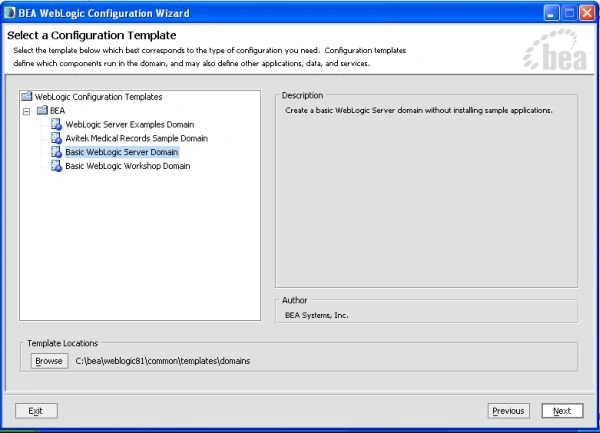
Step 2: The following window will appear for selecting a template and then click on the Next button.
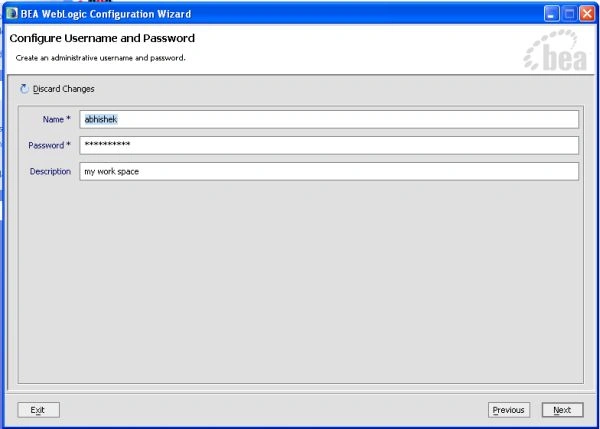
Step 3: The following window will be take three things; User name, Password and Description so you need to create a user name or password.
Step 4: The following window will appear and now you click on the create option.
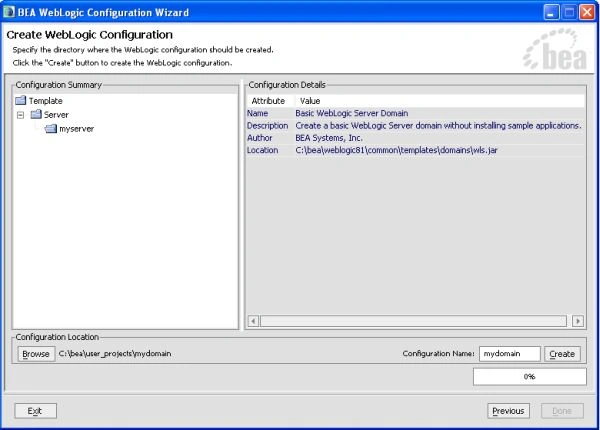
Step 5: And after progressing 100% you click on the Done button.
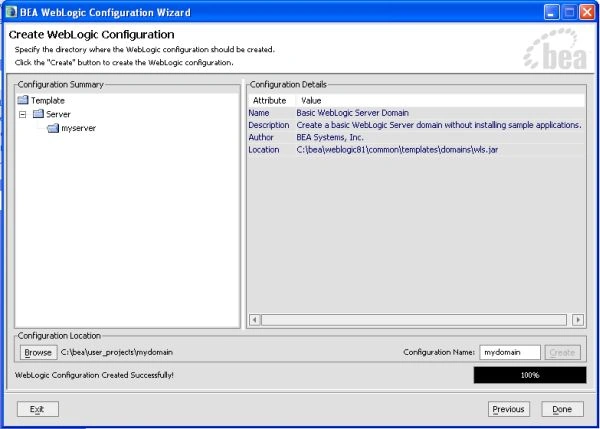
Step 6: Now your Work Space has been created and you can see Weblogic -> User4 project --> My domain---> Abhishek(Your domain name).
Summary
In the above article, we studied Weblogic Server 8.1 Installation
Comments
Join the conversation! Your thoughts help the community grow.