

Introduction:
In this article we are going to see how to add a custom domain to the Storage Account using the Windows Azure Management Portal.Overview:
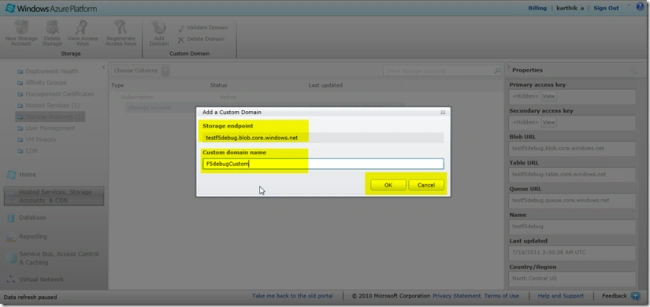
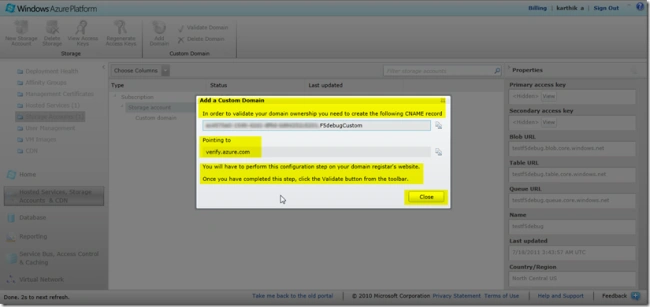
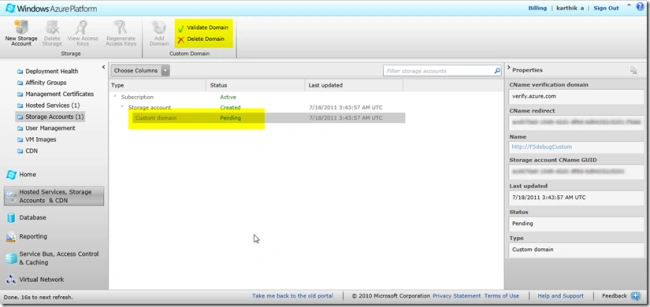
Custom domains are used to mainly point out applications with a much readable name and formatted names chosen as per the business needs. Normally in Windows Azure we have the storage accounts and other pointing with f5debug.blob.core.windows.net for a blob storage account, instead if we want to have a custom name like f5debug.blog.com we can make it but we need to follow certain things to do that.First we need to register a domain such as f5debug.com for use in a third party site, then we need to use the DNS Names with the services, then we can add the custom domain to the storage services as required exactly like:
Current Storage URL - f5debugtest.blob.core.Windows.Net
Custom Storage URL - Blob.f5debug.com
Let us see the step by step process of how to do that. Anyways I am not registered with any 3rd party for a new domain name.
Steps:
Login to the Management Portal using the following link:http://www.microsoft.com/windowsazure/
We will see a screen like below. Select "Sign into Management Portal" at the top right corner: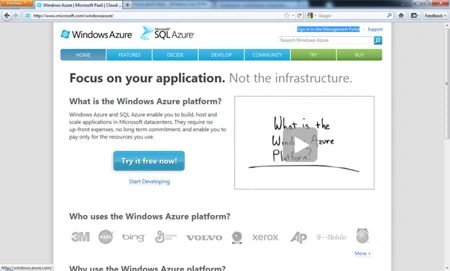
After selecting "Sign into Management Portal" you will be asked for the Username and Password to authenticate the process as shown in the following screen: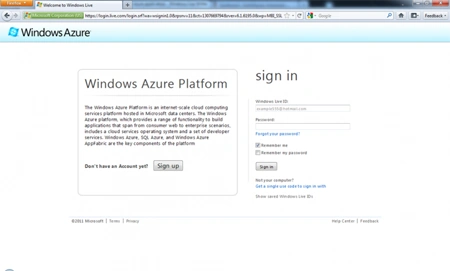
After providing the correct credentials and clicking the submit button it will navigate to the main screen of the portal as shown in the following screen: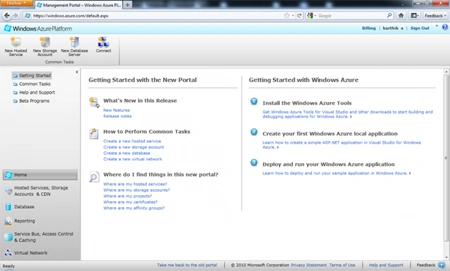
Now click on the Hosted Services, Storage Account and CDN option in the bottom menu and then select the Hosted Services as shown in the screen below.
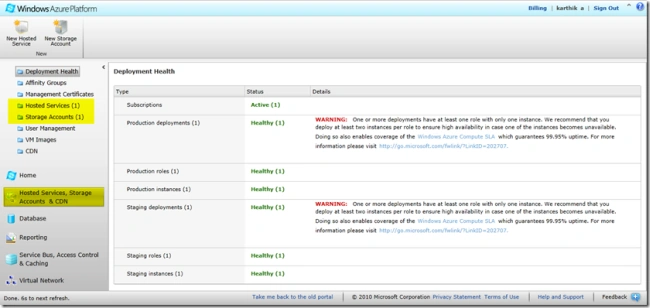
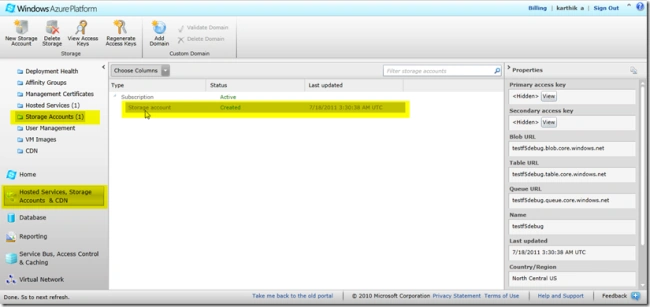
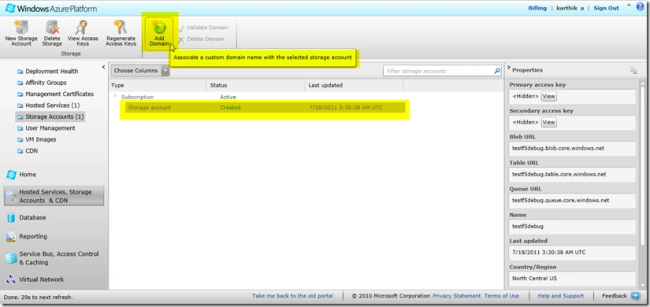
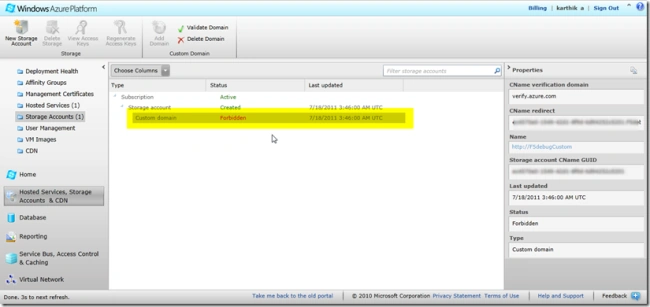
Now click on the Storage Accounts Menu in the left side and we will see the list of storage accounts mapped with the subscription as shown in the screen below.
Join the conversation! Your thoughts help the community grow.