

Introduction
Today, I am creating an ASP.NET Web Application using the MVC 5 Project Template in Visual Studio 2012. Surprised? Well, I think you don't know that Microsoft revealed the ASP.NET and Web Tools 2013.1 version for the Visual Studio 2012. I have also described this update in New Web Tools for Visual Studio. As I said, we will describe the MVC 5 template later, so here I am creating the MVC 5 application in Visual Studio 2012.
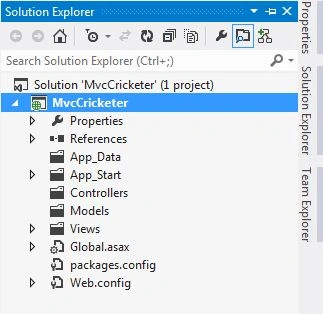
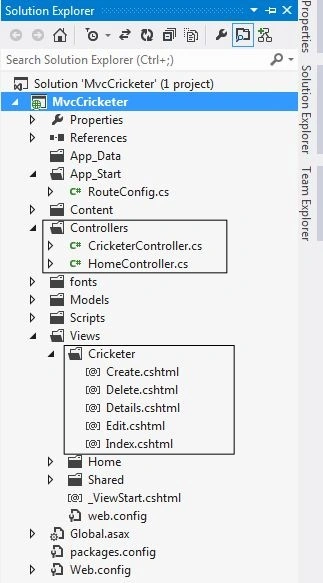
The selection of a MVC 5 project creates an Empty Project in Visual Studio 2012. We need to create an entire application. We can view some folders in the application solution like Models, Controllers, Views, App_Start and so on as shown in the following screenshot:
Prerequisites
- Visual Studio 2012 (updated with Web Tools 2013.1)
Note: Please note that you must have updated your Visual Studio 2012, otherwise you cannot work on a MVC 5 project in Visual Studio 2012. Read the Full Information.
We will now create our Home Page to display the Application Home Page and then we'll perform the CRUD Operations. So, proceed with the following sections:
- Getting Started with Empty Application
- Perform CRUD Operations
- Database Connection
Getting Started with Empty Application
Use the following procedure to create a sample of your empty application.
Working with Controller
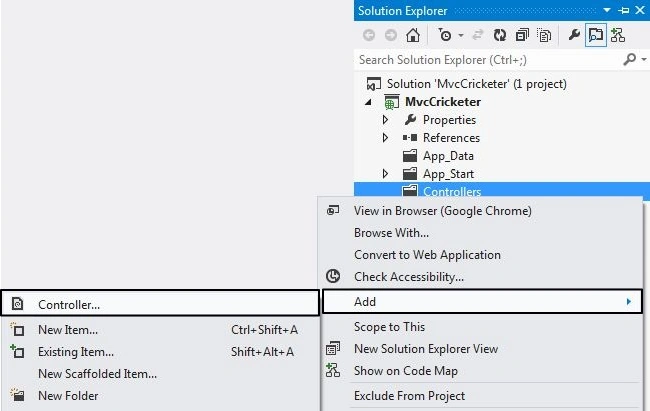
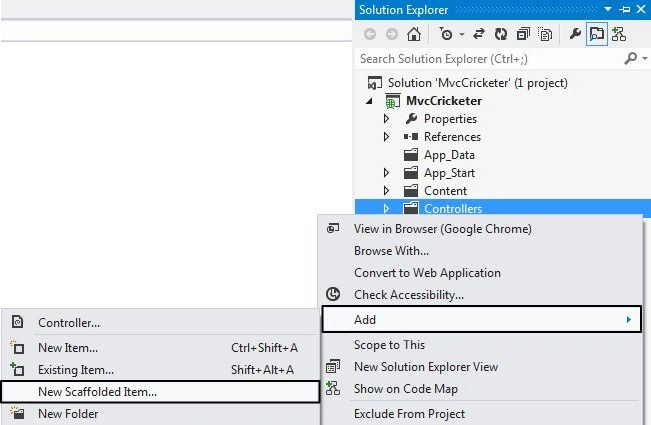
Step 1: At first we need to add a Controller. Just right-click on your Controllers folder to add one.
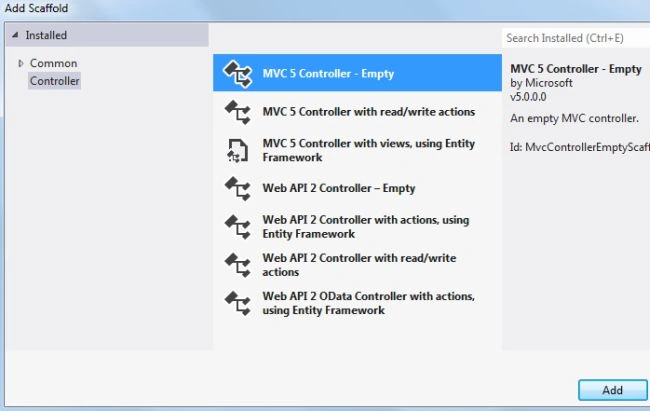
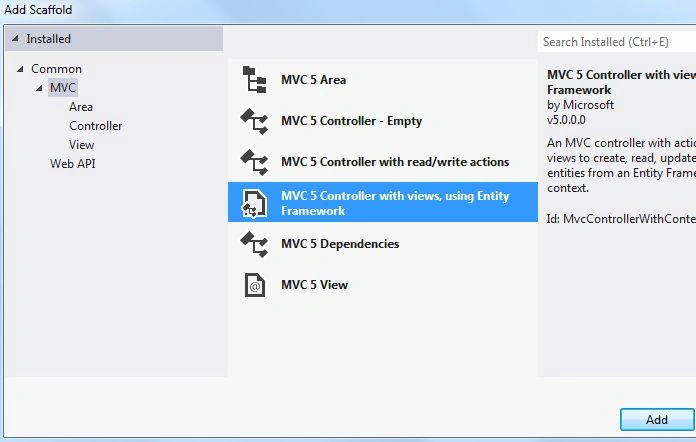
Step 2: Select the MVC 5 Empty Controller in the next wizard.
Step 3: Enter the Controller name as HomeController.

Step 4: Modify your code with the following code:
using System.Web.Mvc;
namespace MvcCricketer.Controllers
{
public class HomeController : Controller
{
//
// GET: /Home/
public ActionResult Index()
{
return View();
}
public ActionResult Welcome()
{
ViewBag.Message = "Your Welcome Page";
return View();
}
}
}
Step 5: Build your solution.
After scaffolding the HomeController, by default Index() is created. I have added one more method, in other words Welcome() to this controller.
Working with View
As you saw, we have created the Controllers, so now we'll create a View for our Controller using the following procedure.
Step 1: Create a new Home folder in the Views folder.
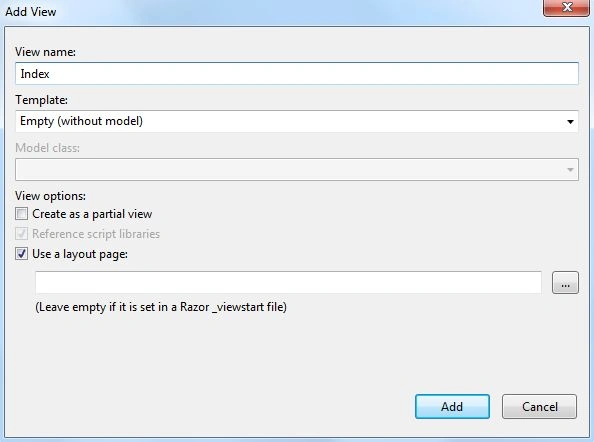
Step 2: Right-click on the "Home" folder to add a View.
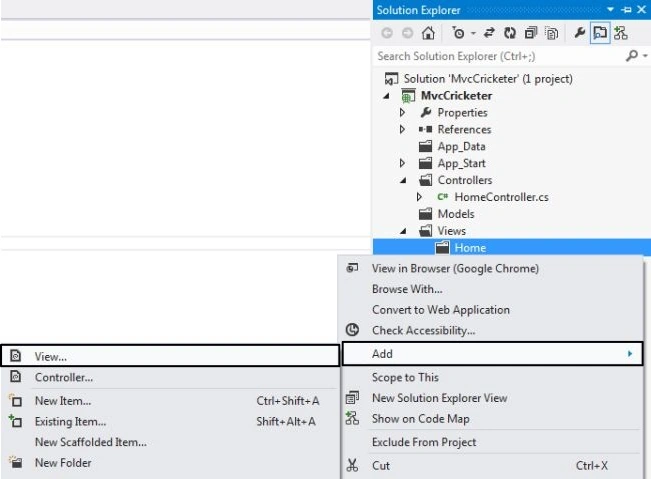
Step 3: Enter the View name as "Index".
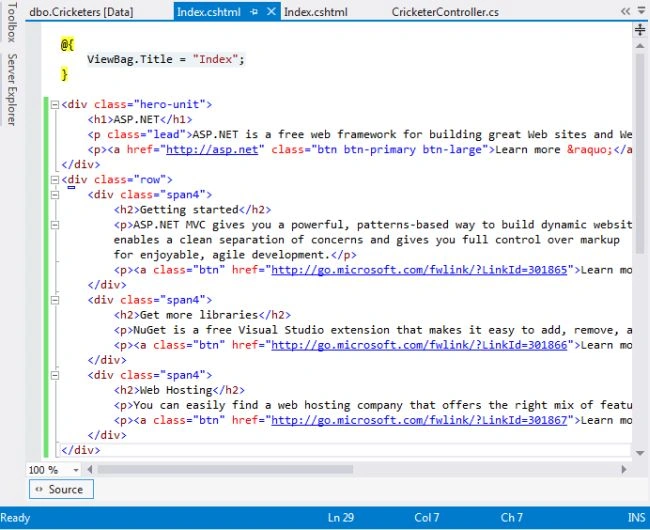
Step 4: Create some content to be shown in your home page. You can see my screenshot of "Index.cshtml".
Step 5: Create a "Welcome.cshtml" page in the "Home" folder and you can replace your code with the following code:
@{
ViewBag.Title = "Welcome";
}
<h2>Welcome</h2>
<p>Welcome to Visual Studio 2012 that is upgraded by ASP.NET Web Tools 2013.1</p>
Working with View Layout
Use the following procedure to create your home page layout:
Step 1: Open the _Layout.cshtml file.
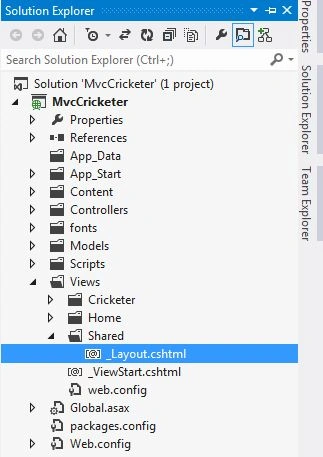
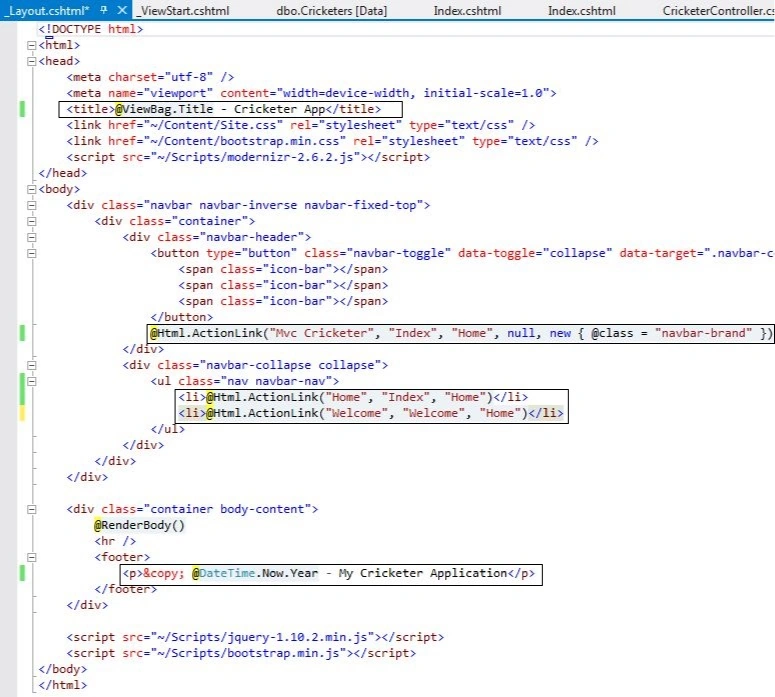
Step 2: Modify your code with the code below in the screenshot:
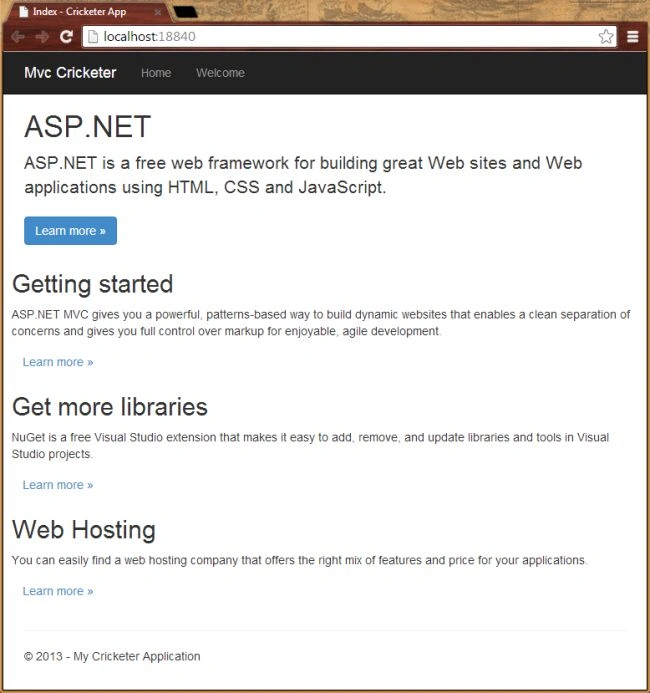
Step 3: Debug your application from HomeController.
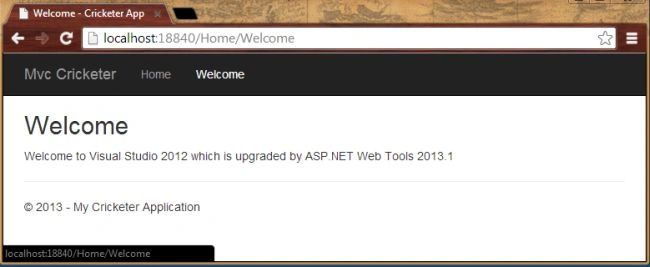
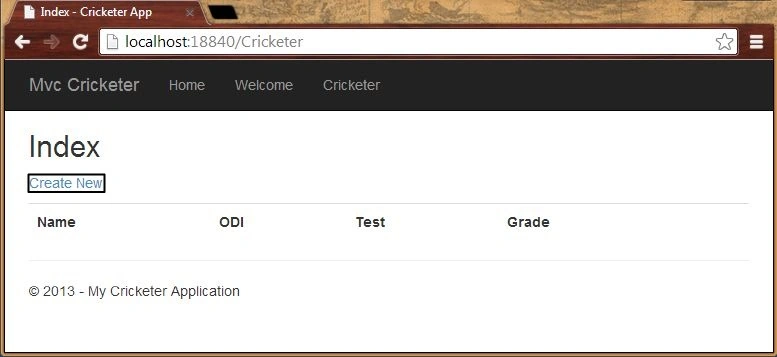
Step 4: Click on "Welcome" to open the Welcome Page.
Perform CRUD Operations
Now, as we saw that our empty project has a new controller and view to display the page using a page layout. In this section we will perform Create, Read, Update and Delete (CRUD) operations to the records we saved in our application. So, proceed with the following sections.
Creating Model
At first we need to create a Model in our application using following steps:
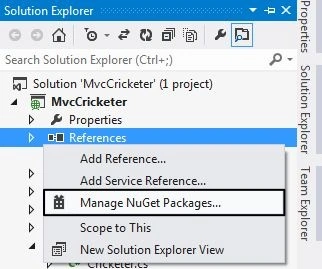
Step 1: Add an Entity Framework reference to your project.
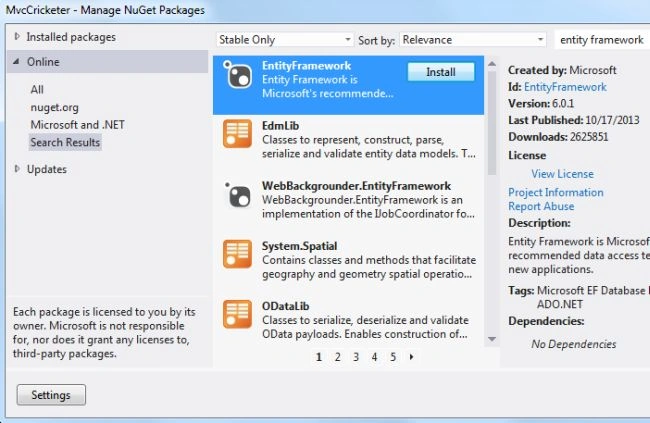
Step 2: Install an Entity Framework.
Step 3: Add a class as Cricketer by right-clicking on the Models folder.

Step 4: Replace the boilerplate code with the following code:
using System.Data.Entity;
namespace MvcCricketer.Models
{


Sr KarthigaPosted Feb 21, 2016, 11:17 PM
nice one
Sr KarthigaPosted Feb 21, 2016, 11:17 PM
Nice explanation