

Introduction
Today we'll learn how to host OWIN in IIS and self-host OWIN in a console application in Visual Studio 2013. OWIN stands for Open Web Interface for .NET; it elaborates an abstraction between the web servers and web applications. It creates a decoupled architecture between them. It makes it easier to create middleware for the .NET web development.
OWIN is a community-owned specification; it is not the implementation. The Katana project is a set of open-source OWIN components developed by Microsoft.
So, let's start to develop the application in which we host the OWIN application in IIS. Use the following procedure to do that
Hosting of OWIN in IIS
In this section, we'll create the ASP.NET Web Application in Visual Studio 2013 and host the OWIN in IIS. It provides the adaptability of an OWIN pipeline together with IIS. Use the following procedure.
Step 1: Open the Visual Studio and create the "New Project".
Step 2: Create the new ASP.NET Web Application and enter the name for the application.
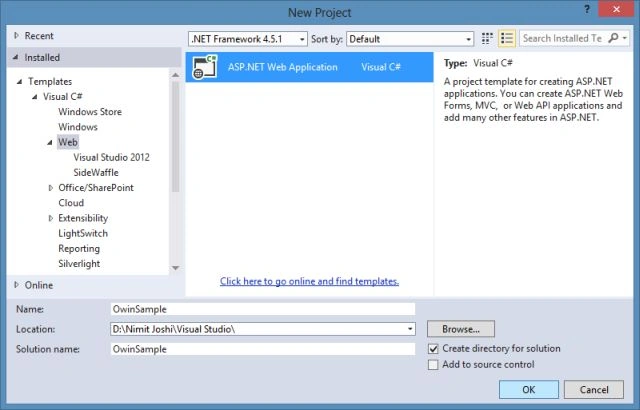
Step 3: Select the Empty Project Template to create the application.
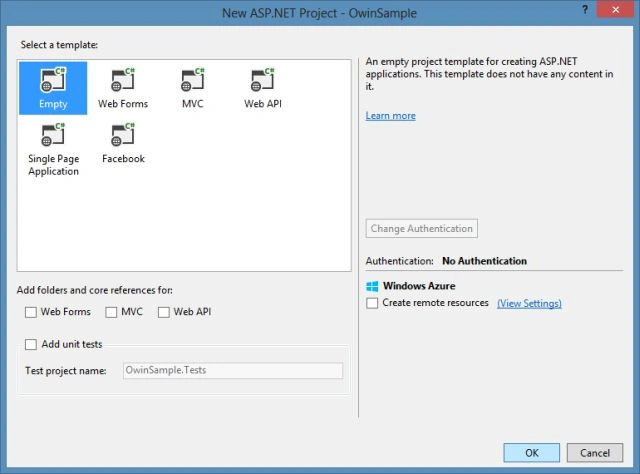
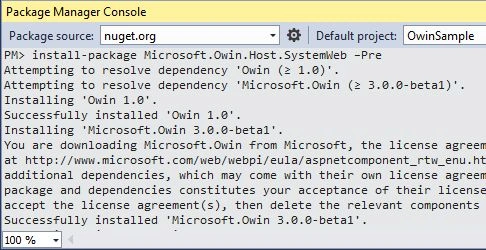
Step 4: Now enter the following command to install the NuGet Package for the appplication.
Install-Pacakage Microsoft.Owin.Host.SystemWeb -Pre
It'll install the required package for the application as in the following:
Adding OWIN Startup Class
In this we'll add the OWIN Startup Class and work with this class. So, use the following procedure.
Step 1: Just right-click on the application and click on the Add New Item and select OWIN Startup Class.
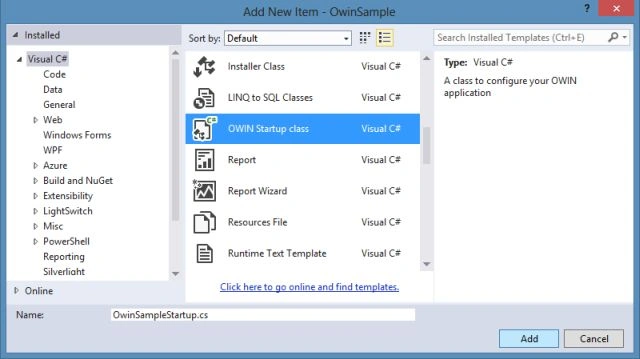
Step 2: Add the following code:
- namespace OwinSample
- {
- public class OwinSampleStartup
- {
- public void Configuration(IAppBuilder sampleapp)
- {
- sampleapp.Run(sample =>
- {
- sample.Response.ContentType = "text/plain";
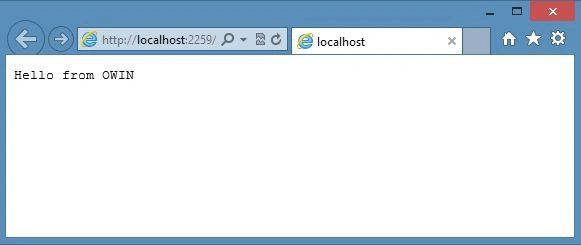
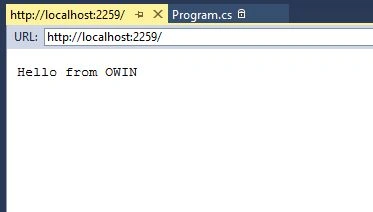
- return sample.Response.WriteAsync("Hello from OWIN");
- });
- }
- }
- }
Join the conversation! Your thoughts help the community grow.