

Introduction

This article demonstrates how to create an Expandable ListView of items in Xamarin.Forms application. If the user clicks on a product, that product expands and shows items. Then, the user clicks on the same product twice and it will be hidden.
This article demonstrates how to create an Expandable ListView of items in Xamarin.Forms application. If the user clicks on a product, that product expands and shows items. Then, the user clicks on the same product twice and it will be hidden.
Let's start.
Step 1
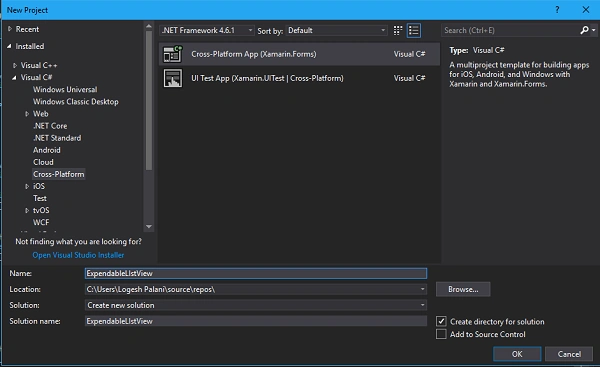
Create a new Xamarin.Forms app by going to File >> New -->> Visual C# >> Cross Platform >> Cross Platform App (Xamarin.Native or Xamarin.Forms), give the application name, and press OK.
Create a new Xamarin.Forms app by going to File >> New -->> Visual C# >> Cross Platform >> Cross Platform App (Xamarin.Native or Xamarin.Forms), give the application name, and press OK.
(Project Name: ExpendableListView)
Step 2
Open Solution Explorer >> ExpendableLIstView (PCL) >> right click and select "New Item".In the popup window, select Cross Platform >>Class.
Open Solution Explorer >> ExpendableLIstView (PCL) >> right click and select "New Item".In the popup window, select Cross Platform >>Class.
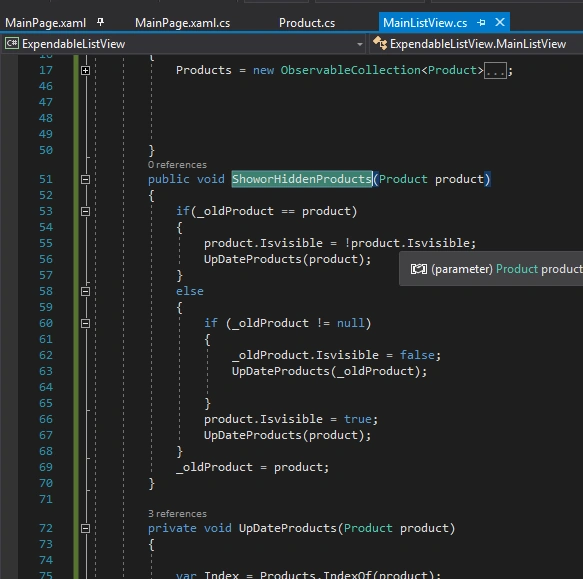
This way, you can add a new class. Create a new Class named MainListView.cs, double-click to get into its design view, and insert the code given below.
CS code
- using System;
- using System.Collections.Generic;
- using System.Collections.ObjectModel;
- using System.Text;
- namespace ExpendableListView
- {
- public class MainListView
- {
- private Product _oldProduct;
- public ObservableCollection<Product> Products { get; set; }
- public MainListView()
- {
- Products = new ObservableCollection<Product>
- {
- new Product
- {
- Title = "Microsoft Surface",
- Isvisible =false
- },
- new Product
- {
- Title = "Microsoft Lumia 535",
- Isvisible = false
- },
- new Product
- {
- Title = "Microsoft 650",
- Isvisible = false
- },
- new Product
- {
- Title = "Lenovo Surface",
- Isvisible = false
- },
- new Product
- {
- Title = "Microsoft edge",
- Isvisible = false
- }
- };
- }
- public void ShoworHiddenProducts(Product product)
- {
- if(_oldProduct == product)
- {
- product.Isvisible = !product.Isvisible;
- UpDateProducts(product);
- }
- else
- {
- if (_oldProduct != null)
- {
- _oldProduct.Isvisible = false;
- UpDateProducts(_oldProduct);
- }
- product.Isvisible = true;
- UpDateProducts(product);
- }
- _oldProduct = product;
- }
- private void UpDateProducts(Product product)
- {
- var Index = Products.IndexOf(product);
- Products.Remove(product);
- Products.Insert(Index, product);
- }
- }
- }
Step 3
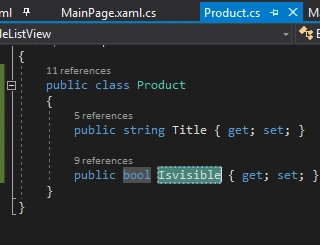
Similarly, create another class named Product.cs and add the following code.
Similarly, create another class named Product.cs and add the following code.
CS code
- namespace ExpandableListView
- {
- public class Product
- {
- public string Title{ get; set; }
- public bool IsVisible { get; set; }
- }
- }
Step 4
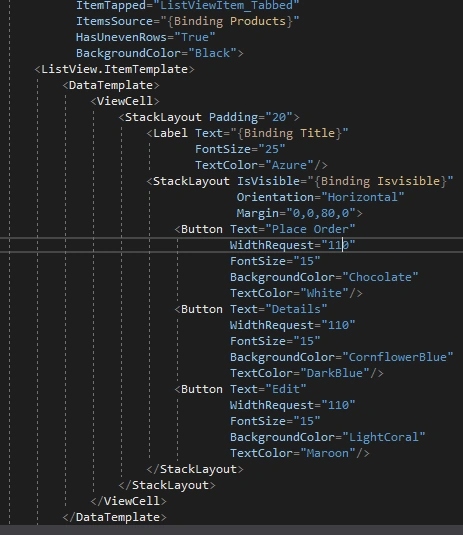
Afterwards, open MainPage.Xaml page.For that, go to Solution Explorer >> ExpendableListView(PCL) >> MainPage.Xaml and click open MainPage page design view.Here is the code.
Afterwards, open MainPage.Xaml page.For that, go to Solution Explorer >> ExpendableListView(PCL) >> MainPage.Xaml and click open MainPage page design view.Here is the code.
Xaml code
- <?xml version="1.0" encoding="utf-8" ?>
- <ContentPage xmlns="http://xamarin.com/schemas/2014/forms"
- xmlns:x="http://schemas.microsoft.com/winfx/2009/xaml"
- xmlns:local="clr-namespace:ExpendableListView"
- x:Class="ExpendableListView.MainPage"
- Title ="Expendable ListView "
- BackgroundColor="Bisque">
- <ContentPage.BindingContext>
- <local:MainListView/>
- </ContentPage.BindingContext>
- <ListView Margin="0,80"
- ItemTapped="ListViewItem_Tabbed"
- ItemsSource="{Binding Products}"
- HasUnevenRows="True"
- BackgroundColor="Black">
- <ListView.ItemTemplate>
- <DataTemplate>
- <ViewCell>
- <StackLayout Padding="20">
- <Label Text="{Binding Title}"
- FontSize="25"
- TextColor="Azure"/>
- <StackLayout IsVisible="{Binding Isvisible}"
- Orientation="Horizontal"
- Margin="0,0,80,0">
- <Button Text="Place Order"
- WidthRequest="110"
- FontSize="15"
- BackgroundColor="Chocolate"
- TextColor="White"/>
- <Button Text="Details"
- WidthRequest="110"
- FontSize="15"
- BackgroundColor="CornflowerBlue"
- TextColor="DarkBlue"/>
- <Button Text="Edit"
- WidthRequest="110"
- FontSize="15"
- BackgroundColor="LightCoral"
- TextColor="Maroon"/>
- </StackLayout>
- </StackLayout>
- </ViewCell>
- </DataTemplate>
- </ListView.ItemTemplate>
- </ListView>
- </ContentPage>
Step 5
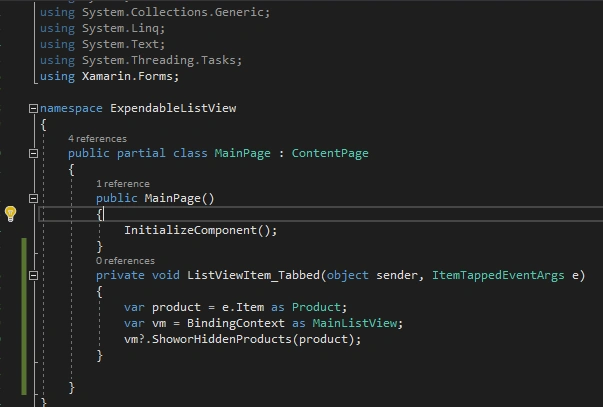
Now, open Solution Explorer >>ExpendableListView(PCL) >>open MainPage.xaml.cs page. Here is the code for this page.
Now, open Solution Explorer >>ExpendableListView(PCL) >>open MainPage.xaml.cs page. Here is the code for this page.
CS code
- using System;
- using System.Collections.Generic;
- using System.Linq;
- using System.Text;
- using System.Threading.Tasks;
- using Xamarin.Forms;
- namespace ExpendableListView
- {
- public partial class MainPage : ContentPage
- {
- public MainPage()
- {
- InitializeComponent();
- }
- private void ListViewItem_Tabbed(object sender, ItemTappedEventArgs e)
- {
- var product = e.Item as Product;
- var vm = BindingContext as MainListView;
- vm?.ShoworHiddenProducts(product);
- }
- }
- }
Step 6
Click "F5" or "Build " to "Run" your application.Running your project, you will have the result like below.
Click "F5" or "Build " to "Run" your application.Running your project, you will have the result like below.
Finally, we have successfully created a Xamarin.Forms Hierarchical Navigation Application.
priyanka thummalaPosted Feb 11, 2020, 2:27 AM
Https://github.com/priyam1996/NavigationSubMenuProject/blob/master/MainMasterDetailPage.zip
priyanka thummalaPosted Feb 10, 2020, 11:47 PM
https://github.com/priyam1996/NavigationSubMenuProject/blob/master/MainMasterDetailPage.zip
priyanka thummalaPosted Feb 10, 2020, 11:47 PM
Please check this link once...I want sub-menu in this navigation drawer
priyanka thummalaPosted Feb 10, 2020, 11:16 PM
Logesh Palani, Thanks for your effort. But I need sub-menu in the Navigation drawer(Master detail page). This list view is very confusing to implement in the navigation drawer.
priyanka thummalaPosted Feb 10, 2020, 2:40 AM
Not worked for me. Can you do the sample application with the Navigation drawer sub-menus.
Praveen kumarPosted Jun 21, 2018, 4:17 AM
How to add label above the list view in xamarin forms
Boundavan VangPosted Feb 22, 2018, 3:37 AM
Nice ........................
Ahsan SiddiquePosted Jan 1, 2018, 12:28 AM
Nice Work.........