

In previous blogs we learned how we can enable footer and set logo and footer text on SharePoint Online Modern Communication sites. If you have not gone through that you can use the below link to check that post.
- How to enable Footer in a SharePoint Modern Communication Site
- How to set footer logo and footer text in Modern communication site
In this blog, we are going to see what are the options to add links. So let's get started.
Once you enable footer, you can see footer in the bottom of the footer.
Add Footer Links
To add footer links, follow below steps,

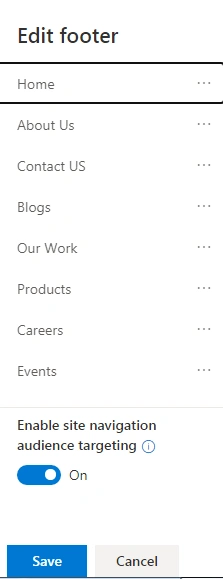

- Scroll to the bottom of the page.
- Click on Edit.
Note – If you do not see this, then you do not have enough permission.
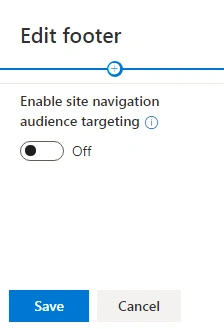
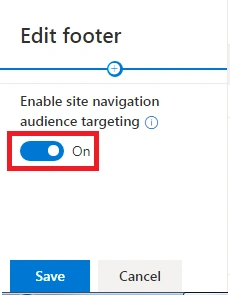
- It will open new panel in the left side of the screen.
- If you want to display links to a specific group, enable Site navigation audience targeting. We will discuss about this in detail in the next blog
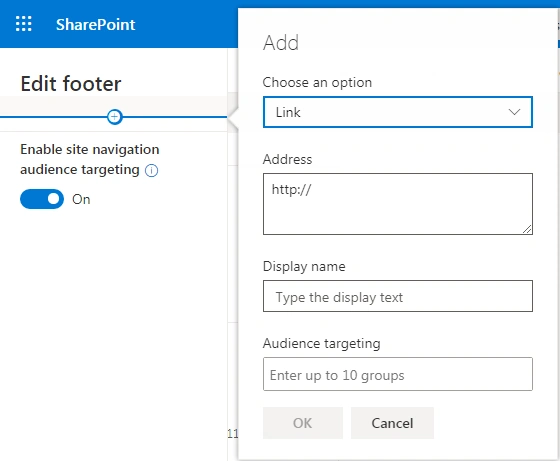
- Click on “+” icon to add new link.
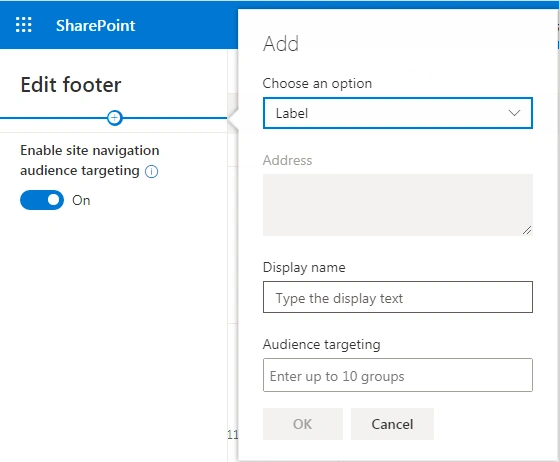
- When you click “+” icon, it will open dialog besides it. You need to fill in the below values:
- Choose whether you want to add link or label
- If you select link, you can provide “Address”. In this you can specify URL where user will be redirected on click.
- If you select label, address field is disabled.
- Provide Display Name.
- Click OK.
- Repeat the above steps to add more links/ labels. You can add a total of 8 links. After 8 links the add button will be disabled.
- Click “Save” once all changes are done.
- Refresh page to see result if you don't see changes after clicking save.

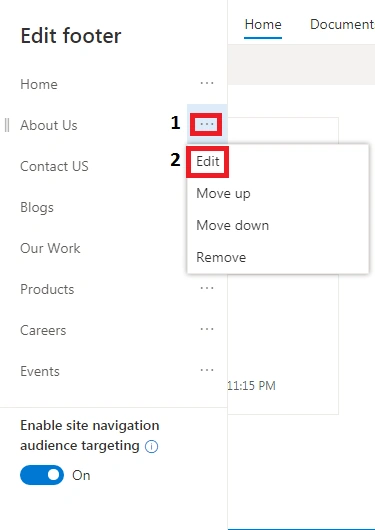
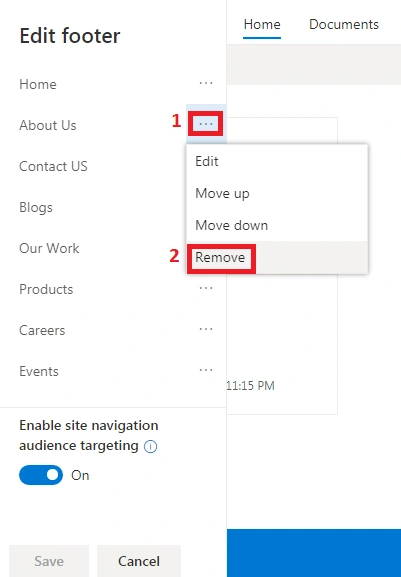

Join the conversation! Your thoughts help the community grow.