

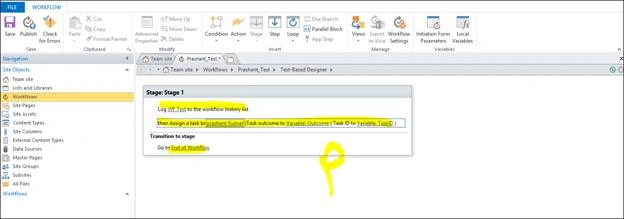
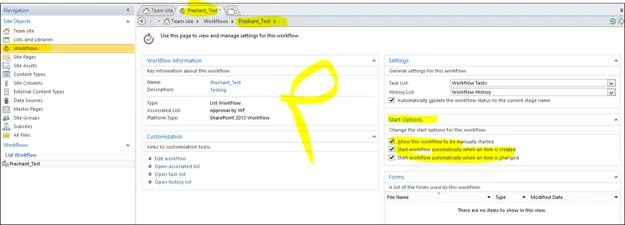
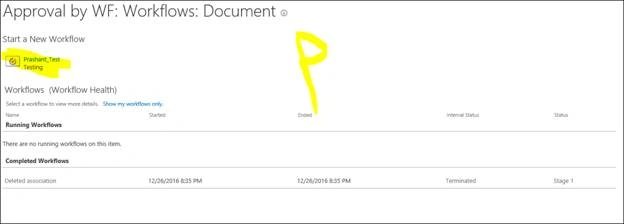
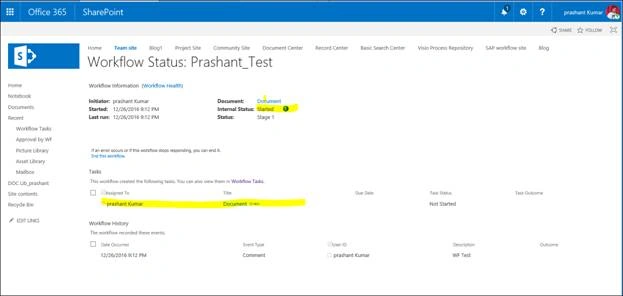
Today I am writing about how to assign tasks to users and send approval using workflow in SharePoint.
We have pre-requested to do this
- We need to create a document Library on SharePoint site
- Once library is created we need to upload or add some data on that library
- We need SP designer application to configure the same
To do the same, we have to follow the below steps with screen shots
- Login to the site and create Library document, we need to select Setting gear box on the top of the page and select Add an App.
- On the Site contents>Your Apps click on Document Library and Enter the Name we want mentioned
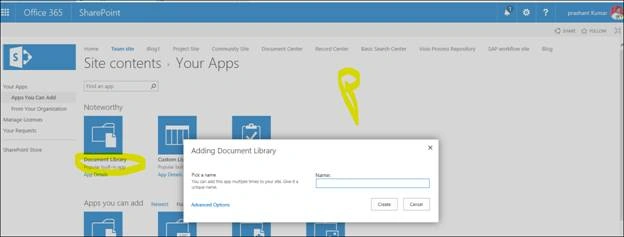
- Once we have assigned the name, click on create option as above, we will get page like below
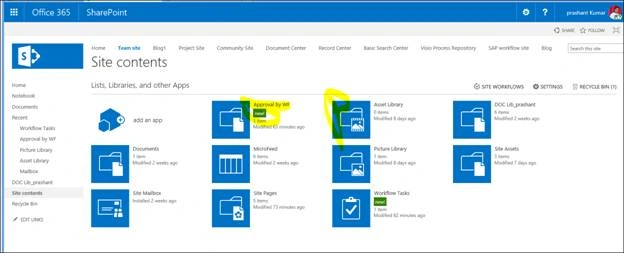
- Now open the create Document file and add or upload documents here. If you wish to upload created docs just click on Upload button or Drag or Drop to the Library. If you wish to create new documents from available features on Office 365, we need to select New and select word file, excel or other available option.
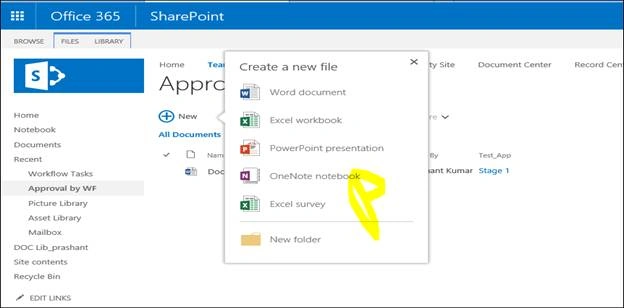
- Now document has been created here so we move to create workflow from this particular list. To do the same we need to select workflow from library ribbon.

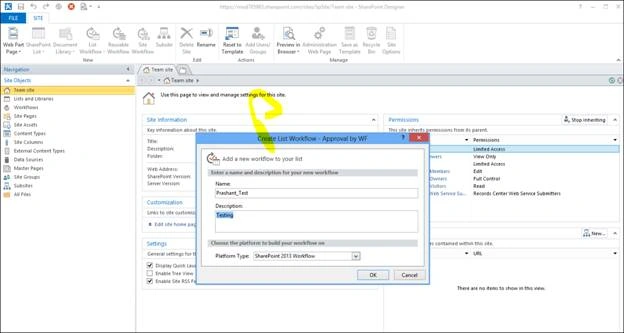
- Here just click on drop down arrow and select “Create a workflow in SharePoint designer”
Note
Make sure SP designer has been installed on your system.
If wish to install SPD 2013, download from link and install to the local system or accessed server
SharePoint Designer 2013 is the tool of choice for fast development of SharePoint applications.
We will have two types of SP designers; 32 bit and 64 bit. Select the appropriate version of SharePoint application and download it.

Join the conversation! Your thoughts help the community grow.