

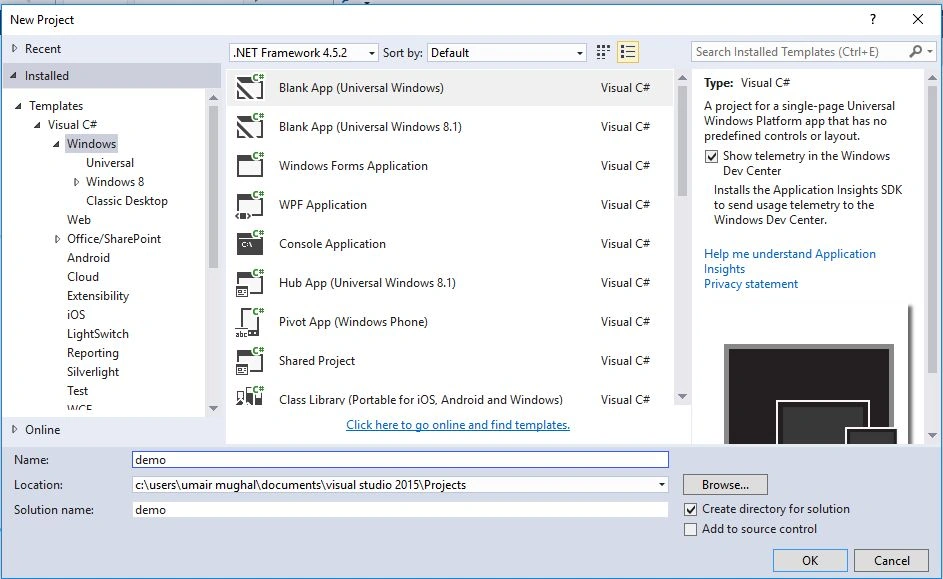
Step 2: Now pick the MainPage.xaml file.
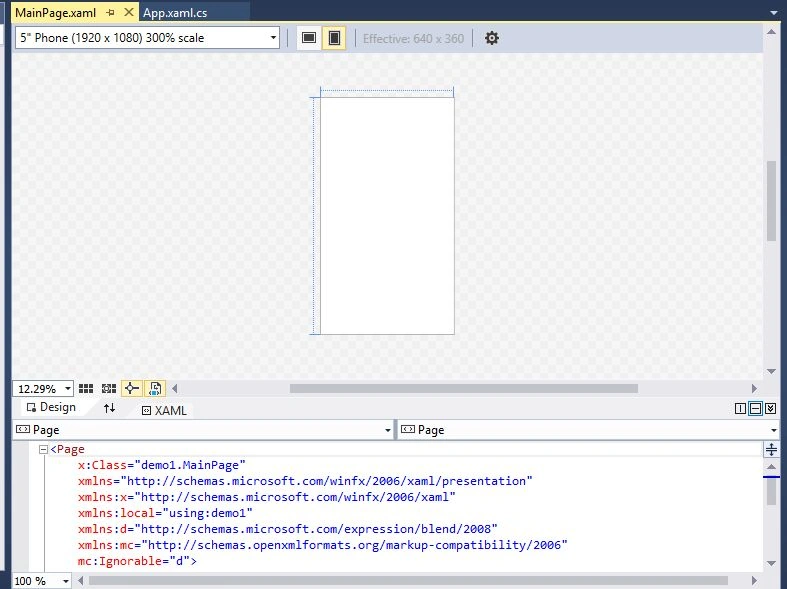
Step 3: Now Insidethe Main Grid you can make the design according to your application like this.
- <Grid Background="{ThemeResource ApplicationPageBackgroundThemeBrush}">
- <Grid.RowDefinitions>
- <RowDefinition Height="0.15*" />
- <RowDefinition Height="0.85*" />
- </Grid.RowDefinitions>
- <Border Grid.Row="0" Background="LightBlue">
- <TextBlock Name="Login" Text="Login Form"
- TextAlignment="Center" FontSize="30" FontStyle="Italic"
- FontWeight="ExtraBlack"></TextBlock>
- </Border>
- <StackPanel x:Name="stackone" Grid.Row="1">
- <TextBox PlaceholderText="Enter Email" Width="300"
- Margin="0,50,0,0"></TextBox>
- <TextBox PlaceholderText="Enter Password"
- Width="300" Margin="0,10,0,0"></TextBox>
- <RelativePanel HorizontalAlignment="Center"
- Margin="0,10,0,0">
- <Button x:Name="loginbtn" Content="Login"
- Height="35" Width="65" Click="loginbtn_Click"></Button>
- <Button x:Name="cancelbtn" Content="Cancel"
- Height="35" Width="65" Margin="10,0,0,0"
- RelativePanel.RightOf="loginbtn" Click="cancelbtn_Click"></Button>
- </RelativePanel>
- </StackPanel>
- </Grid>
- </Page>
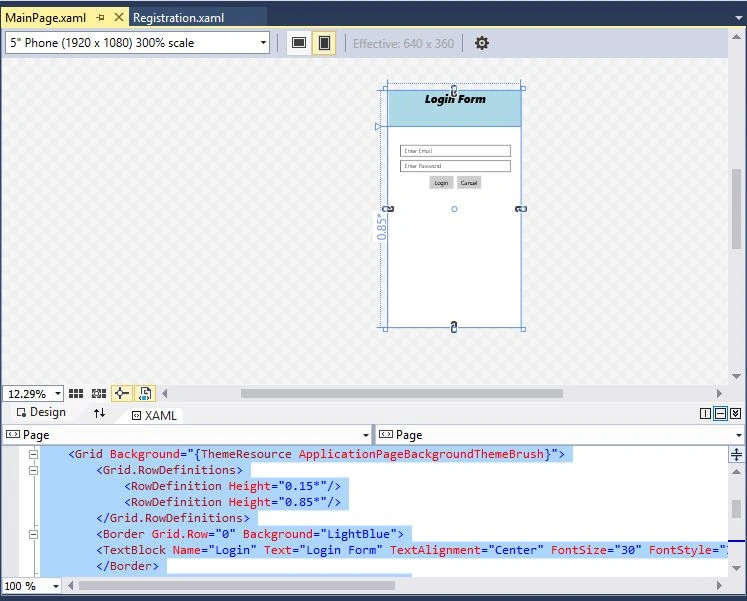
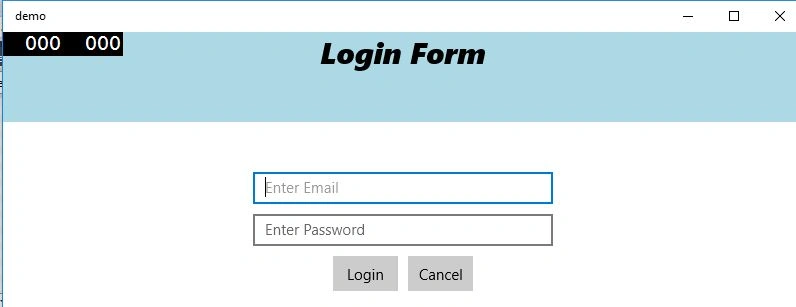
Step 4: Actually the design is here of the code above.
Step 5: Now Do This Step: Create a New Form Here. In This Example I Made a Registration Form.
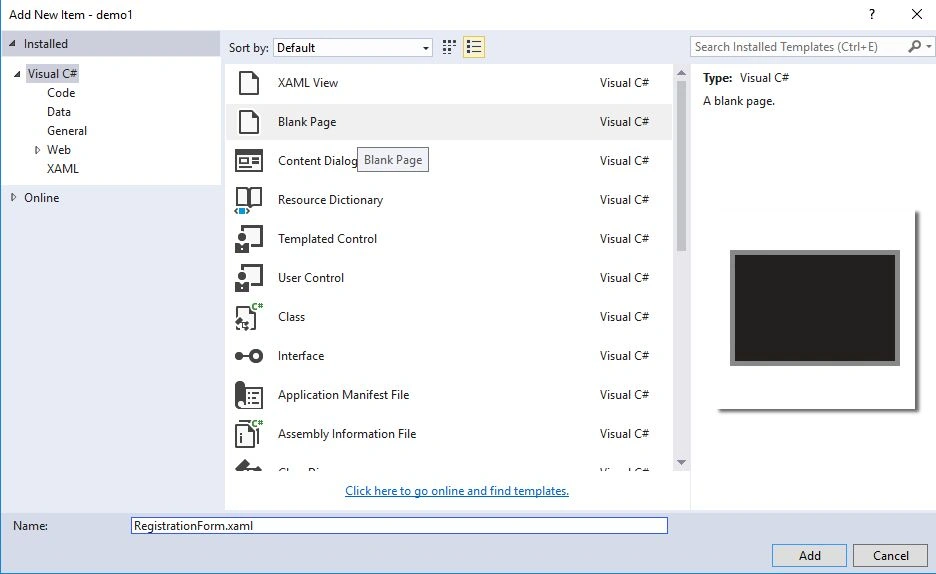
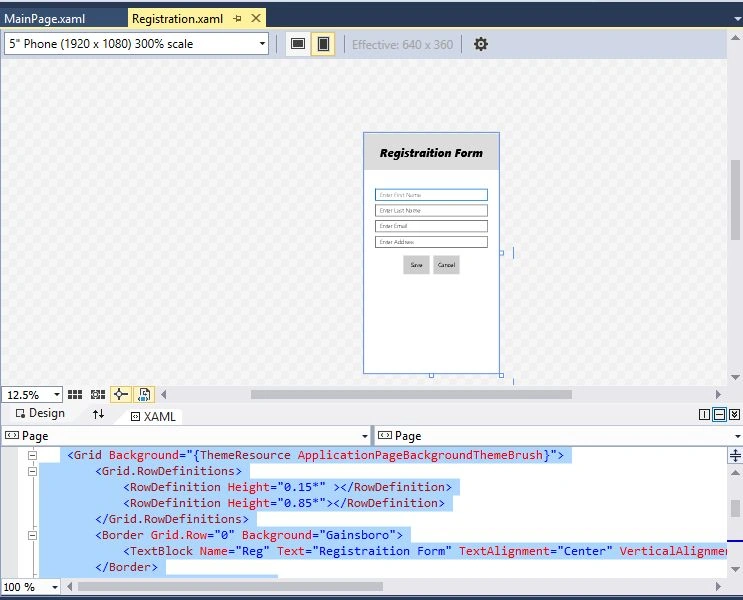
Step 6: Now make Registration Form Design According to your Application like this:
- <Grid Background="{ThemeResource ApplicationPageBackgroundThemeBrush}">
- <Grid.RowDefinitions>
- <RowDefinition Height="0.15*"></RowDefinition>
- <RowDefinition Height="0.85*"></RowDefinition>
- </Grid.RowDefinitions>
- <Border Grid.Row="0" Background="Gainsboro">
- <TextBlock Name="Reg" Text="Registration Form"
- TextAlignment="Center" VerticalAlignment="Center"
- FontSize="30" FontWeight="Black" FontStyle="Italic"></TextBlock>
- </Border>
- <StackPanel Grid.Row="1">
- <TextBox PlaceholderText="Enter First Name"
- Width="300" Margin="0,50,0,0"></TextBox>
- <TextBox PlaceholderText="Enter Last Name"
- Width="300" Margin="0,10,0,0"></TextBox>
- <TextBox PlaceholderText="Enter Email" Width="300"
- Margin="0,10,0,0"></TextBox>
- <TextBox PlaceholderText="Enter Address"
- Width="300" Margin="0,10,0,0"></TextBox>
- <RelativePanel x:Name="inside" Grid.Row="1"
- HorizontalAlignment="Center" Margin="0,20,0,0">
- <Button x:Name="savebtn" Content="Save" Height="50"
- Width="70"></Button>
- <Button x:Name="cancelbtn" Content="Cancel"
- Height="50" Width="70" RelativePanel.RightOf="savebtn"
- Margin="10,0,0,0"></Button>
- </RelativePanel>
- </StackPanel>
- </Grid>
- </Page>
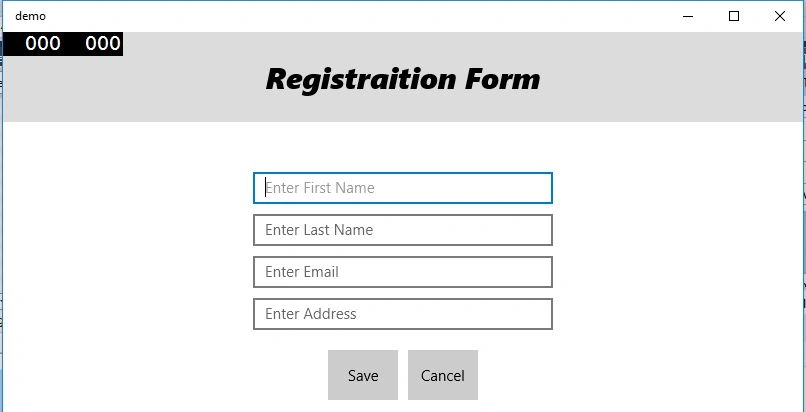
Step 7: Actually the Design of the Above code is here.
Step 8: Now We Want To Click On Login and Show the Next Page of Registration.
For This Purpose We Go To In MainPage.Xaml .CS File and behind the Login button Event We Add this Line Of Code.
- private void loginbtn_Click(object sender, RoutedEventArgs e)
- {
- this.Frame.Navigate(typeof(Registration));
- }
Step 9: Now Run The Application and See Your Application and Splash Screen.
Step 10: Now Login Appears and Click On the Button; It Takes You to Registration Form.
Click On Login Button.
Guest UserPosted Jun 30, 2016, 12:17 PM
So this information can be used later
Guest UserPosted Jun 30, 2016, 12:16 PM
Kindly tell me how to store the values of login form using isolated storage for login pages.
Amit Kumar SinghPosted Mar 3, 2016, 7:28 AM
Nice one