

After this program the Output will be: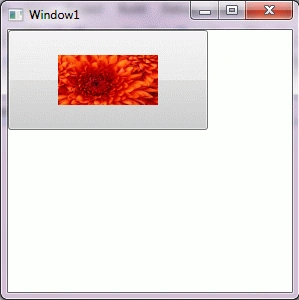
Step 1: Create a New Project In WPF.
Step 2: After that, we add a Button control in the design surface by
double-clicking Button in the Toolbox.
<Button
Height="100"
VerticalAlignment="Top"
HorizontalAlignment="Left"
Width="200">
</Button>
Step3: After that, we add a StackPanel control to our design surface and
set its orientation to Vertical.
<StackPanel
Orientation="Vertical"
Height="50">
</StackPanel>
Step 4: After that, we add an Image control to our design surface by double-clicking Image in the Toolbox.
<Image
Height="50"
Name="img1"
Stretch="Fill"
Width="100"
IsEnabled="True"
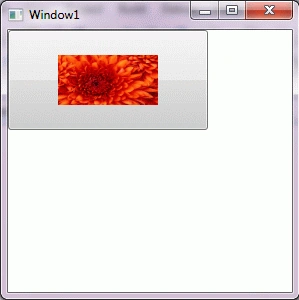
/>
Step 5: After that we set the Source property of the Image control. For
this we use the dialog box to upload an image to our project.
<Image
Source="Chrysanthemum.jpg"
Height="50"
Name="img1"
Stretch="Fill"
Width="100"
IsEnabled="True" />
Step 6: We should add the Image Control it in the StackPanel like this:
<StackPanel
Orientation="Vertical"
Height="50">
<Image
Source="Chrysanthemum.jpg"
Height="50"
Name="img1"
Stretch="Fill"
Width="100"
IsEnabled="True" />
</StackPanel>
Step 7: Now we add a <Button.Content></Button.Content> section to the
Button:
<StackPanel
Orientation="Vertical"
Height="50">
<Image
Source="Chrysanthemum.jpg"
Height="50"
Name="img1"
Stretch="Fill"
Width="100"
IsEnabled="True" />
</StackPanel>
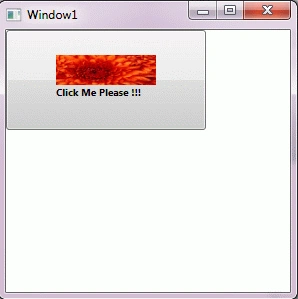
Step 8: Now we cut the entire section of the StackPanel and add it into
the <Button.Content> section of the Button Control:
Join the conversation! Your thoughts help the community grow.