

For doing this, navigate to the top level site of the Site Collection then Site Actions / Site Settings / Master pages (under the Galleries section). Then switch over to the Documents tab in the Ribbon and then click New > Page Layout.
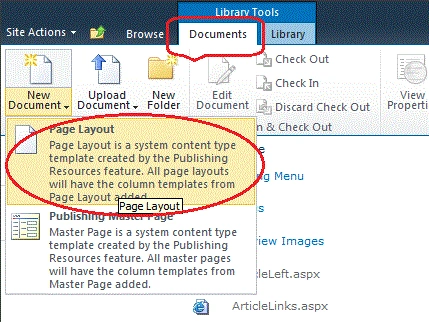
Select an Article Content Type to associate with; give it an URL and Title. There's also a link on this page to create a new Content Type. You might be interested in doing this if you wanted to say, add more editing fields or metadata properties to the layout. For example if you wanted to add another Managed Metadata column to capture folksonomy aside from the already included "Wiki Categories" Managed Metadata column.
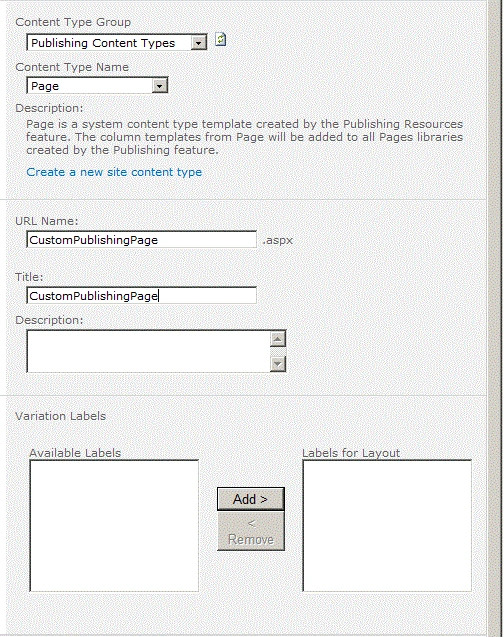
Now click OK.
Now open the page that we created in SharePoint Designer.
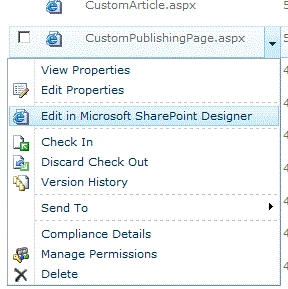
Now you can choose to build your page manually by dragging your SharePoint Controls onto the page and laying them out as you'd like. You can even copy another article page and paste it into the page then arrange it at your convenience.
Check-in, publish, and approve the new Page Layout. Side note: I like to add the Check-In/Check-Out/Discard or Undo-Checkout buttons to all of my Office Application's Quick Access Toolbars for convenience.
Almost there! Navigate to your publishing site, in this case the Enterprise Wiki Site, then go to Site Actions > Site Settings > Page layouts and site templates (Under Look and Feel). Here you'll be able to make the new Page Layout available for use within the site.
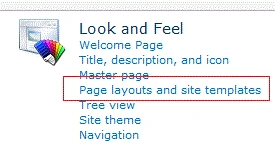
Specify the page that we created now and click OK.
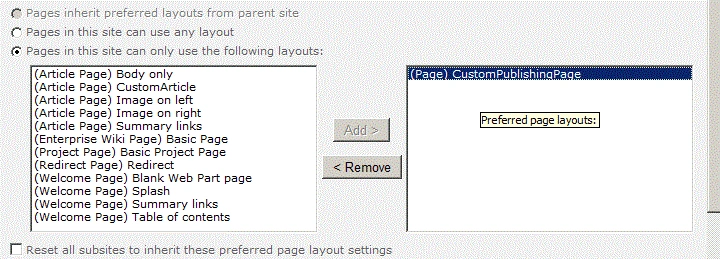
Now you are almost done.
Go to Site actions then select View all site Content.
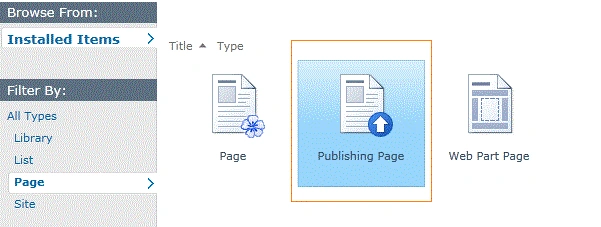
Then click on Create link. Select Page from the left navigation.
Then click on Publishing Page and click on Create.
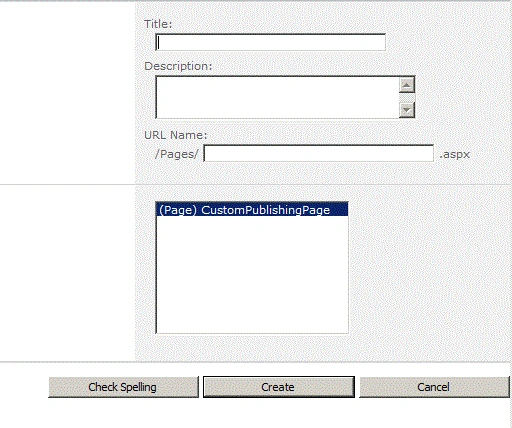
Now you can see that our custom page template was also added; select that and create a new publishing page from the new page template.
Gowtham RajamanickamPosted Apr 12, 2016, 2:17 AM
Good One, Thanks for sharing