

Steps to work with Subtract and use Drop
Shadow Effects in Expression Blend 4
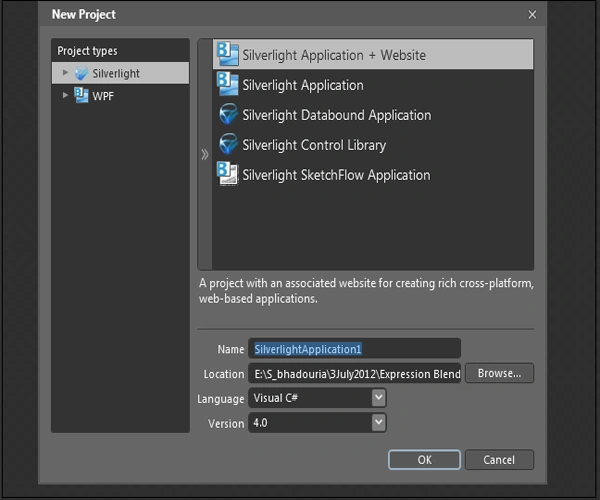
Step 1: Open
Expression Blend: A dialog box appears -> select Silverlight Application +
Website and hit OK. A Blank Page is shown with a white background called Art
board.
Step 2: Select the Ellipse Tool from the Tool Box located at the left side of the Workspace
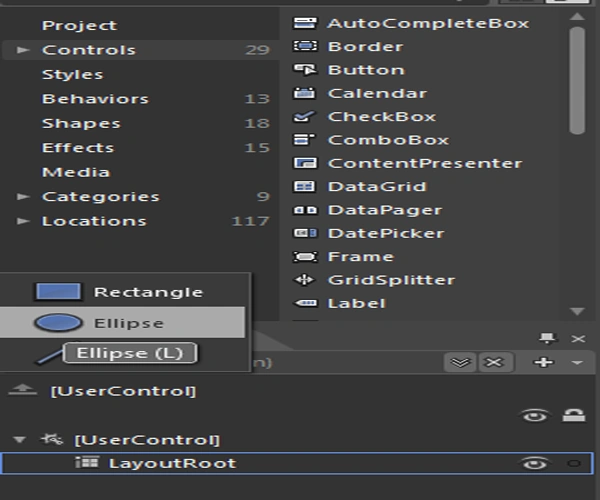
Draw a Circle
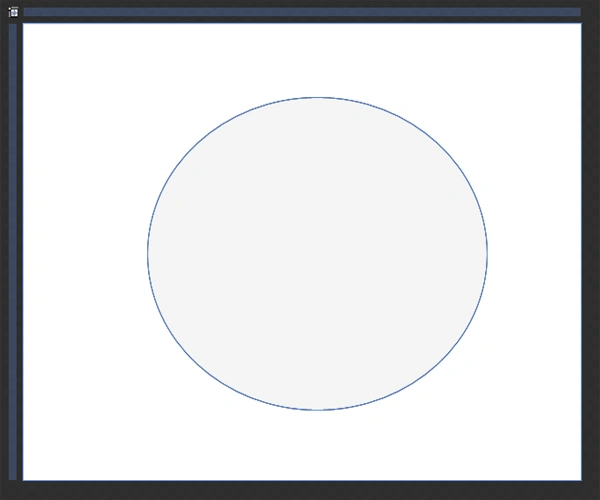
Note: When we Draw a Circle look at the Object and the Timeline Window -> Layout.
Then, we will add two Ellipses (Circles) in the XAML page, one on top of the other but in a little different location.
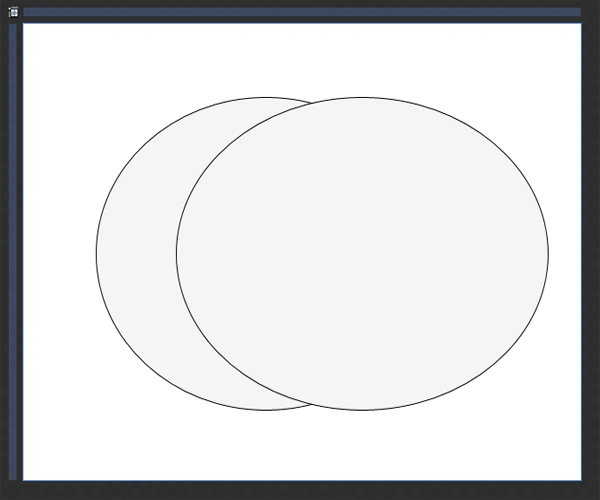
Note: When we draw another Circle look at the Object and Timeline Window -> Layout.
Step 3: Crop Circles -> than select both the Circles using the CTRL Key by directly clicking Layout or Art board.
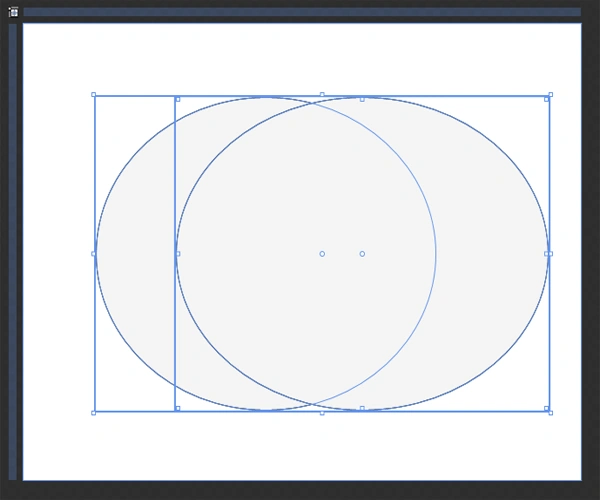
Note: There is a gap between the Circles.
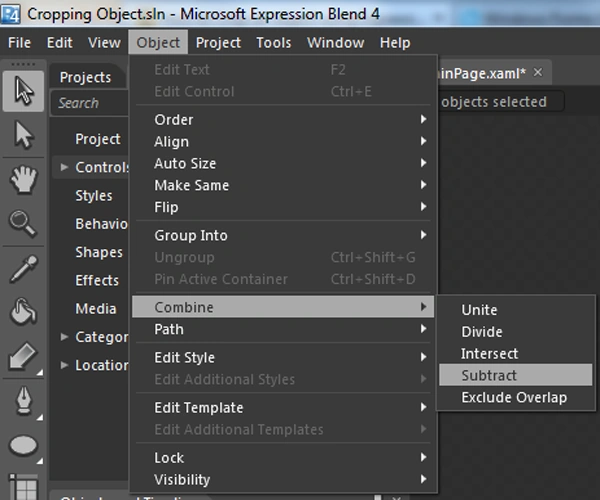
Then Go to Object -> Combine -> Subtract as shown below. We will subtract the 2nd circle from the first one.
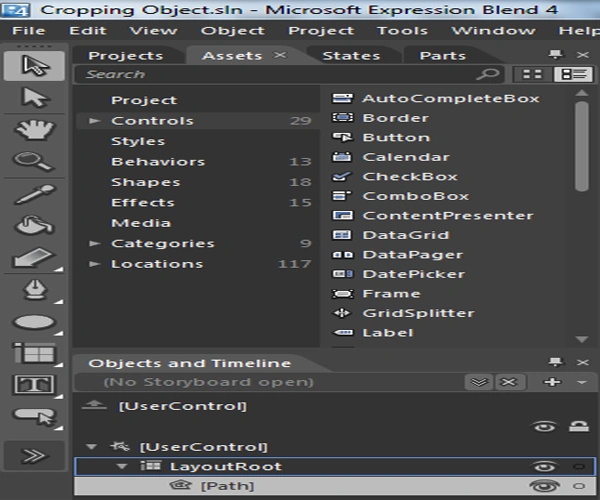
Note: See the Object and Timeline window, both Circles have merged and the Ellipse name has changed into Path as shown below:
After subtraction have a look:
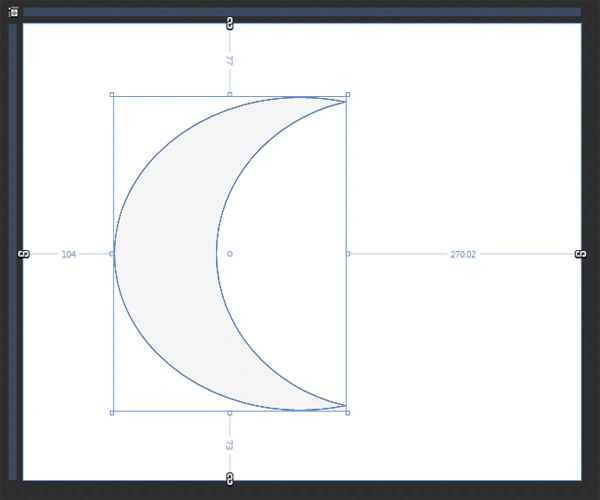
Step 4: Select the Circle using Selection
Tool located at the top-left of the Tool Box. Rotate it as shown. Using the
Property Panel select the Fill Option located at the top and Fill White Color in
the background.Then apply Stroke using the Red Color as shown below:
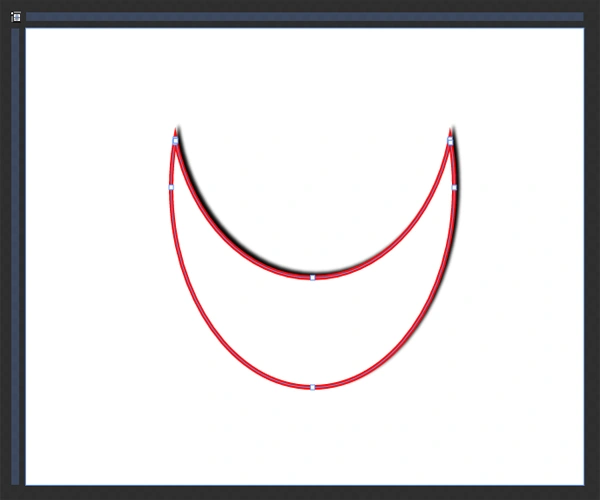
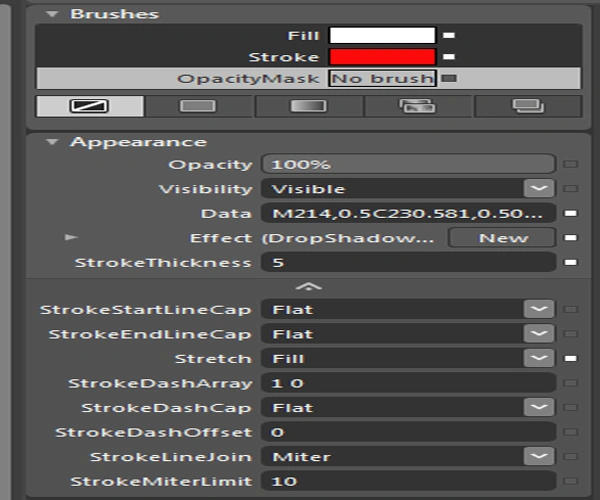
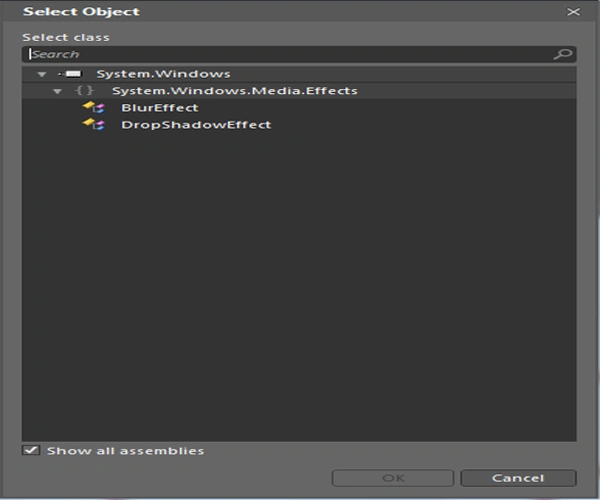
Step 5: Drop Shadow: Select Property Panel -> Effects -> New -> DropShadowEffect: a dialog box appears. Manage Radius, Shadow Depth, Stroke Thickness, Blur Radius as shown below:
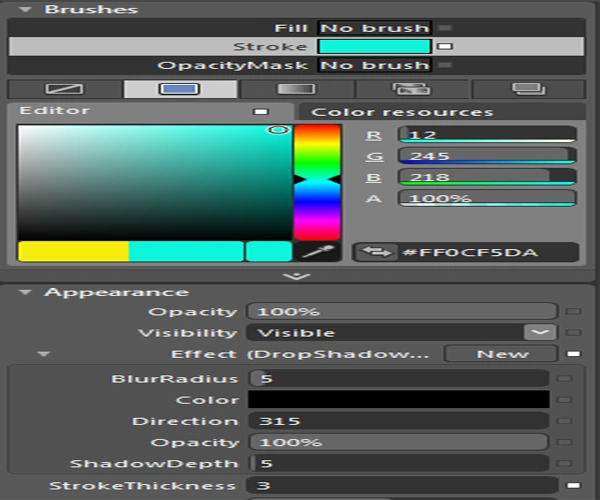
Note: A Black Color Shadow appears.
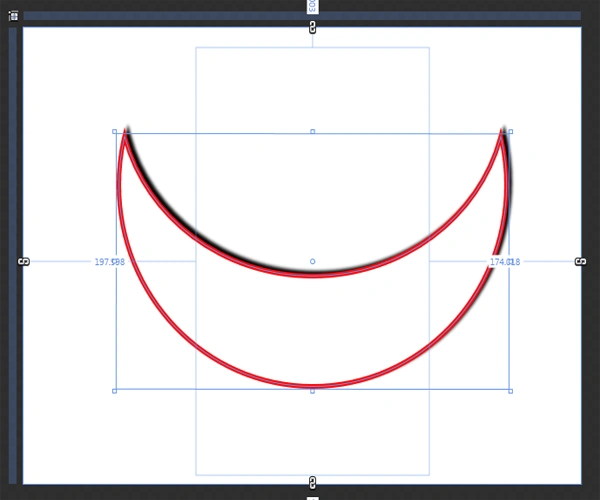
Here's the Final Image
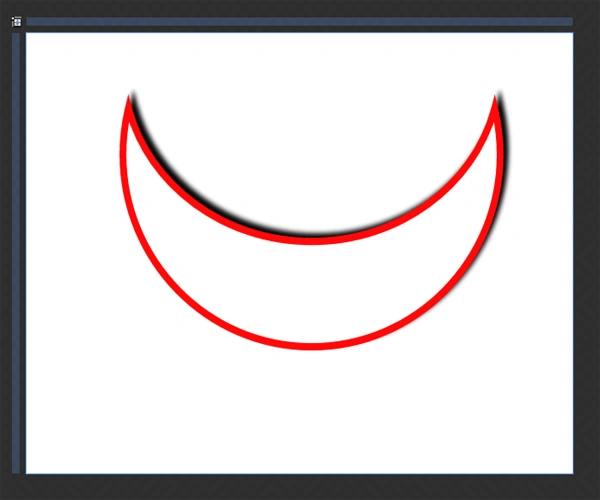
The purpose of this article is to share knowledge about cropping and applying Shadow Effects using the Tool Box and various Properties from the Property Panel.
Join the conversation! Your thoughts help the community grow.