
Introduction: In this article we will explore about how to use jQuery with Adrotator in which we will see the features adding using jQuery in Adrotator. As much as we know that Adrotator is used to rotate multiple images one by one, but for rotating these images we have to refresh the page but we want to implement something different since we do not want to refresh the page again and again. We have to implement a solution that will automatically rotate these images through Adrotator for it we will use the jQuery. Here we will have to apply some style sheet to the body part for a good effect. Further we have to create an Adrotator control above the Default2.aspx page. Now for doing such type of task in ASP.NET Adrotator using jQuery we have to see the steps given below:
Step 1: Firstly you have to create a web site
- Go to visual studio 2010
- New-> Select a website application
- Click OK
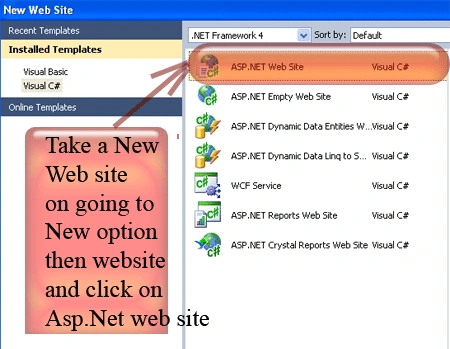
Step 2: Secondly you have to add a new page to the website
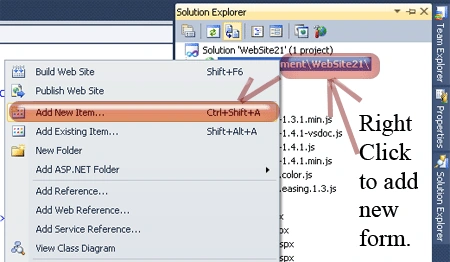
- Go to the Solution Explorer
- Right Click on the Project name
- Select add new item
- Add new web page and give it a name
- Click OK
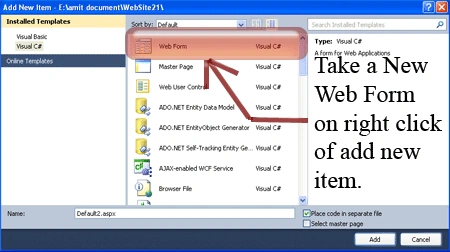
Step 3: Now you have to create a Adrotator control from the toolbox and drag and drop it on the Default2.aspx page Let see from where you have to add it and also add some images to the images folder let see how you have to do that:
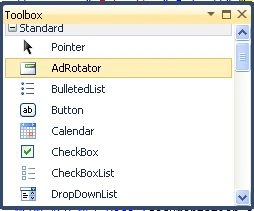
Add New folder named as images and add some images to the folder which will looks like as given below:
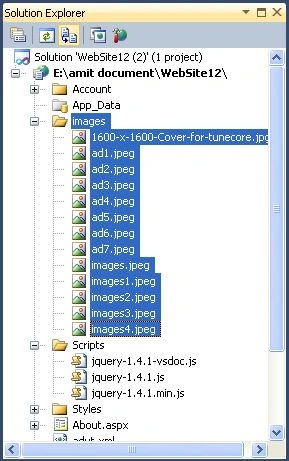
Step 4: In this step we will have to add an xml file which will be known by advertisement file and we will pass this file reference to the Adrotaor property named as advertisement file:
Let see from where you have to add the xml file:
- First go to Solution explorer
- And select new item
- Select an XML file
- And give it a name whatever you want to give
- Click OK
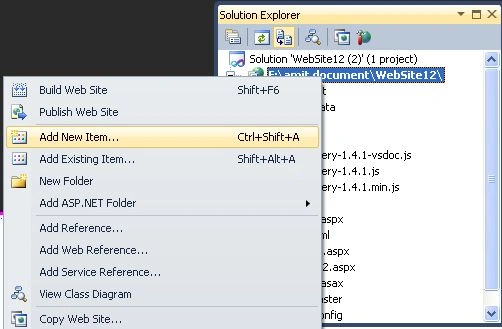
And Click on the New item and Select an Xml file which is shown in the figure given below:
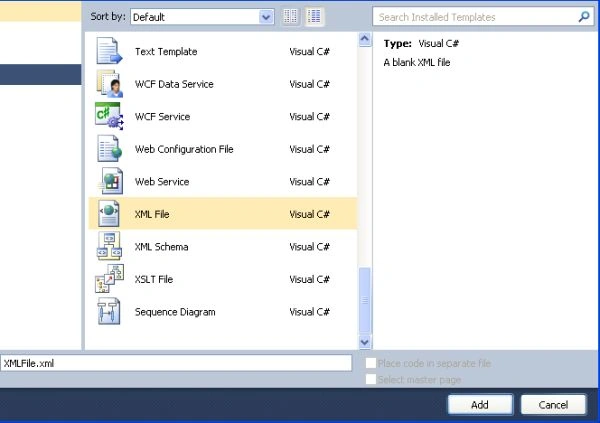
Step 5: In this step you will have to write the code inside the XML file which is given below:
Xml file Code:
<?xml
version="1.0"
encoding="utf-8"
?>
<Advertisements>
<Ad>
<ImageUrl>~/images/ad1.jpeg</ImageUrl>
<NavigateUrl>http://www.c-sharpcorner.com</NavigateUrl>
<AlternateText>C-sharp
Home Page</AlternateText>
<Impressions>1</Impressions>
</Ad>
<Ad>
<ImageUrl>~/images/ad2.jpeg</ImageUrl>
<NavigateUrl>http://www.c-sharpcorner.com</NavigateUrl>
<AlternateText>C-sharp
Home Page</AlternateText>
<Impressions>30</Impressions>
</Ad>
<Ad>
<ImageUrl>~/images/ad3.jpeg</ImageUrl>
<NavigateUrl>http://www.c-sharpcorner.com</NavigateUrl>
<AlternateText>C-sharp
Home Page</AlternateText>
<Impressions>40</Impressions>
</Ad>
<Ad>
<ImageUrl>~/images/ad4.jpeg</ImageUrl>
<NavigateUrl>http://www.c-sharpcorner.com</NavigateUrl>
<AlternateText>C-sharp
Home Page</AlternateText>
<Impressions>20</Impressions>
</Ad>
<Ad>
<ImageUrl>~/images/ad5.jpeg</ImageUrl>
<NavigateUrl>http://www.c-sharpcorner.com</NavigateUrl>
<AlternateText>C-sharp
Home Page</AlternateText>
<Impressions>10</Impressions>
</Ad>
<Ad>
<ImageUrl>~/images/ad6.jpeg</ImageUrl>
<NavigateUrl>http://www.c-sharpcorner.com</NavigateUrl>
<AlternateText>DevCurry
Home Page</AlternateText>
<Impressions>5</Impressions>
</Ad>
</Advertisements>
Step 6: In this step after writting the code for xml file we have to add this file to the Adrotator let see how you will have to do that which is shown in the figure given below:
This figure will be seen after click on the properties of the Adrotator and click on the Advertisement file property:
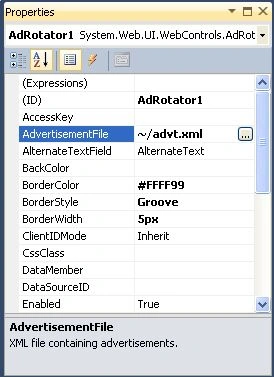
Whenever you click on the property given above figure then the another window will open in which you will see an Advertisement file select that file, let see in the figure that how would you do that:
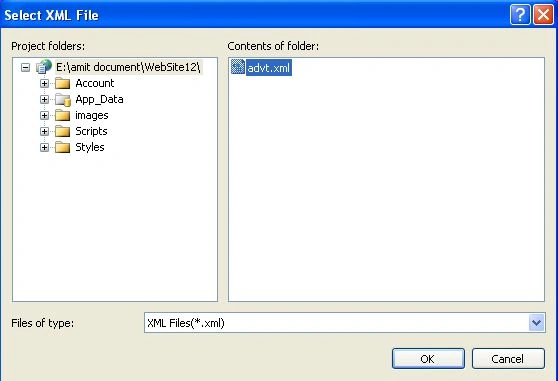
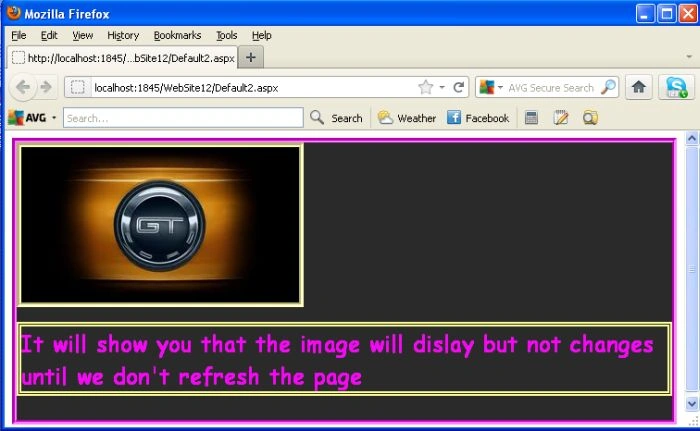
Step 7: Now run the Default2.aspx page without using jQuery let see the output given below:
Output1: In this output we will see that the output will not change until we don't refresh the page:
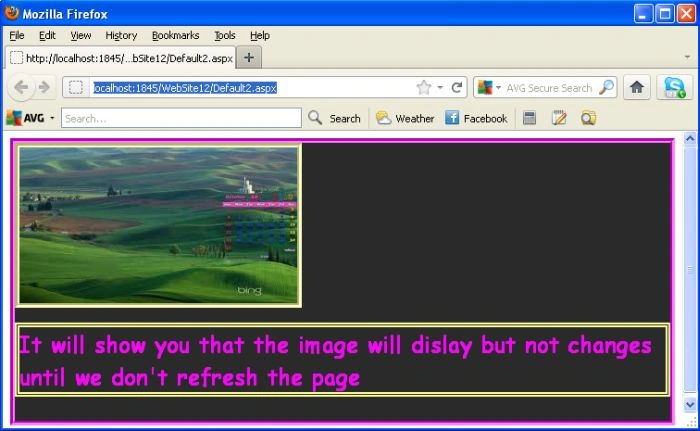
Output2: After refreshing the page it shown another Advertisement.
Step 8: Now it's time to see that how to apply jQuery that we does'nt need to refresh the page it will automatically change the Advertisement images firstly you will have to add the script file code to the Default.aspx page let see from where you have to add the script reference.
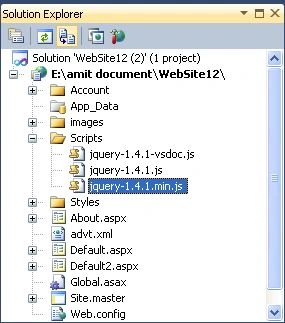
Step 9: Now you will see the Script code will looks like as given below:

Step 10: Further we will see that we want to apply the Style sheet then you will write it inside the <style></style> tag and placed it into head section:
Style Sheet Code:
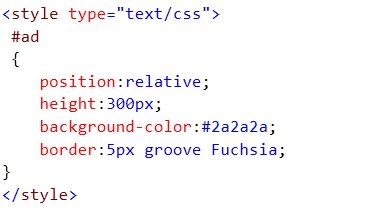
Step 11: Now we will write the jQuery code which will be inside the <script></script> tag it may be place between head section or body section wherever you want to place.
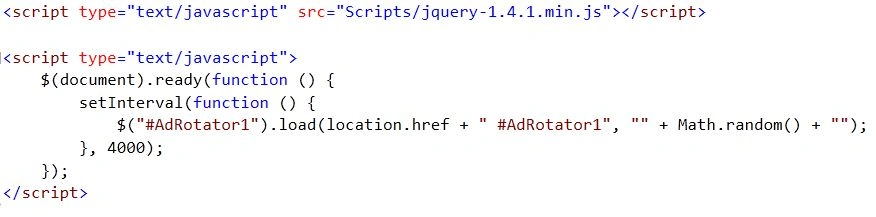
Step 13: In this step we will provide the complete code for the Default2.aspx page:
Code:
<%@
Page Language="C#"
AutoEventWireup="true"
CodeFile="Default2.aspx.cs"
Inherits="Default2"
%>
<!DOCTYPE
html PUBLIC
"-//W3C//DTD XHTML 1.0 Transitional//EN"
"http://www.w3.org/TR/xhtml1/DTD/xhtml1-transitional.dtd">
<html
xmlns="http://www.w3.org/1999/xhtml">
<head
runat="server">
<title></title>
<script
type="text/javascript"
src="Scripts/jquery-1.4.1.min.js"></script>
<script
type="text/javascript">
$(document).ready(function () {
setInterval(function () {
$("#AdRotator1").load(location.href
+ " #AdRotator1",
"" + Math.random() + "");
}, 3000);
});
</script>
<style
type="text/css">
#ad
{
position:relative;
height:300px;
background-color:#2a2a2a;
border:5px
groove Fuchsia;
}
</style>
</head>
<body>
<form
id="form1"
runat="server">
<div
id="ad">
<h1
style="border:
5px double #FFFF99; font-family:
'Comic Sans MS'; font-size:
x-large; color:
#FF00FF;">It will show you that the image will display and changes
automatically we don't need to refresh the page</h1>
<asp:AdRotator
ID="AdRotator1"
runat="server"
AdvertisementFile="~/advt.xml"
BorderColor="#FFFF99"
BorderStyle="Groove"
BorderWidth="5px"/>
</div>
</form>
</body>
</html>
Step 14: Let see the design of the page which is given below:
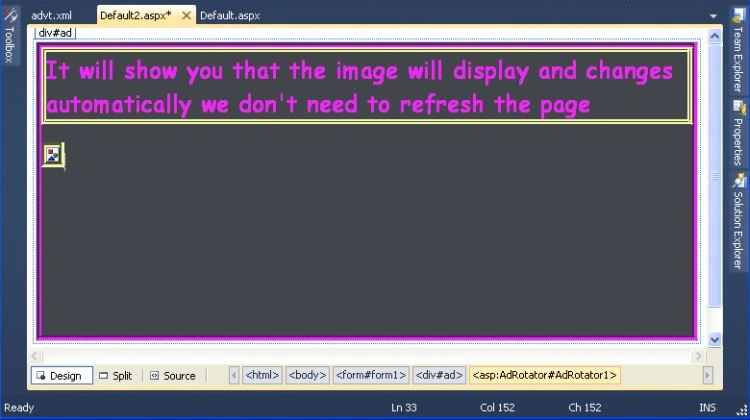
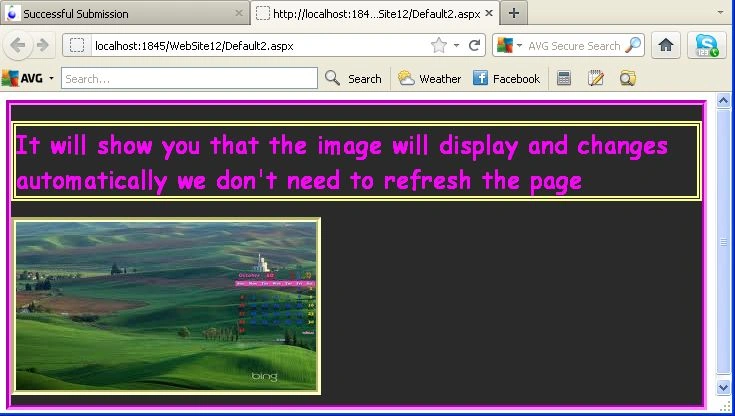
Step 15: Let see the output of the Default2.aspx page by using jQuery.
Output1:
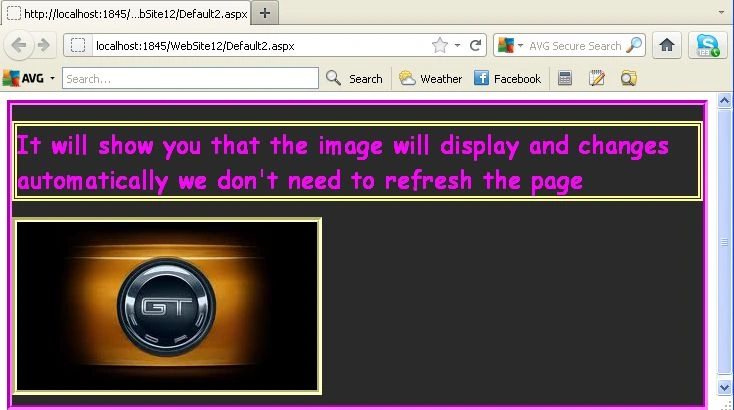
Output2:
Gowtham RajamanickamPosted Apr 1, 2015, 4:34 AM
nice..