

Here, in this application, I will show you how to develop Windows store apps in Windows 8 and how to test them using the local machine and a simulator. To create a project, open your Visual Studio and create a new project of the type shown below:
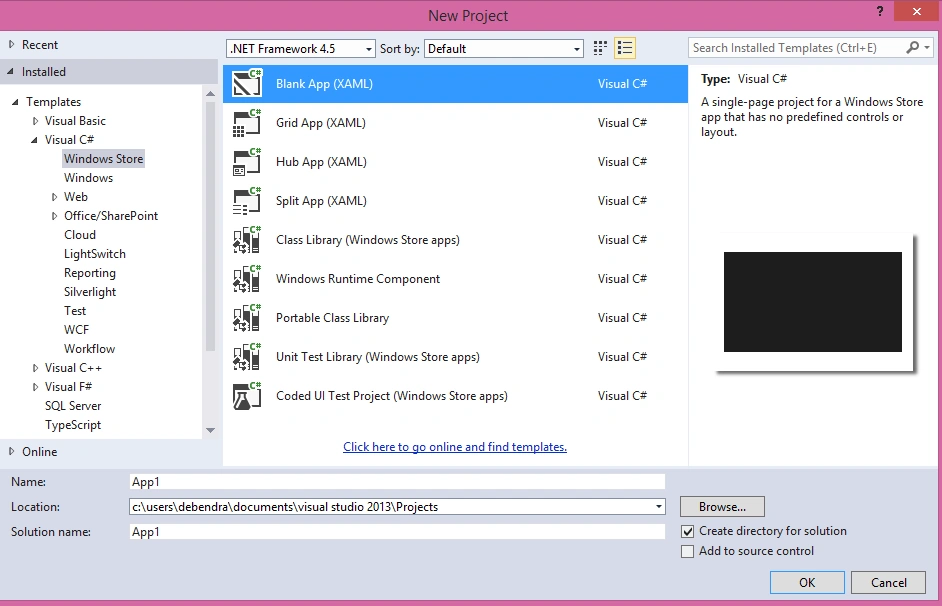
Choose a blank app(XAML) and press the OK button and it will add the following things in the Solution Explorer.
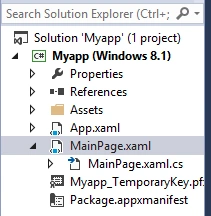
Here, I am briefly describing everything added in this Solution Explorer.
App.Xaml
When your Application starts, first the App.xaml file is loaded and it contains all the app-level resources and settings. This file is like Global.asax file in ASP.NET, which is first to run. The App.Xaml will look as shown below:
When your Application starts, first the App.xaml file is loaded and it contains all the app-level resources and settings. This file is like Global.asax file in ASP.NET, which is first to run. The App.Xaml will look as shown below:
- <Application
- x:Class="Myapp.App"
- xmlns="http://schemas.microsoft.com/winfx/2006/xaml/presentation"
- xmlns:x="http://schemas.microsoft.com/winfx/2006/xaml"
- xmlns:local="using:Myapp">
- </Application>
Assets- This is a folder which mainly contains the splash screen and a different logo used in the Application.
MainPage.xaml- It is similar to a .aspx page or a view in ASP.NET, where you have to design your UI. It uses XAML to design the UI.
MainPage.xaml- It is similar to a .aspx page or a view in ASP.NET, where you have to design your UI. It uses XAML to design the UI.
MainPage.xaml.cs- This is similar to aspx.cs page in ASP.NET, where the main logic will be written.
Myapp_TemporaryKey.pfx- This is the certificate for your Windows app. When you first create a new project in Visual Studio, it will create a new test certificate automatically.
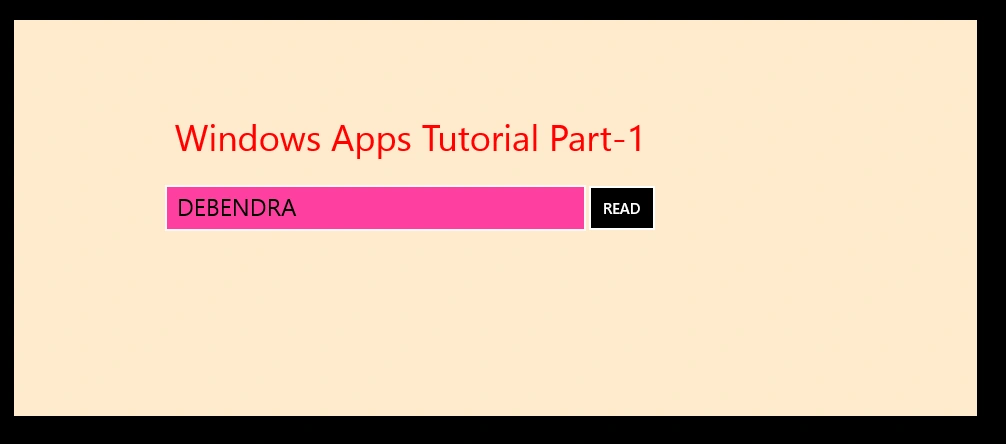
Now, I designed my UI, as shown below:
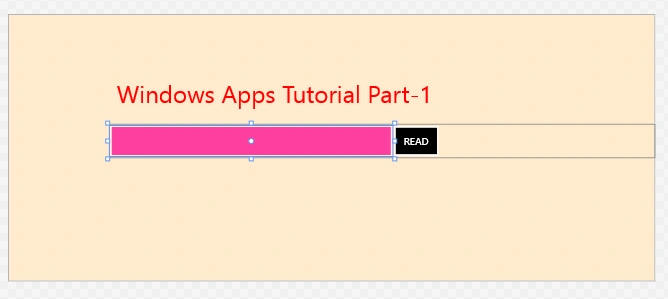
Here, the source code(XAML) for this design is as follows:
- <Grid Background="BlanchedAlmond" Width="963" Height="396" >
- <StackPanel Margin="151,99,0,0">
- <TextBlock Text=" Windows Apps Tutorial Part-1" FontSize="36" Foreground="Red" Margin="0,0,24,0" />
- <StackPanel Orientation="Horizontal" Margin="0,20,0,20">
- <TextBox Name="txt_name" Width="421" HorizontalAlignment="Left" Height="46" FontSize="24" Background="DeepPink"/>
- <Button Content="READ" Height="50" Background="Black" Click="Button_Click"/>
- </StackPanel>
- </StackPanel>
- </Grid>
- ;/Page>
- private void Button_Click(object sender, RoutedEventArgs e)
- {
- //Creating instance for the MessageDialog Class
- MessageDialog msgbox = new MessageDialog("Good Morning" + " "+ txt_name.Text);
- msgbox.ShowAsync();
- }
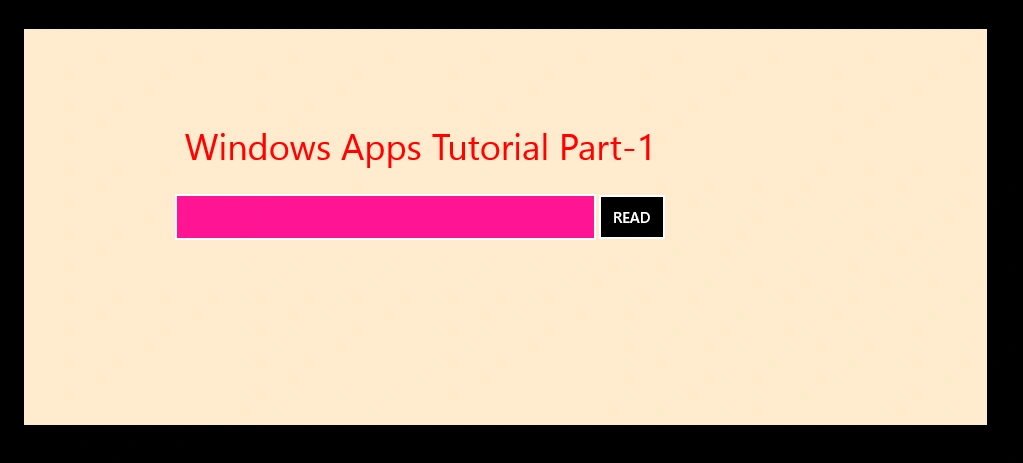
Enter a name in the textbox and click the Read button.
Click the Read button and it will show the message box, as depicted below:
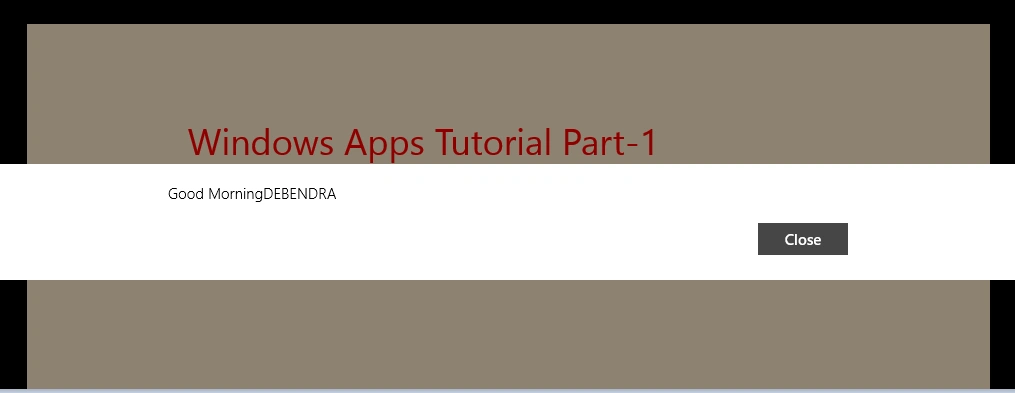
Here, the output comes as expected.
Let's check with the simulator.
Choose the simulator option as follows.

Now, run the project.
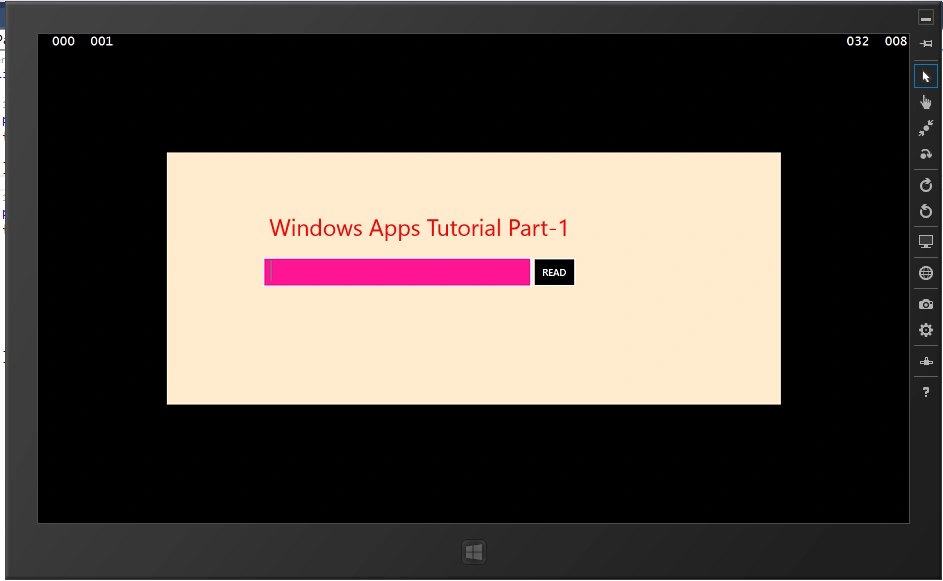
Now, check the result by putting a name on the textbox.
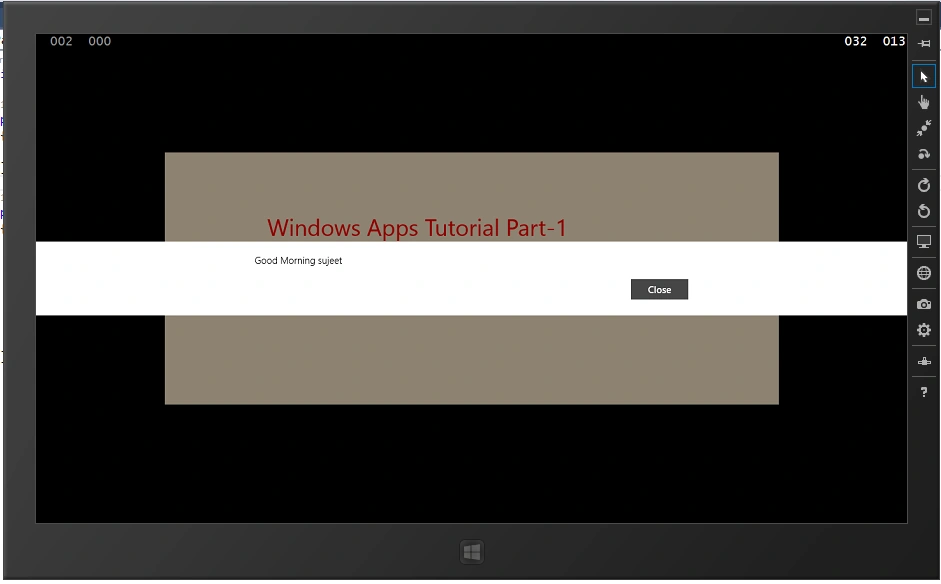
In this way, we can check the app in the simulator. This tutorial is basic, as far as Windows store apps are concerned. I hope this will help you.
Santhakumar MunuswamyPosted Jun 25, 2016, 2:53 AM
Nice share
Vignesh ManiPosted Jun 17, 2016, 5:33 AM
Nice
Thiruppathi RPosted Jun 16, 2016, 1:03 AM
Good..
Bhavik PatelPosted Jun 15, 2016, 10:20 PM
nice