

Introduction
In this article, we are going to learn how to create a simple ListView with item click in the Xamarin Android app.
Solution
Here are the steps required to create ListView in Xamarin Android app.
Step 1
Create/open your Android solution in Visual Studio or Xamarin Studio.
Step 2
Update your main.axml file inside your Resoursce/Layout folder, as shown below.
- <?xml version="1.0" encoding="utf-8"?>
- <LinearLayout xmlns:android="http://schemas.android.com/apk/res/android" android:orientation="vertical" android:layout_width="match_parent" android:layout_height="match_parent">
- <ListView android:id="@+id/mainlistview" android:layout_height="match_parent" android:layout_width="match_parent"> </ListView>
- </LinearLayout>
Step 3
Initialize ListView in MainActivity, as shown below.
- public class MainActivity: Activity {
- string[] items;
- ListView mainList;
- protected override void OnCreate(Bundle bundle) {
- base.OnCreate(bundle);
- items = new string[] {
- "Xamarin",
- "Android",
- "IOS",
- "Windows",
- "Xamarin-Native",
- "Xamarin-Forms"
- };
- // Set our view from the "main" layout resource
- SetContentView(Resource.Layout.Main);
- mainList = (ListView) FindViewById < ListView > (Resource.Id.mainlistview);
- mainList.Adapter = new ArrayAdapter(this, Android.Resource.Layout.SimpleListItem1, items);
- }
- }
Step 4
Initialize a ListView ItemClick event for handling the item click of ListView.
- mainList.ItemClick += (s, e) => {
- var t = items[e.Position];
- Android.Widget.Toast.MakeText(this, t, Android.Widget.ToastLength.Long).Show();
- };
Step 5
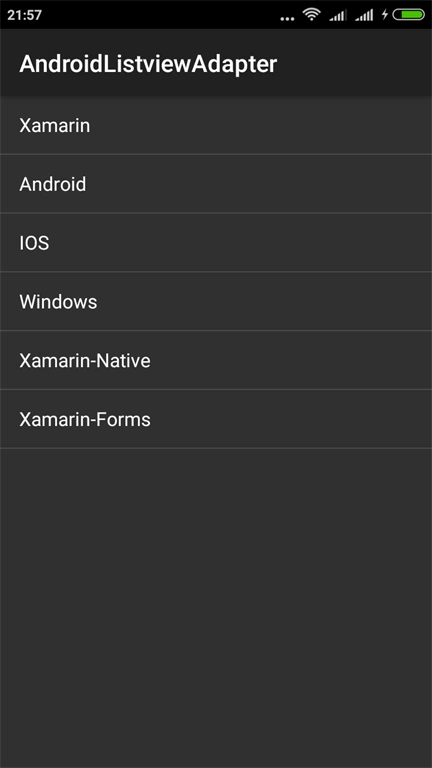
Now, run the application and you will see the output as given below.
Now, run the application and you will see the output as given below.
Step 6
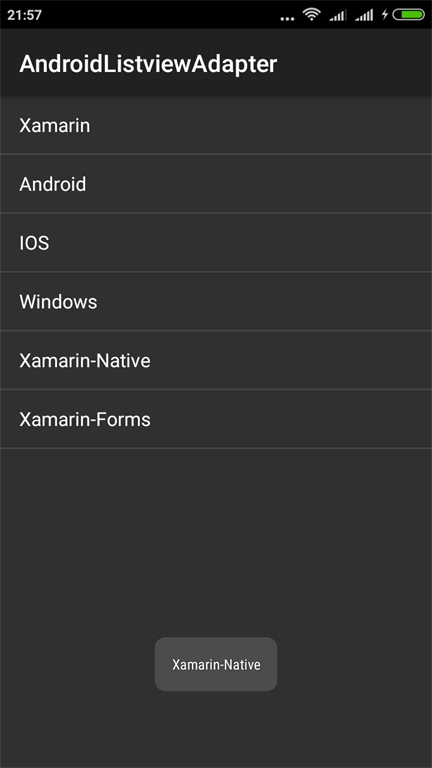
After clicking on ListView, the item toast message will display with title details.
Join the conversation! Your thoughts help the community grow.