Introduction
My last article was based on Double Animation in Silverlight3 through code behind. In this article we will try the similar thing but with Color Animation.
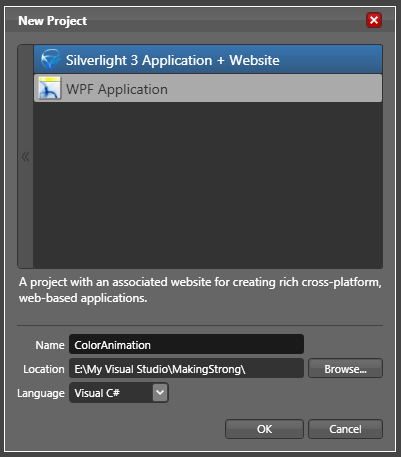
Creating a Simple Silverlight Application
Open up Blend 3 and Create a new Silverlight Application.
The following animations can be done in Blend3 without even touching the C# code behind.
-
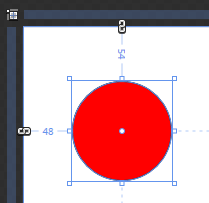
Create an Ellipse. Name it as MyEllipse.
Create a storyboard called StoryBoard1 that changes color to Blue.
Remember to delete this storyboard to see in effect our code behind animation.
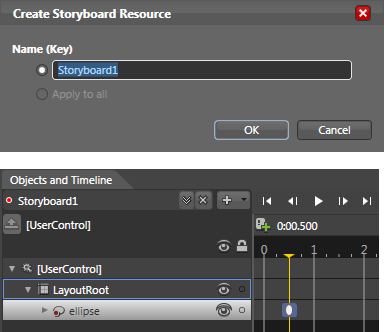

Now let's take a look at how color animations can be implemented via code. This project illustrates how to work with ColorAnimation objects. In this example, we will create a ColorAnimation that turns a red ellipse blue when the MouseEnter event is raised. The storyboard equivalent for this animation looks like the following.
<Storyboard x:Name="Storyboard1">
<ColorAnimationUsingKeyFrames BeginTime="00:00:00" Storyboard.TargetName="ellipse" Storyboard.TargetProperty="(Shape.Fill).(SolidColorBrush.Color)">
<EasingColorKeyFrame KeyTime="00:00:00.5000000" Value="#FF0000FF"/>
</ColorAnimationUsingKeyFrames>
</Storyboard>
-
In Visual Studio, open the MainControl.xaml.cs file for editing. Just above the MainControl() constructor, add the following code, which declares a storyboard:
private Storyboard TurnsBlue = new Storyboard();
-
On the next line, declare a new ColorAnimation object called BlueColor:
private ColorAnimation BlueColor = new ColorAnimation();
-
Next, code the animation object's properties inside the MainControl() constructor. In this case, the TargetName for the BlueColor animation is the MyEllipse object, and the TargetProperty is the object's fill.
BlueColor.SetValue(Storyboard.TargetNameProperty, "MyEllipse");
BlueColor.SetValue(Storyboard.TargetPropertyProperty, new PropertyPath("(Shape.Fill).(SolidColorBrush.Color)"));
-
In my previous article, double data types were being used. In this example, data of type Color will be manipulated. To change a color fill for an object, define the target color as a color from alpha, red, green and blue color values. Note that the code shown below here is using an Argb value (alpha, red, green, blue) to specify a color; where as the storyboard produced in Blend utilizes a hex value. Argb color values get their value from four byte values (0 through 255), separated by commas. This is probably a familiar format for you if you have worked in almost any paint program. Once a color had been defined, it can be assigned to the To property in the animation.
Color ToColor = Color.FromArgb(255, 13, 8, 116);
BlueColor.To = ToColor;
-
The animation can now be added to the storyboard, and the storyboard added to the LayoutRoot element:
TurnsBlue.Children.Add(BlueColor);
LayoutRoot.Resources.Add("TurnsBlue",TurnsBlue);
-
All that's left is an event listener and a little bit of event handler code.
-
The event handler is placed after the closing curly brace of the MainControl() constructor method:
private void MyEllipse_MouseEnter(object sender, MouseEventArgs e)
{
TurnsBlue.Begin();
}
Compile and run this project and place the pointer on the red ellipse. The object's color will shift to blue.
That's it you have successfully used animation in code behind.
Similarly you can add another StoryBoard for MouseLeave event.
Enjoy Animating.