

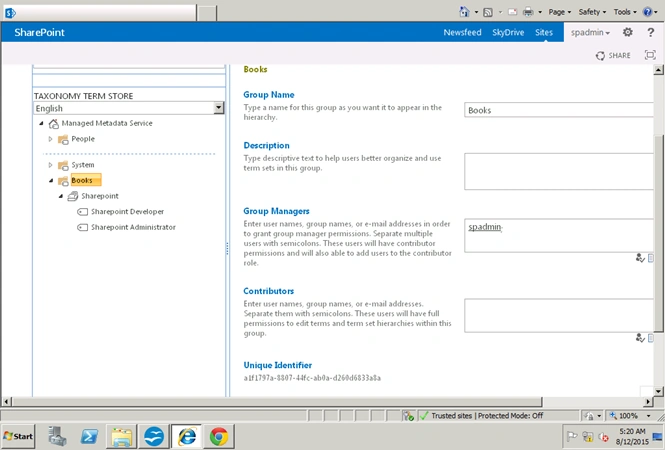
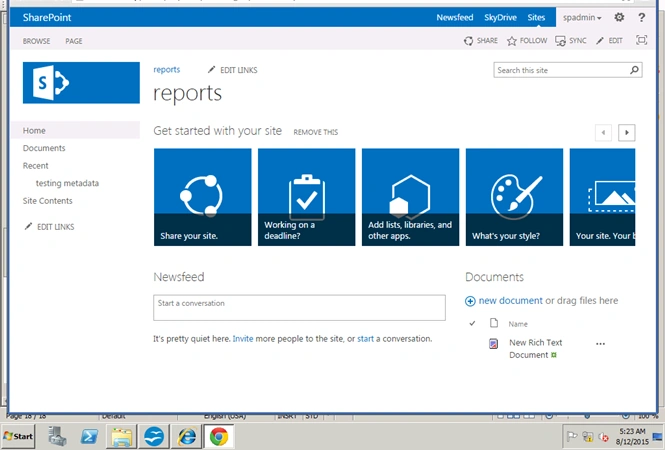
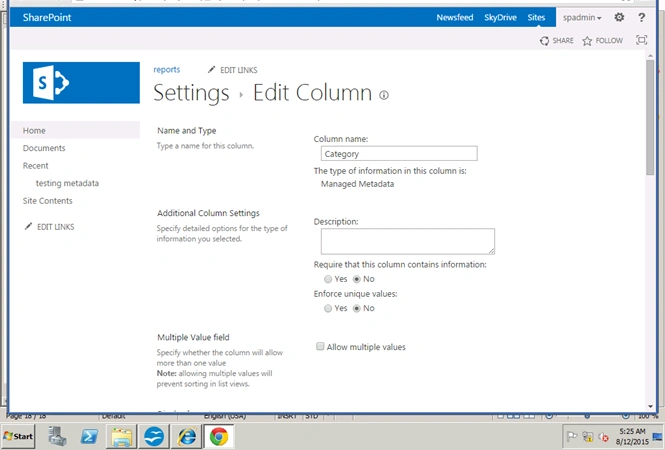
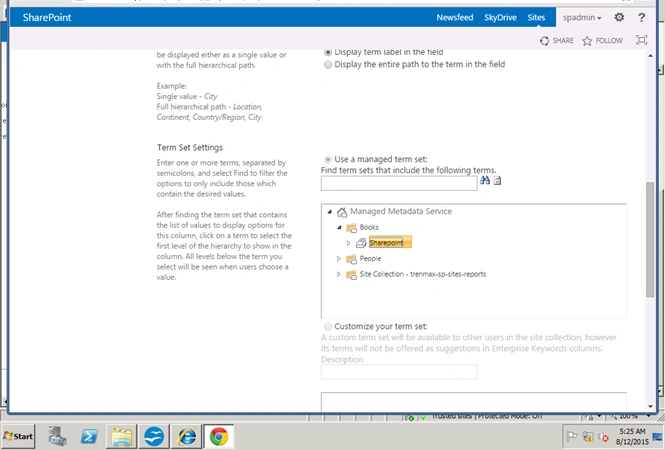
Let's see how to configure a managed metadata service application in SharePoint 2013.
Open SharePoint Central Administration.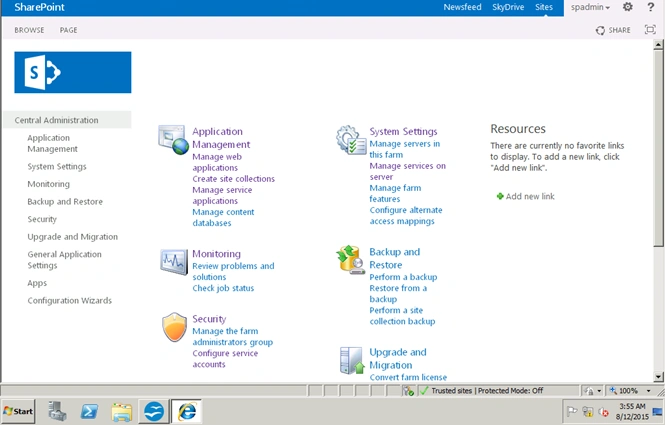
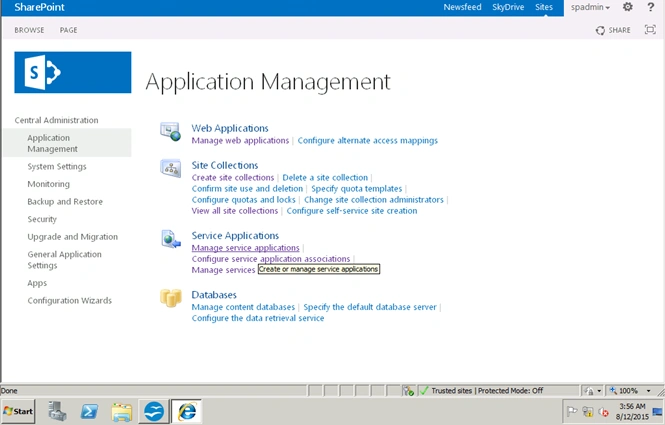
Click on Manage service application.
On the page click New -> Managed metadata service.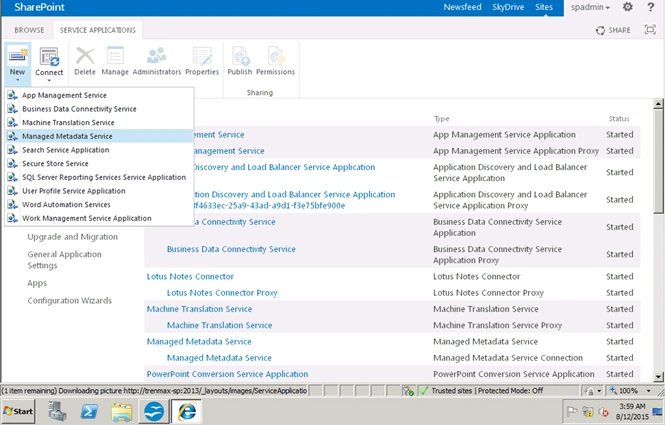
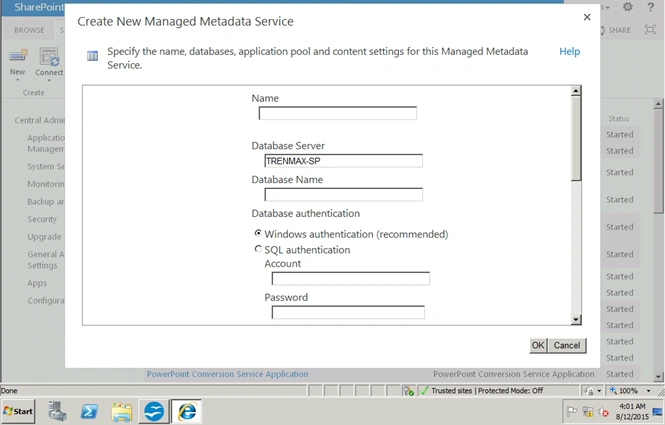
In this window, enter the name of the service application as in the following: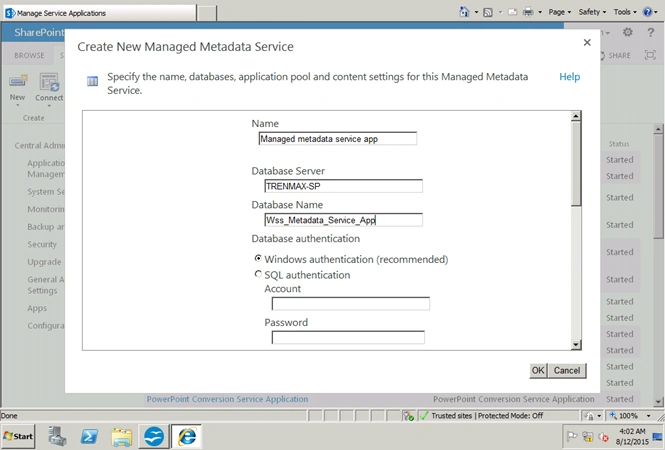
Enter the database name.
I am using WSS_Metadata_Service_App.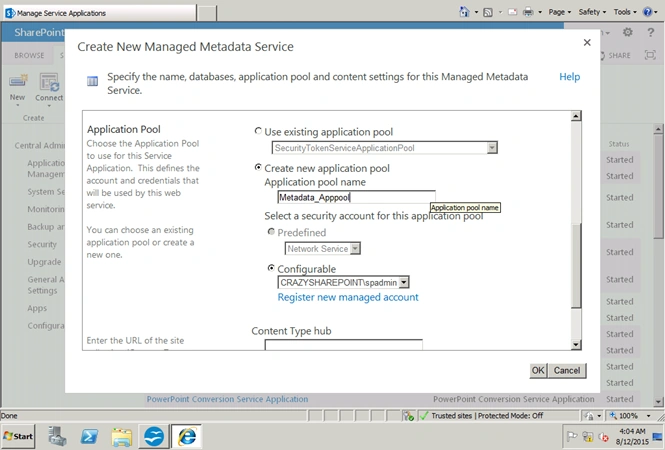
Create a new application pool “Metadata_Apppool”. The Configurable account will be “CRAZYSHAREPOINT\Spfarm”.
Click OK to complete.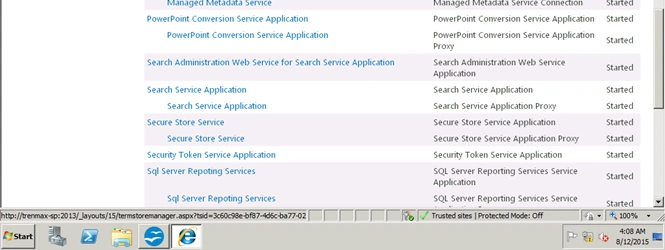
Now see Managed metadata service application has been configured successfully.
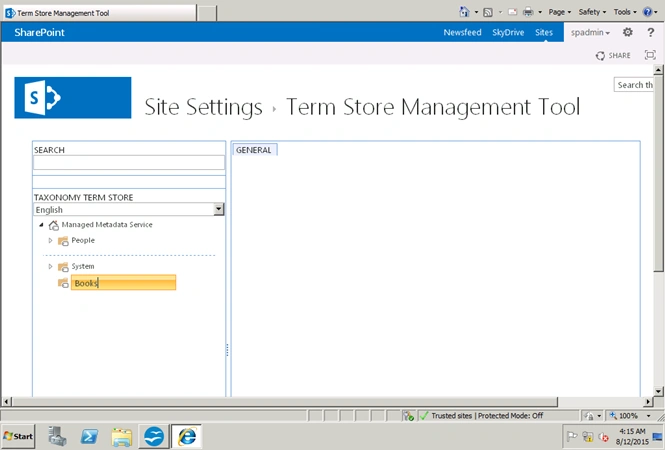
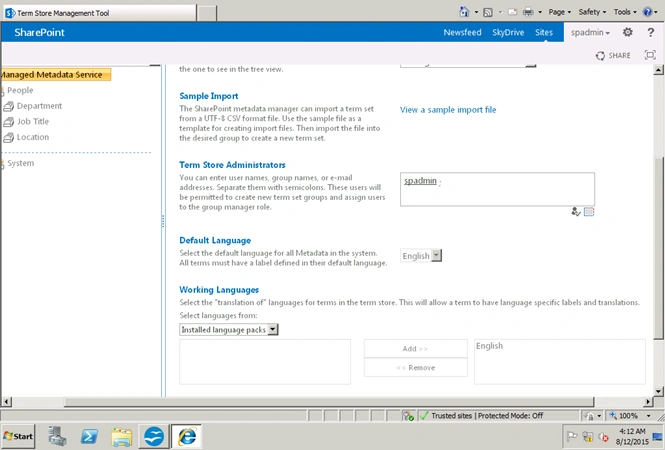
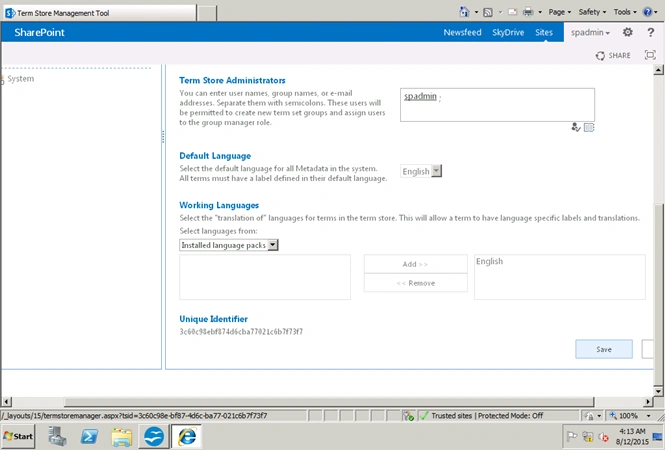
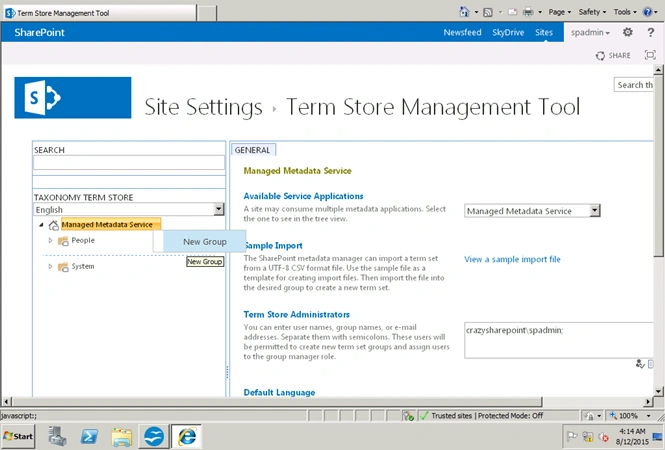
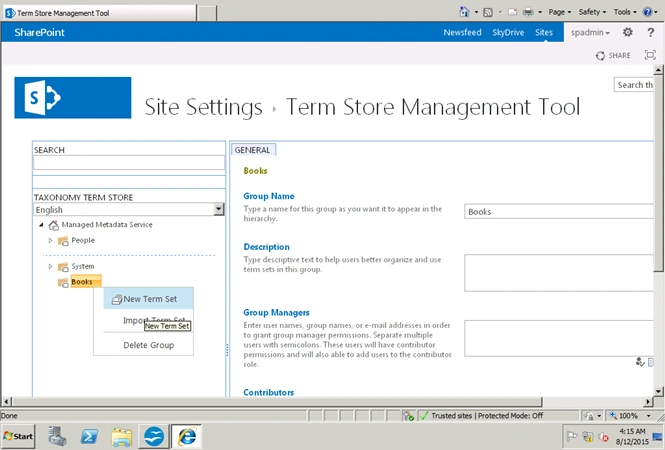
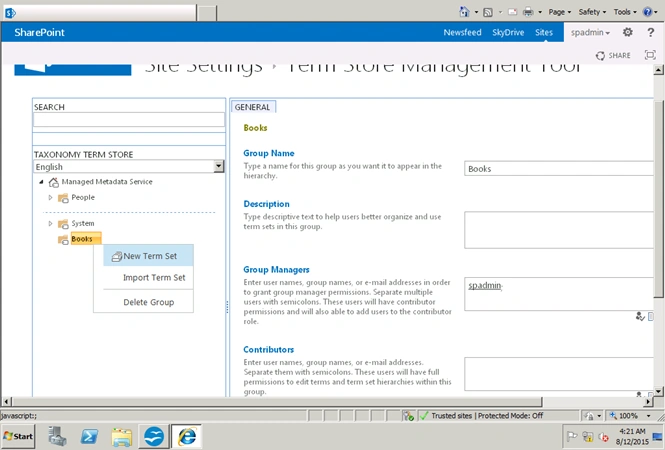
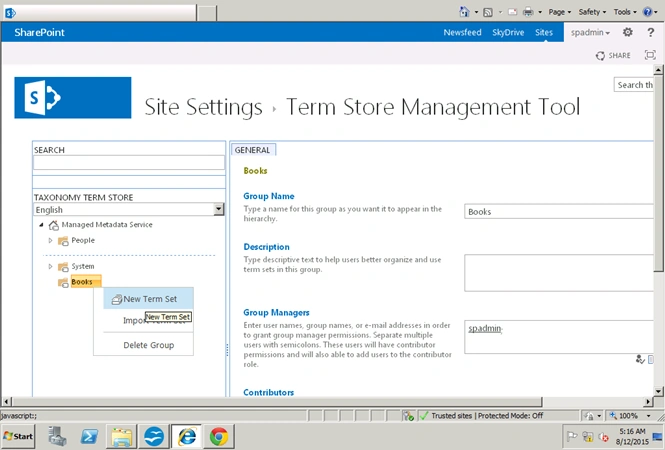
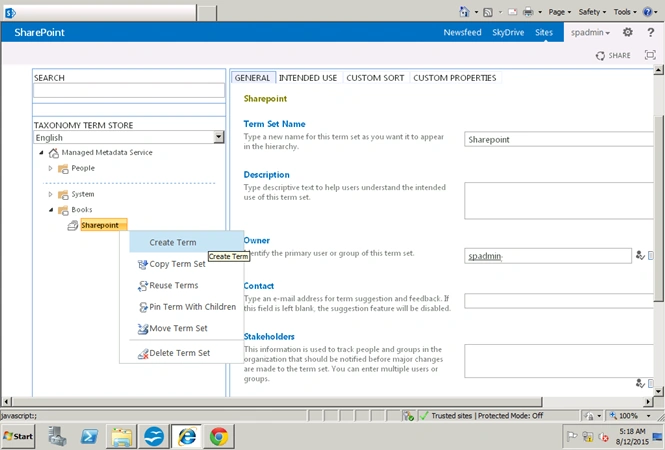
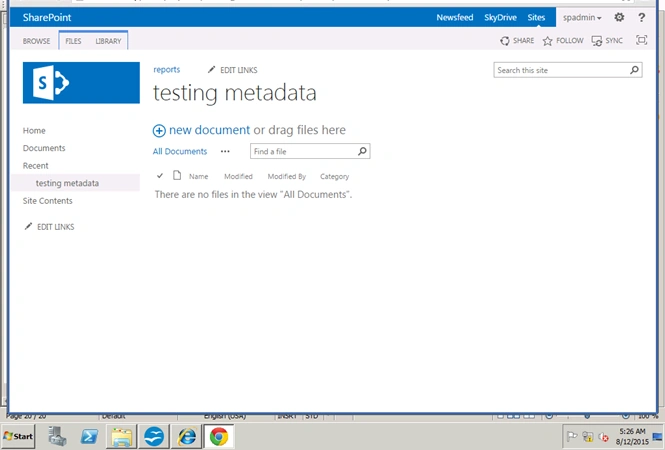
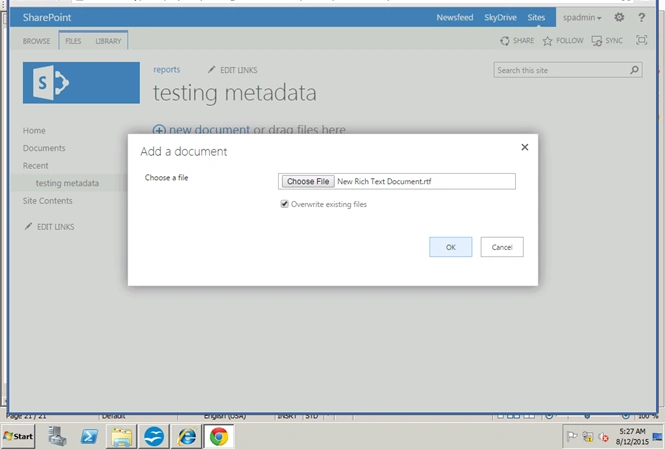
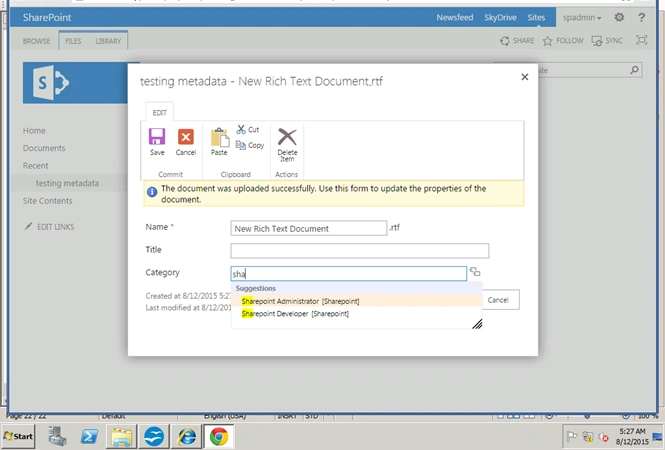
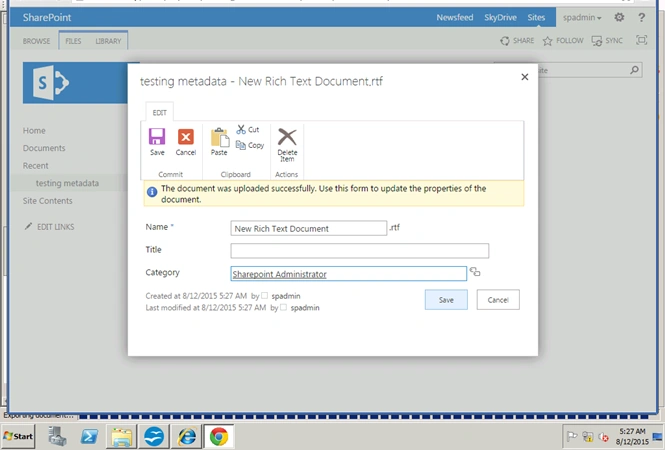
Click on managed metadata service application.
Vinodh NarayananPosted Aug 13, 2015, 2:40 PM
Thanks
Abhay ShankerPosted Aug 13, 2015, 1:16 PM
Nice Article
Vinodh NarayananPosted Aug 13, 2015, 12:12 PM
thank you
RakeshPosted Aug 13, 2015, 10:19 AM
Good one
Vinodh NarayananPosted Aug 13, 2015, 8:30 AM
Thank you
Ankit BansalPosted Aug 13, 2015, 7:41 AM
good one..
Vinodh NarayananPosted Aug 13, 2015, 5:50 AM
Thanks a lo guys
Gowtham RajamanickamPosted Aug 13, 2015, 4:49 AM
good one..
Sibeesh VenuPosted Aug 13, 2015, 4:28 AM
Nice Share :)
Nilesh JadavPosted Aug 13, 2015, 2:51 AM
Nice share sir thank you for sharing
Vinodh NarayananPosted Aug 13, 2015, 2:50 AM
Thanks
Vaikesh K PPosted Aug 13, 2015, 2:00 AM
Nice article
Rajeesh MenothPosted Aug 13, 2015, 12:38 AM
Good One
Vinodh NarayananPosted Aug 12, 2015, 11:26 PM
Thanks a lot
Karthikeyan KPosted Aug 12, 2015, 11:09 PM
Good one sir..Thanks for sharing
Van LaiPosted Aug 12, 2015, 9:36 PM
Thank you for the detailed demonstration.