
About this project
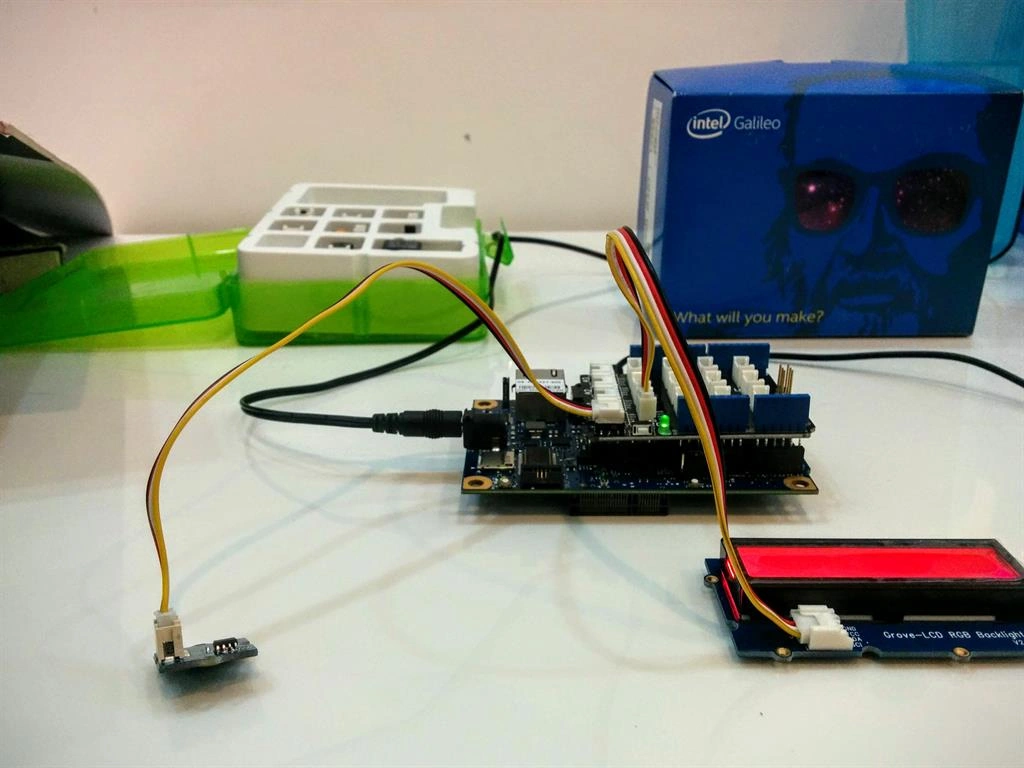 Intel Galileo is the first in a line of Arduino - certified development boards based on Intel x86 architecture and is designed for the maker and education communities. Full technical details can be found on the Arduino site.
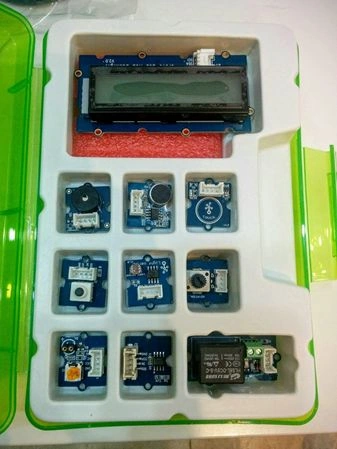
The GROVE - Starter Kit of GROVE System is a modular, safe and easy to use a group of items that allow you to minimize the effort required to get started with microcontroller-based experimentation and learning. Although there are many choices available for microcontroller development environments.
Intel Galileo is the first in a line of Arduino - certified development boards based on Intel x86 architecture and is designed for the maker and education communities. Full technical details can be found on the Arduino site.
The GROVE - Starter Kit of GROVE System is a modular, safe and easy to use a group of items that allow you to minimize the effort required to get started with microcontroller-based experimentation and learning. Although there are many choices available for microcontroller development environments.
 Components and supplies
Figure 1: Cover Pic
Figure 2: Sensor Kit
- Intel Galileo Gen 1
- Grove Starter Kit Plus Intel IoT Edition
- Temperature Sensor
- Shield
- Wire
- Power Supply (5 Volts)
- USB Cable
- Memory card and Memory Card reader if you want to make the program run on startup (Optional).
Schematics
 Code
Code
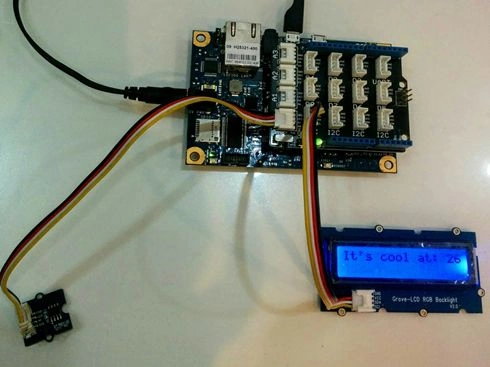
Figure 3: Connections
- //Check and display temperature
- #include < Wire.h > #include "rgb_lcd.h"
- const int pinTemp = A0;
- rgb_lcd lcd;
- // Assigning initial color that'll be seen once the Galileo boots
- int colorR = 255;
- int colorG = 255;
- int colorB = 0;
- const int b = 3975;
- float resistance;
- float temperature;
- void setup() {
- lcd.begin(16, 2);
- lcd.setRGB(colorR, colorG, colorB);
- delay(1000);
- }
- void loop() {
- lcd.clear();
- delay(1000);
- int val = analogRead(pinTemp);
- resistance = (float)(1023 - val) * 10000 / val;
- //calculate the temperature
- temperature = 1 / (log(resistance / 10000) / b + 1 / 298.15) - 273.15;
- if (temperature < 27) {
- // display color blue
- colorR = 0;
- colorG = 0;
- colorB = 255;
- lcd.setRGB(colorR, colorG, colorB);
- //display temperature and
- lcd.print("It's cool at: ");
- lcd.print(temperature);
- } else {
- //display color red
- colorR = 255;
- colorG = 0;
- colorB = 0;
- lcd.setRGB(colorR, colorG, colorB);
- //display temperature
- lcd.print("It's warm at: ");
- lcd.print(temperature);
- }
- delay(5000);
- //display current temperature every reading 5 seconds
- }
- Start with downloading the Arduino IDE for Intel Galileo and the Temperature Sensor code from GitHub.
Note: Fork the project from here.Transfer the .cpp and .h files into the Arduino folder -> Library folder -> Temperature_Sensor and save the .ino file into the same folder.
- Open the code in the IDE, select Board as Intel Galileo and Port based on the Port visible in Device Manager, accessed via Win+R and then write devmgmt.msc.
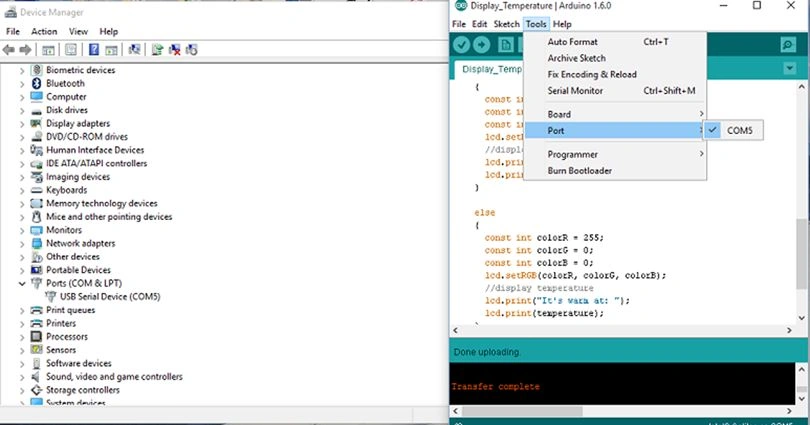 Figure 4: Code in the IDE
 - Once the code is uploaded, the LCD shows an initial purple light (because of color R, color G, and colorB being set at 255 each).
- As soon the Temperature Sensor senses the room temperature, which it checks for every 5 seconds, the following 2 conditions take place:
- Temperature is less than 27 degrees.
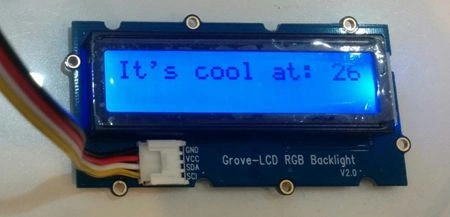 Figure 5: Temperature is less than 27 degrees
 - Temperature is greater than 27 degrees.
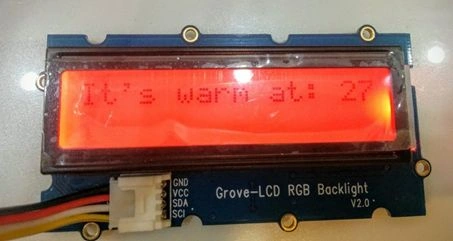 Figure 6: Temperature is greater than 27 degrees
- Temperature is less than 27 degrees.
Sr KarthigaPosted Jan 23, 2016, 5:37 AM
Nice share
Vaikesh K PPosted Sep 3, 2015, 2:07 AM
Nice
Santhakumar MunuswamyPosted Sep 2, 2015, 3:15 PM
Good article. Thanks for sharing
Avirup BasuPosted Sep 2, 2015, 12:59 AM
Good article.
Ankit BansalPosted Sep 2, 2015, 12:43 AM
good one..
Rajeesh MenothPosted Sep 1, 2015, 8:05 AM
Nice Share
Sibeesh VenuPosted Sep 1, 2015, 7:26 AM
Nice Share
Yashwanth MuthineniPosted Sep 1, 2015, 5:59 AM
Good one
Pooja BaraskarPosted Sep 1, 2015, 5:26 AM
Nice
Karthikeyan KPosted Sep 1, 2015, 4:48 AM
Nice share...