

Introduction
This arcticle explains the BindingSource Control and how to retrieve the images using navigation buttons from the database in a Windows Forms application. When a control of a Windows application uses values of a database then we need to specify the link between the control and the column of the database table, this process is referred to as binding. The object that the data comes from is called the binding source.
BindingSource Control
The .NET Framework provides the "BindingSource" class from the System.Windows.Forms namespace. The BindingSource class has the default property DataSource. A DataSource bound to a binding Source component can also be navigated and managed with the "BindingNavigator". You can use the navigation methods on the BindingSource such as MoveNext(), MovePrevious(), MoveTop() and MoveBottom().
Write the following procedure for creating a database and table in SQL Server:
Create Database ImageManipulation
use ImageManipulation
create table ImageData (Name varchar(max),ImageLogo varbinary(max))
Write the following procedure to insert the values and bitmap images in table columns:
INSERT INTO ImageData (Name, ImageLogo)
SELECT 'TESTING', BulkColumn
FROM Openrowset( Bulk 'C:\Pankaj\Testing.png', Single_Blob)
INSERT INTO ImageData (Name, ImageLogo)
SELECT 'PHP', BulkColumn
FROM Openrowset( Bulk 'C:\Pankaj\PHP.png', Single_Blob)
INSERT INTO ImageData (Name, ImageLogo)
SELECT 'JAVA', BulkColumn
FROM Openrowset( Bulk 'C:\Pankaj\JAVA.png', Single_Blob)
INSERT INTO ImageData (Name, ImageLogo)
SELECT 'DotNET', BulkColumn
FROM Openrowset( Bulk 'C:\Pankaj\DotNET.png', Single_Blob)
INSERT INTO ImageData (Name, ImageLogo)
SELECT 'CSharp', BulkColumn
FROM Openrowset( Bulk 'C:\Pankaj\C#.png', Single_Blob)
Write the following query to execute the table schema:
select * from ImageData
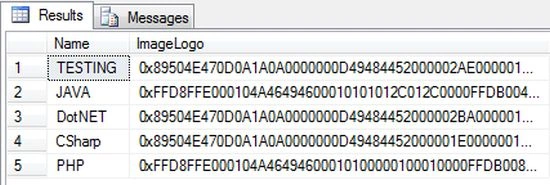
Now I will show you how to use the BindingSource control using a BindginNavigator control in a Windows Forms application. Use the following procedure to do that.
Step 1:
Open Visual Studio then select "Create New Project" --> "F# Console Application".
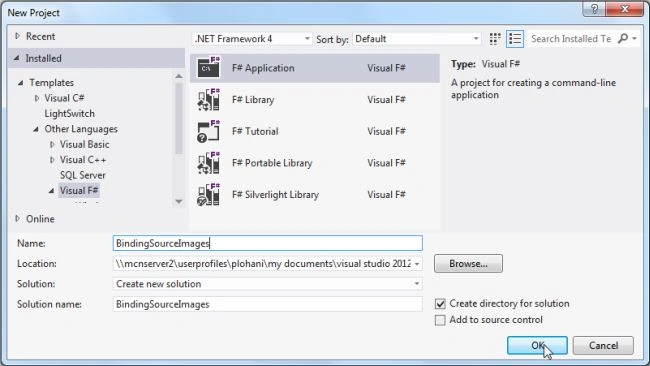
Step 2:
Now go the Solution Explorer on the right side of the application. Right-click on "References" and select "Add references".
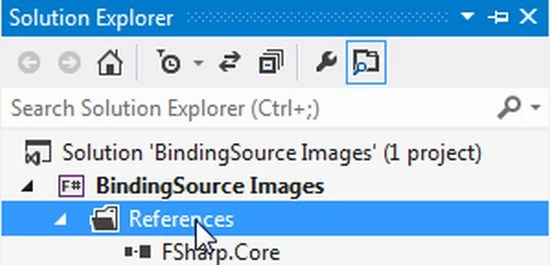
Right-click on References and select "Add references".
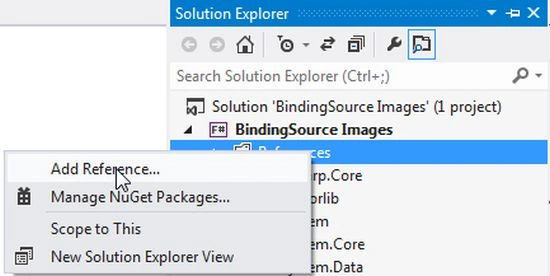
Step 3:
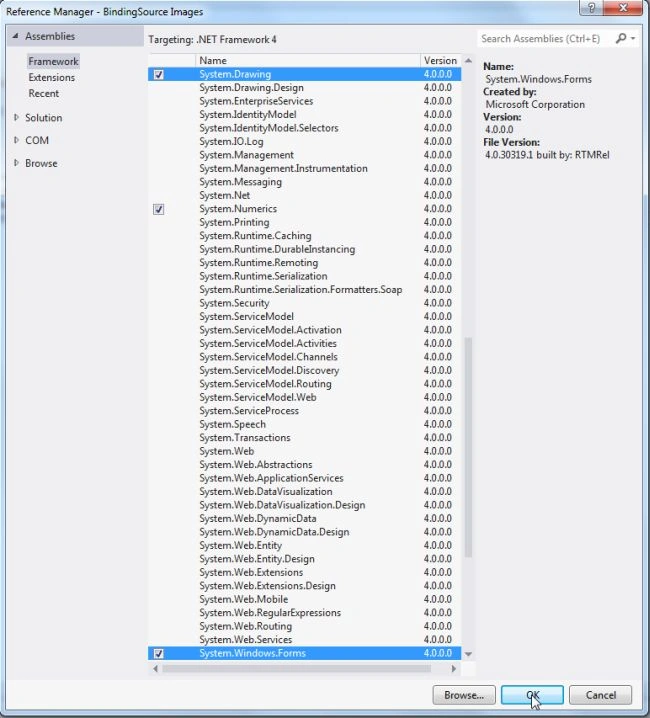
After selecting "Add References", in the framework template you need to select System.Windows.Forms and System.Drawing while holding down the Ctrl key and click on "Ok."
Step 4:
Use the following code showing how to use a BindingSource Control in a Windows Forms form.
open System
open System.Windows.Forms
open System.Data
open System.Data.SqlClient
open System.Drawing
let constring = @"Data Source=MCNDESKTOP34;Initial Catalog=ImageManipulation;User ID=sa; Password=mcn@123"
let con=new SqlConnection(constring)
let dataadpter = new SqlDataAdapter("Select * from ImageData", constring)
let ffont=new Font("Arial", 9.75F,FontStyle.Regular, GraphicsUnit.Point)
let ds = new DataSet()
dataadpter.Fill(ds,"ImageData")|>ignore
let navform = new Form(Text="Bind DataSource Images")
let lblappname=new Label(Text="Technology:",Location=new System.Drawing.Point(0, 10),AutoSize=true)
let lblicon=new Label(Text="Icon:",Location=new System.Drawing.Point(0, 50),AutoSize=true)
let appnamelabel=new Label(Location=new System.Drawing.Point(140,10),BorderStyle=BorderStyle.FixedSingle)
let appicon=new PictureBox(SizeMode=PictureBoxSizeMode.StretchImage,Location=new System.Drawing.Point(140,50))
let bindsrc=new BindingSource()
let bindnav=new BindingNavigator(Dock=DockStyle.None,Top=150,Left=80)
let movefirst=new ToolStripButton(Text="Top")
let moveprev=new ToolStripButton(Text="Prev")
let movenext=new ToolStripButton(Text="Next")
let movelast=new ToolStripButton(Text="Bottom")
let exitbutton=new ToolStripButton(Text="Exit")
bindnav.Items.Add(movefirst)|>ignore
bindnav.Items.Add(moveprev)|>ignore
bindnav.Items.Add(movenext)|>ignore
bindnav.Items.Add(movelast)|>ignore
bindnav.Items.Add(exitbutton)|>ignore
bindnav.MoveFirstItem<-movefirst
bindnav.MoveNextItem<-movenext
bindnav.MovePreviousItem<-moveprev
bindnav.MoveLastItem<-movelast
exitbutton.Click.Add(fun exit->
navform.Close()
con.Close())
bindsrc.DataSource<-ds
bindsrc.DataMember<-"ImageData"
bindnav.BindingSource<-bindsrc
con.Open()
navform.Font<-ffont
navform.Controls.Add(lblappname)
navform.Controls.Add(lblicon)
navform.Controls.Add(appnamelabel)
navform.Controls.Add(appicon)
navform.Controls.Add(bindnav)
appnamelabel.DataBindings.Add(new Binding("Text",bindsrc,"Name"))
appicon.DataBindings.Add(new Binding("Image",bindsrc,"ImageLogo",true))
navform.Show()
Application.Run(navform)
Step 5 :
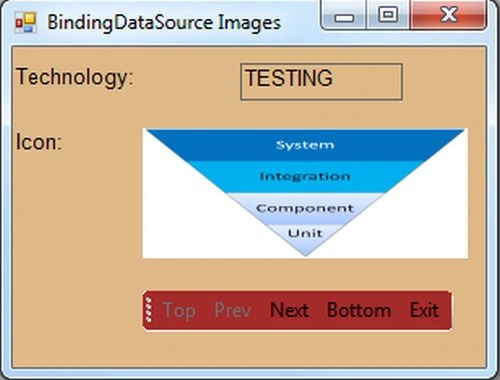
Debug the application by pressing F5 to execute the Windows Forms application. After debugging the application the output will be as in the following figure:
Step 6 :
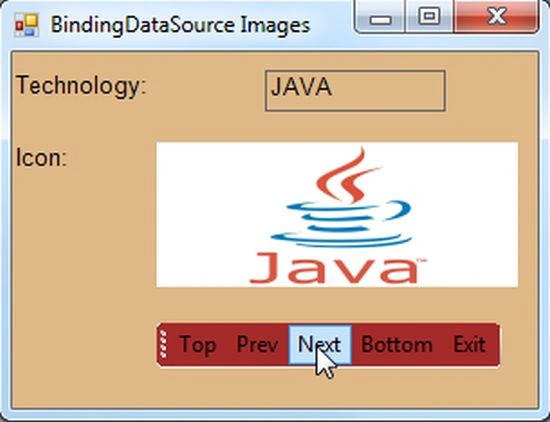
Now click on "Next" to retrieve the next image from the datasource as in the following figure:
Step 7 :
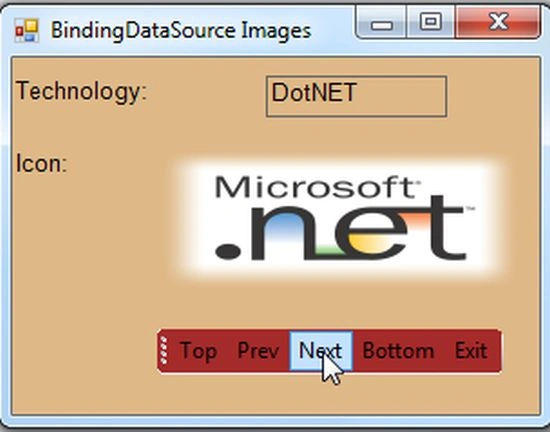
Now click on "Next" click to retrieve the next image from the datasource as in the following figure:
Step 8 :
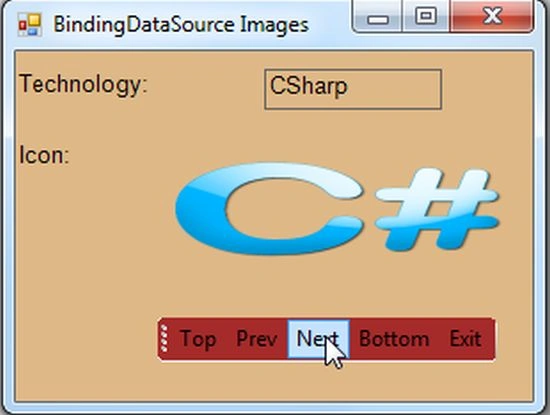
Now click on "Next" click to retrieve the next image from the datasource as in the following figure:
Step 9 :
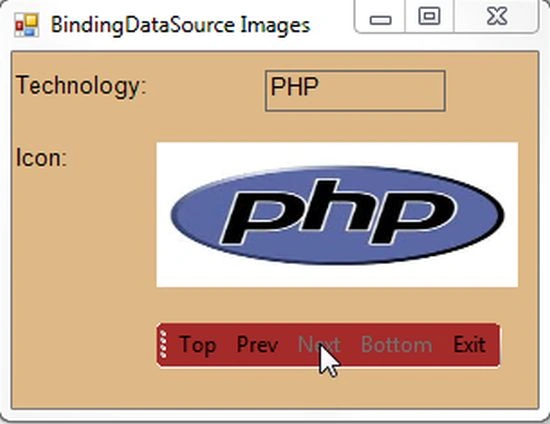
Now click on "Next" click to retrieve the next image from the datasource as in the following figure:
Summary
In this article you have learned about the BindingSource Control and you saw how to retrieve the images using navigation buttons from the data source in a Windows Forms application.
Join the conversation! Your thoughts help the community grow.