

Introduction
In this post, I will create a simple Login application. This post will give you a brief idea of how to develop an application which handles user interactions.
The user will enter login credentials and after validating, the application will generate a message. The username and password will be validated against constant values "admin" and "admin".
Let's start with this.
As discussed in the first post, create one application with the following details.
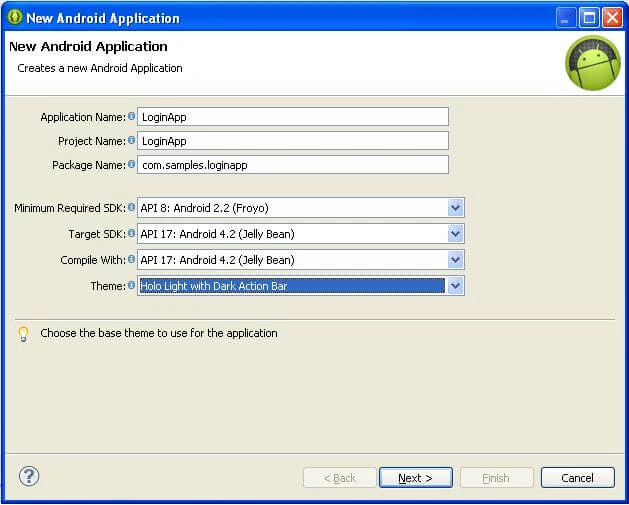
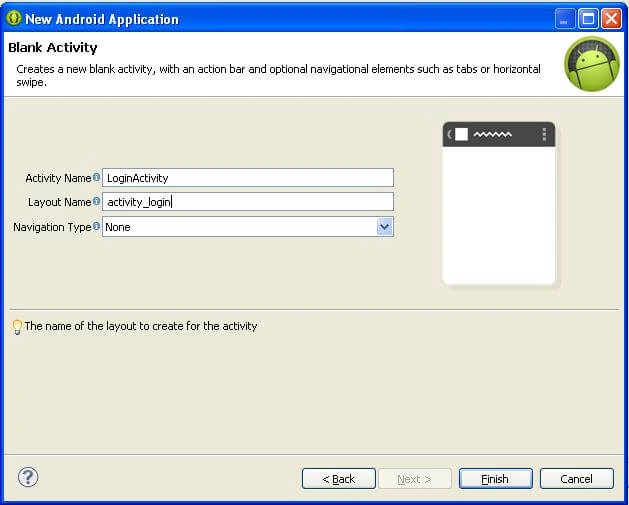
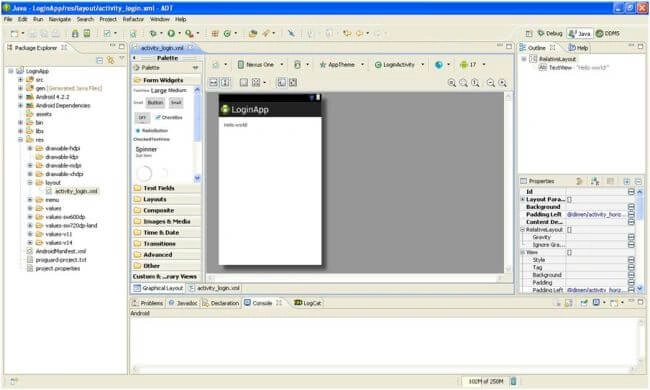
Now, look at your eclipse window carefully.
You will notice different windows like Package Explorer, Pallet, Outline, Console, and LogCat etc. These are very important things to notice while developing an Android application
Take a look at Palette. There are a few sections like Form Widgets, Text Fields, Layouts and more. Each section contains different components which can be used to create user interfaces.
Going back to our application, you will notice "Hello world!" text in your app window (similar to the example in the first post). It is a TextView, used to display a static text just like labels.
Delete the TextView.
There are two tabs,
- Graphical Layout
- activity_login.xml.
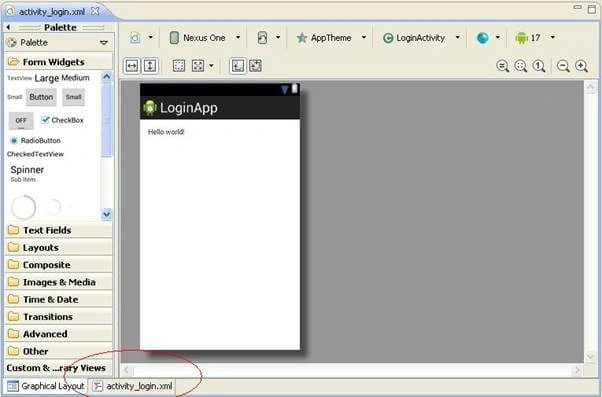
Open activity_login.xml. You will find the XML code which contains RelativeLayout.
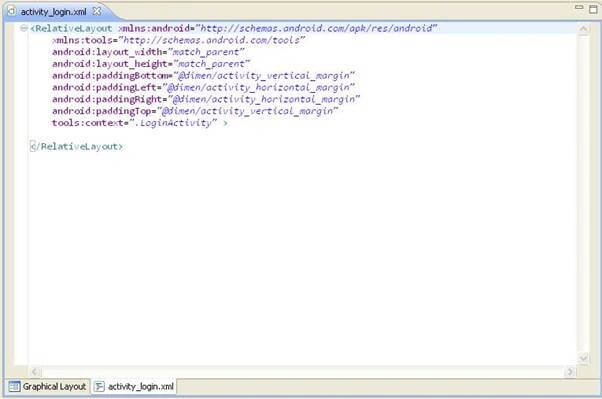
There are different layouts available in Android like Linear Layout, Table Layout, and Grid Layout etc. which form the base or the other components.
Now, again, go back to the Graphical Layout, go to Form Widgets and drag one TextView onto the UI.
 Right-click on the TextView which we have dragged in our UI and select Edit Text...You will be prompted with the following window.
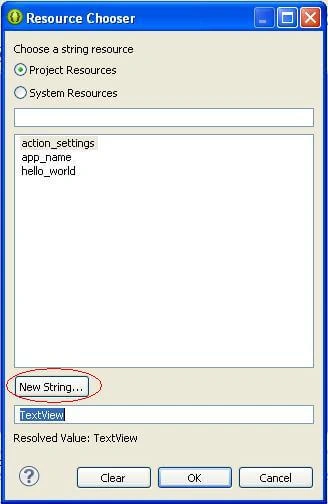
Select New String...
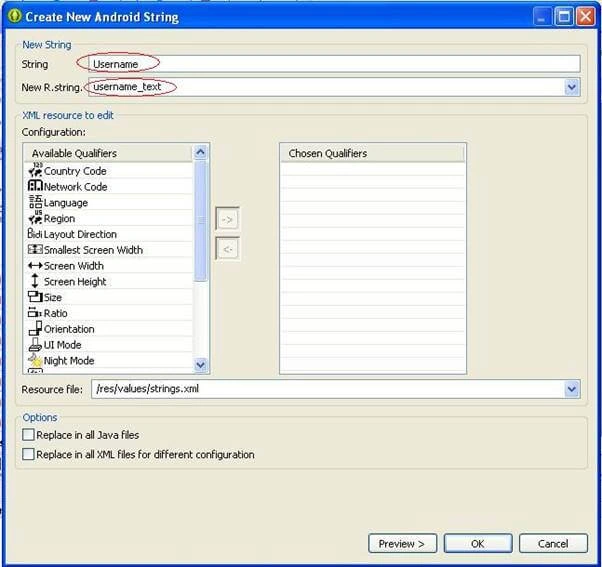 Specify New R. string. and String as mentioned in the image. New R. string is similar to the name of the variable and String is its value.
Click OK. You will get a new string that will be used to display in our TextView. Click OK on the "Resource Chooser" window.
Right-click on the "Username" TextView. Select Edit ID... Give the desired name to the TextiVew. I have given the name as tv_Username.
Drag an Edit Text field from the Palette's Text Fields section. If you see, there are different types of Edit Texts available. Drag the one which is highlighted in the below image.
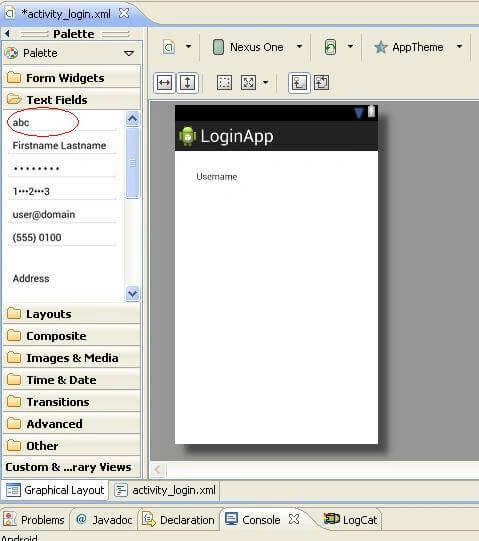 Similarly, set the text (blank) and id properties.
Now, add one more TextView and EditText. This time, select the Password edit text instead of a normal one, from the Palette's Text Fields section.
Add Button from the Form widgets section. Set its ID and text properties.
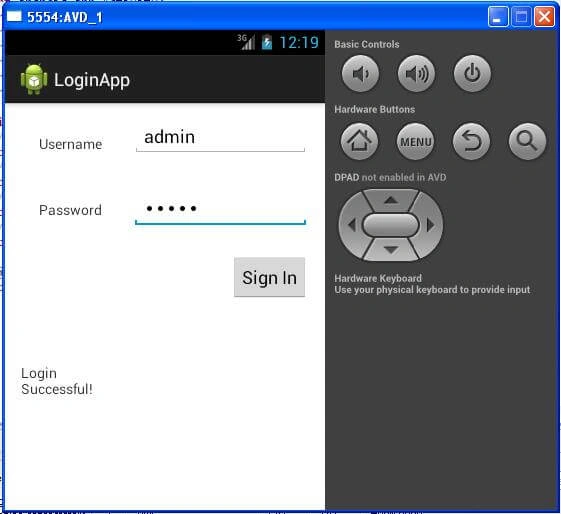 Add one more TextView at the bottom to display the messages for login status.
shweta ChaudharyPosted Feb 12, 2018, 5:05 AM
Thanku..... i will defenately use it in my application.
Munish APosted Oct 26, 2017, 10:26 PM
Nice article.........