

Later we will convert this app to a desktop app using electron, and we will create a stand-alone executable file using electron-packager.
Step 1 - Create a Firebase project and a Realtime Database.
For those who are new to Firebase, it is a Backend-as-a-Service — BaaS — that started as a YC11 startup and grew up into a next-generation app-development platform on Google Cloud Platform. Firebase frees developers up to focus crafting fantastic user experiences. You don’t need to manage servers.
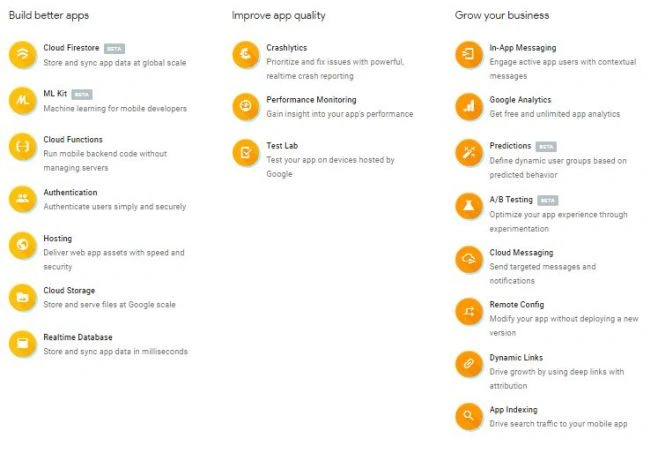
Currently Firebase supports many features as shown below.
We can create a Firebase project now. It'sfree.
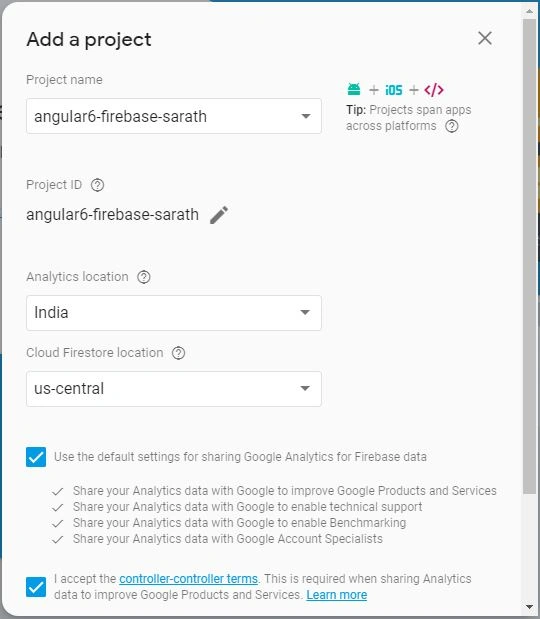
Give your project a name and it will create a unique project id automatically. You can change this project id later if needed.
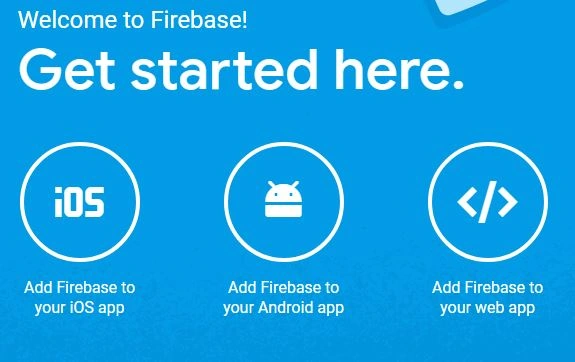
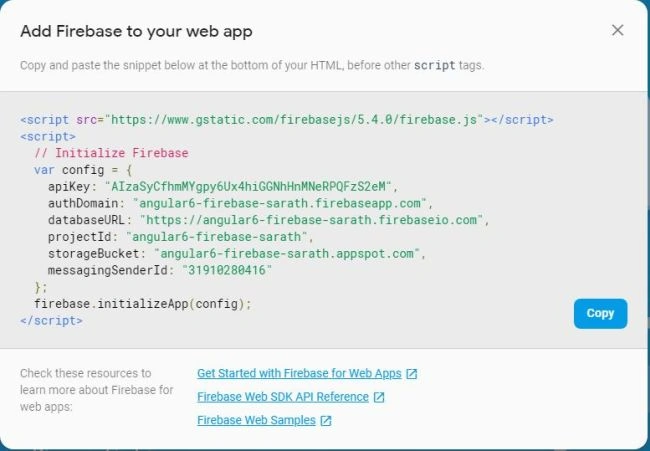
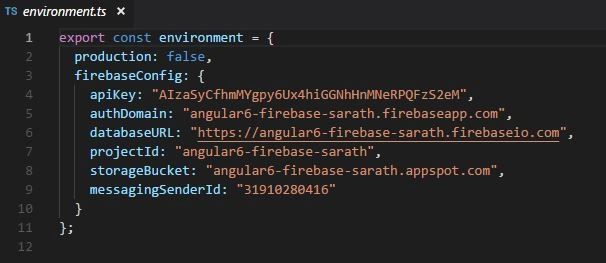
Copy the configurations and keep them separately. Later in your Angular app, we will use it. It looks like below.
Click Develop -> Database -> Create Database
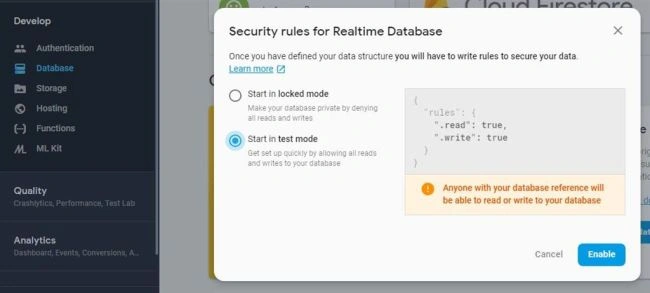
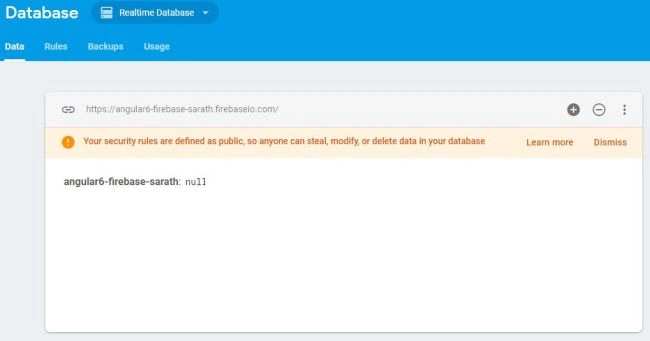
It currently shows a warning message as our security rules are defined as public and anybody can steal or modify our data. Please dismiss this. We can change our security rule later.
We are almost done with our Firebase database and we will use this DB in our Angular application.
ng new angular6-firebase-electron --spec false
- "angularfire2": "^5.0.0-rc.7",
- "firebase": "^5.0.2",
- "ngx-toastr": "^8.1.0"
Please download the entire source code from Github and run npm install.
- "styles": [
- "src/styles/main.scss",
- "node_modules/ngx-toastr/toastr.css"
- ],
We will add the firebase database configurations to environment.prod.ts and environment.tsfile.
- import { Injectable } from '@angular/core';
- import { AngularFireDatabase, AngularFireList } from 'angularfire2/database';
- import { Contact } from './contact.model';
- @Injectable()
- export class ContactService {
- contactList: AngularFireList<any>;
- selectedContact: Contact = new Contact();
- constructor(private firebase: AngularFireDatabase) { }
- // Getting data from firebase db
- getData() {
- this.contactList = this.firebase.list('contacts');
- return this.contactList;
- }
- // Inserting data into firebase db
- insertContact(contact: Contact) {
- this.contactList.push({
- firstName: contact.firstName,
- lastName: contact.lastName,
- phone: contact.phone,
- email: contact.email
- });
- }
- // Updating data in firebase db
- updateContact(contact: Contact) {
- this.contactList.update(contact.$key, {
- firstName: contact.firstName,
- lastName: contact.lastName,
- phone: contact.phone,
- email: contact.email
- });
- }
- // Removing an item in firebase db
- removeContact($key: string) {
- this.contactList.remove($key);
- }
- }
We can run the application now.
ng serve
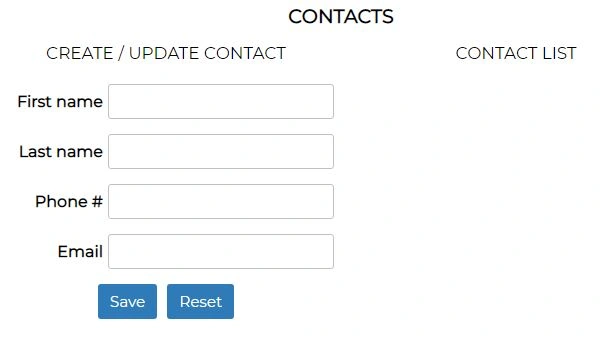
I am adding a sample contact now.
When we click the save button, data will be saved in the firebase database very quickly. Firebase is very fast as per my experience.
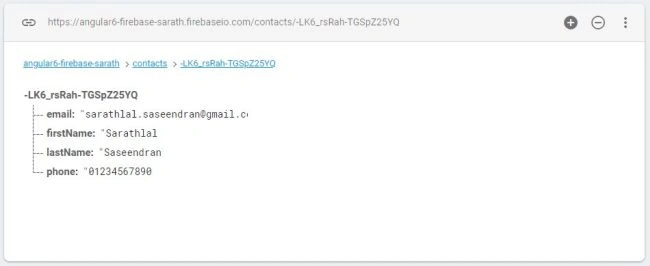
We can check the data in Firebase Console.
Step 3 - Publish our Angular app to Firebase cloud using firebase-tools
Before hosting our application, we need to build our angular production version using below npm command.
ng build --prod
Our production version of app is ready, and it is available in the dist folder.
It is easy to host our app in the cloud. Please install firebase-tools using below npm command.
npm install firebase-tools --g
Login to firebase
firebase login
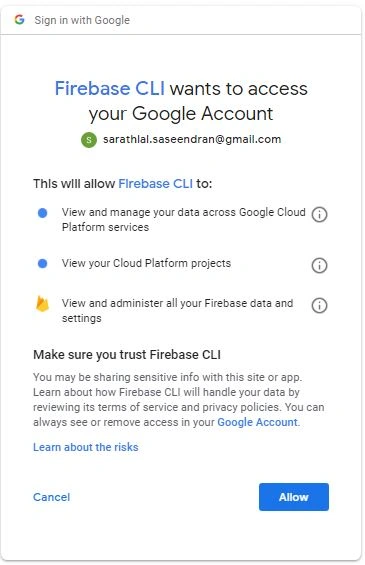
It will ask you to login with your existing Google account and allow Firebase CLI to access your Google account.
- firebase init
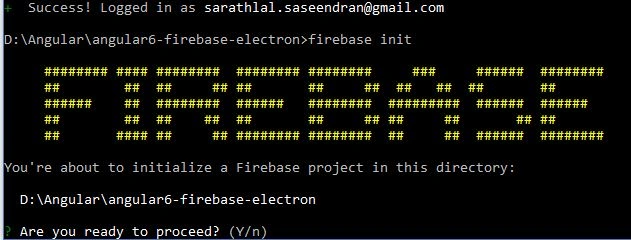

You can move the down arrow and press the space bar to select Hosting option and enter.
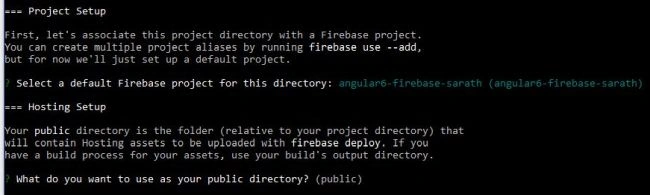
Please enter dist as your public directory. (Because as per our angular.json file angular builds the production version to dist folder.)

Press y to configure

It asks to overwrite dist/index.html. Please press N. (Very important) Otherwise your app will be over written by firebase default code.
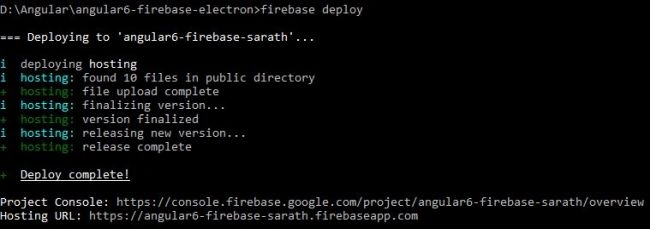
We can deploy our app now.
firebase deploy
Please note that it is very responsive, when we change the data in firebase console, it will immediately reflect in our app without refreshing. (like SignalR)
We have come to our last step. Create a desktop app from our existing Angular app using Electron.
For those who are new to Electron, it is a framework for creating native applications with web technologies like JavaScript, HTML, and CSS.
It takes care of the hard parts, so you can focus on the core of your application. It also supports Angular and React.
For creating an electron app, we must install electron and electron packager in our application.
Add package reference for electron and electron package in package.json and run npm install to install them.
- "electron": "^1.7.6",
- "electron-packager": "^9.1.0"
- "electron": "electron .",
- "electron-build": "ng build --prod && electron ."
We can build the electron app using npm run electron-build command.
main.js
- const {
- app,
- BrowserWindow
- } = require('electron')
- let win;
- function createWindow() {
- // Create the browser window.
- win = new BrowserWindow({
- width: 800,
- height: 600,
- backgroundColor: '#ffffff',
- icon: `file://${__dirname}/dist/assets/logo.png`
- })
- win.loadURL(`file://${__dirname}/dist/index.html`)
- //// uncomment below to open the DevTools.
- // win.webContents.openDevTools()
- // Event when the window is closed.
- win.on('closed', function() {
- win = null
- })
- }
- // Create window on electron intialization
- app.on('ready', createWindow)
- // Quit when all windows are closed.
- app.on('window-all-closed', function() {
- // On macOS specific close process
- if (process.platform !== 'darwin') {
- app.quit()
- }
- })
- app.on('activate', function() {
- // macOS specific close process
- if (win === null) {
- createWindow()
- }
- })
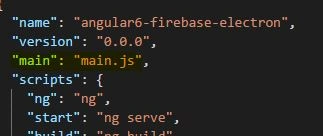
We must modify the package.json with a main entry as below.
npm run electron-build
Our desktop application is ready and opened as below.
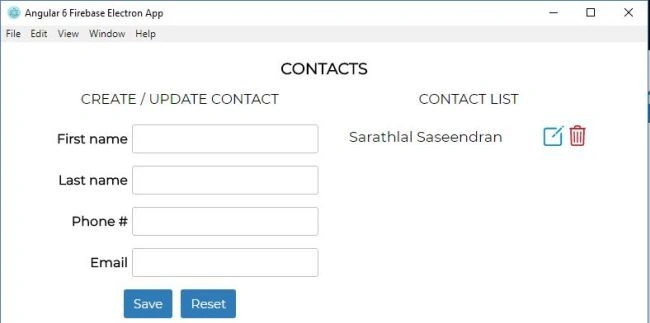
This is just run as an electron emulator, we can create our windows app using this simple command.
electron-packager . --platform=win32
I hope you enjoyed the simple steps to create Firebase app and Electron app from same Angular code.
You can download the entire source code from Github repo.
Happy coding with Angular, Firebase and Electron.
Ajith NairPosted Jul 21, 2020, 6:16 AM
Win.loadURL(`file://${__dirname}/dist/index.html`) This line of code is Tricky. It could result in the Not allowed to Load Local Resource error. It is back quote and not single quote.