

This article explains how you can back up and restore your clear DB MySQL database in a virtual machine in Azure.
If you are new to azure, I recommend you to read here.
Background
I hope you read my articles related to Virtual Machines in azure. If not, please read those. I was being limited to use only 20 MB size since one of the MSDN subscription was providing me ClearDB. So I thought of creating a virtual machine and install MySQL. Then I restored my previous database to my new database. Here in this article, I will share you the steps to back up and restore your database.
Steps to Back Up your ClearDB and restore
Login to your azure portal.
Login to your Azure Virtual Machine.
Hope you have already installed MySQL in your Virtual Machine. If so, we are ready to go.
Go to start menu, and type MySQL, you will be shown some results. Click on the MySQL command line section.

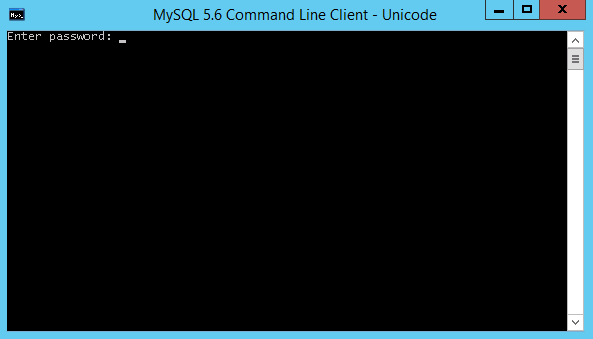
Provide your MySQL password.
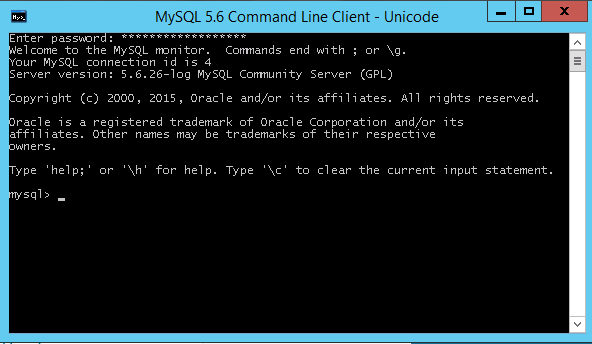
You will be getting a welcome message as in the following screenshot:
Create a database by executing a query as in the following screenshot:

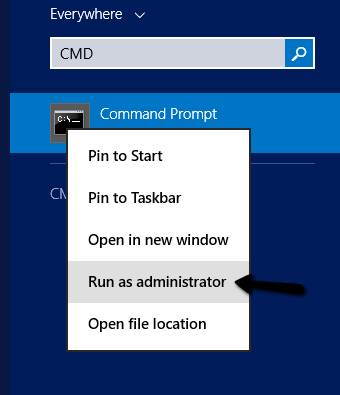
Go to start again, type cmd, right click and run as administrator on the result as follows.
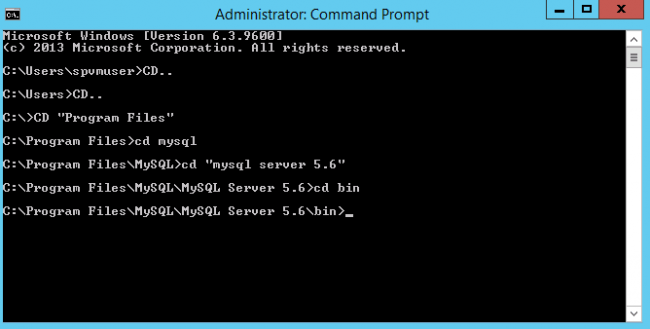
Go to MySQL bin folder by executing the commands as in the following screenshot:
Before going through the back up process, we need to make sure that our website related files can be opened with on-line visual studio.
For that you need to follow the below steps.
Go to your windows azure portal, click on the web application you need to edit. Once you done that, you can see the dashboard for that web application. Click on CONFIGURE.
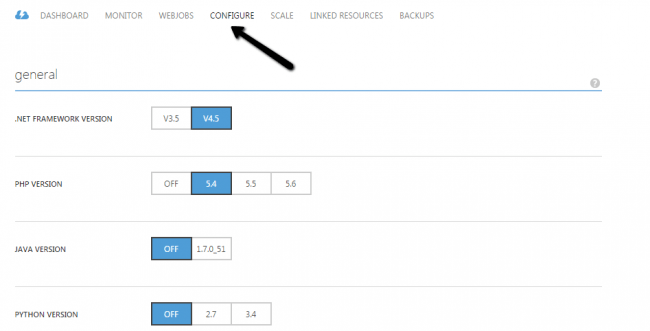
Scroll down and switch on edit in visual studio on-line option.

Now if you go to the options given in the area of your dashboard, you can see edit in visual studio on-line option.

Just click on that option and it will open visual studio on-line with your application files.
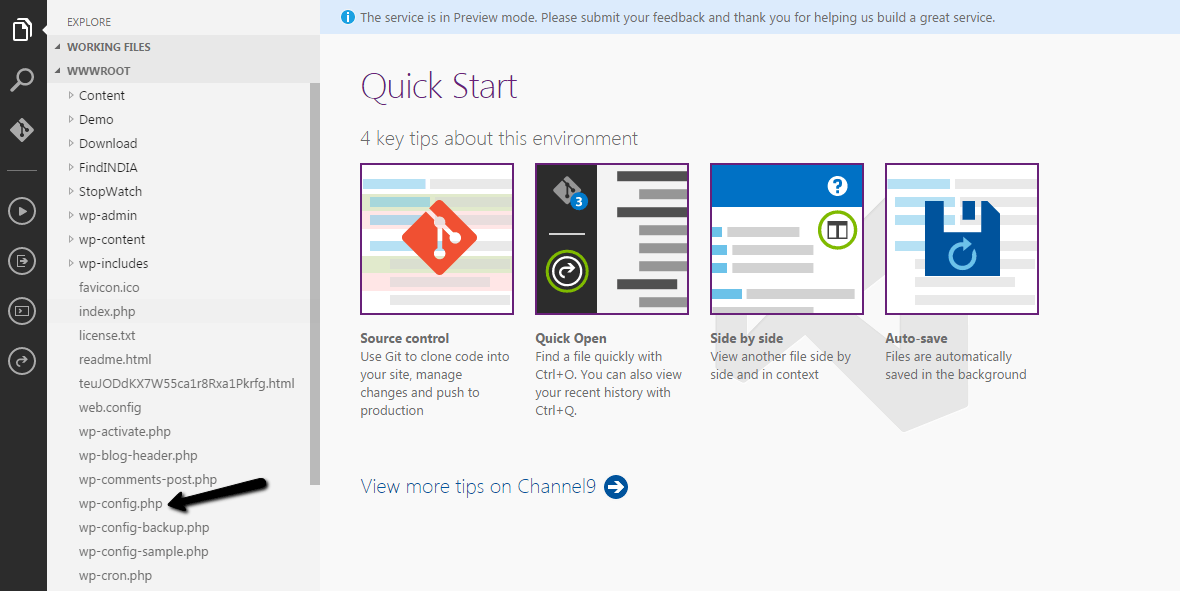
Now go back to your command prompt in your virtual machine and type a command as follows.

In the above command, what we do is, creating back up from our old database to a new file. Make sure that you have given the correct details.
- User Name
- Host Name
- Database Name
These information you can get from the wp-config.php file from your web application folder. Remember we have enabled open with visual studio on-line option? Please go back to that and copy the needed information from wp-config.php file.
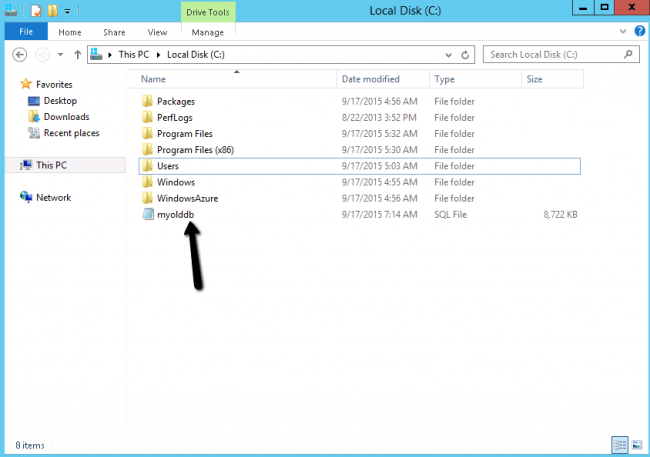
So once you execute that command you can get a script file in your c folder, In my case I gave the path as C and the file name as myolddb. So I got the script file as in the following screenshot:
The next thing we need to do is, restoring the back up to our new database, right? Hope you already got back up file.
Go to the command prompt again. Type the command as follows.

Please be noted that you need to give your new username you have created for your new MySQL database and the new database name here.
In my case vmmysqluser was the username and sibeeshpassion is the database name.
Now it is time to check the database is restored or not. We have some set of queries for that.
Firstly, change the database to your new database.
- use yournewdatabasename;
- show tables;
Now we will see the tables inside this new database.
It will result the list of tables inside this new database.
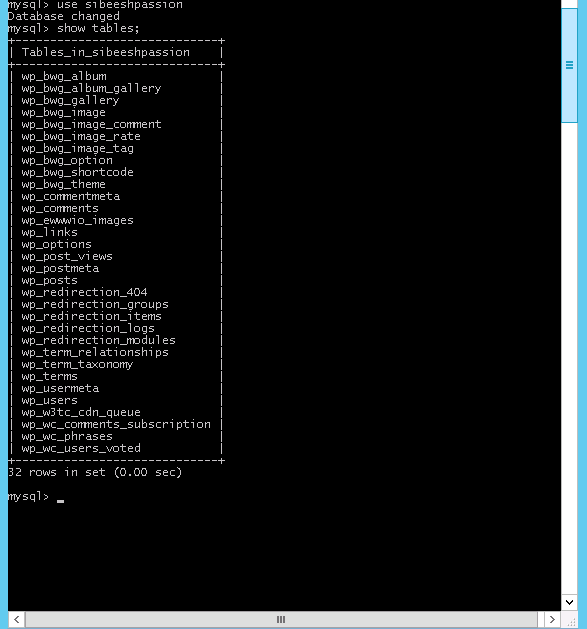
So we have successfully done back up and restoring our MySQL database in azure virtual machine.
Conclusion
Did I miss anything that you may think which is needed?. Have you ever tried virtual machine in azure?. If not, I strongly recommend that. Is this post helped you do back and restore your old database to new one? I hope you liked this article. Please share me your valuable suggestions and feedback.
Your turn. What do you think?
A blog isn’t a blog without comments, but do try to stay on topic. Write your questions in the comment section below.
Sibeesh VenuPosted Nov 24, 2015, 4:20 AM
Santhakumar Munuswamy Thank you
Santhakumar MunuswamyPosted Sep 22, 2015, 3:08 PM
Nice Article. Thanks for sharing
Sibeesh VenuPosted Sep 22, 2015, 1:07 AM
Karthikeyan K Thank you :)
Sibeesh VenuPosted Sep 22, 2015, 1:06 AM
Rakesh Chavda Thank you :)
Sibeesh VenuPosted Sep 22, 2015, 1:06 AM
Nilesh Jadav Thank you :)
Sibeesh VenuPosted Sep 22, 2015, 1:06 AM
Ankit Bansal Thank you :)
Sibeesh VenuPosted Sep 22, 2015, 1:06 AM
Upendra Pratap Shahi Thank you :)
Karthikeyan KPosted Sep 21, 2015, 11:40 PM
Good one
RakeshPosted Sep 21, 2015, 10:11 AM
Good share
Nilesh JadavPosted Sep 21, 2015, 6:29 AM
Great Work !!
Ankit BansalPosted Sep 21, 2015, 6:14 AM
good one...
Upendra Pratap ShahiPosted Sep 21, 2015, 3:28 AM
nice article sir.....very informative for developer...