

Introduction
In this article, I will explain how to create a cloud service in Azure using Eclipse. To learn about Eclipse IDE and its usage, you can refer to this link.
Prerequisites
- JDK (java developer kit ) v1.7 or 1.8.
- Eclipse IDE of JEE for Neon or later version of it. It can be downloaded from the following link.
- Azure SDK; it can be downloaded and installed from here.
- Apache Tomcat (local server for Eclipse).
- Azure Toolkit for Eclipse and you can visit this article for installing in Eclipse.
- An active Azure subscription.
Create a Cloud Service application using Eclipse
Step 1
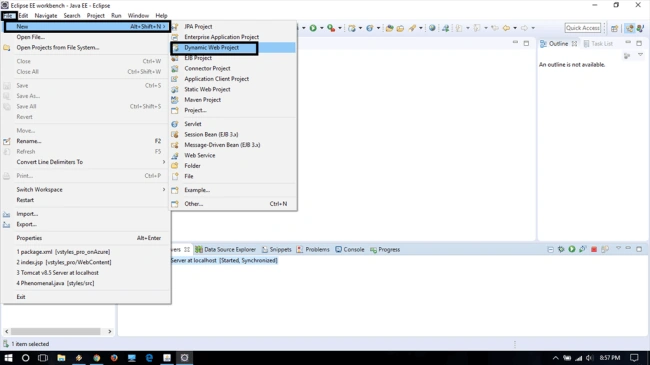
Open Eclipse and click Menu->File->Dynamic web project.
Step 2
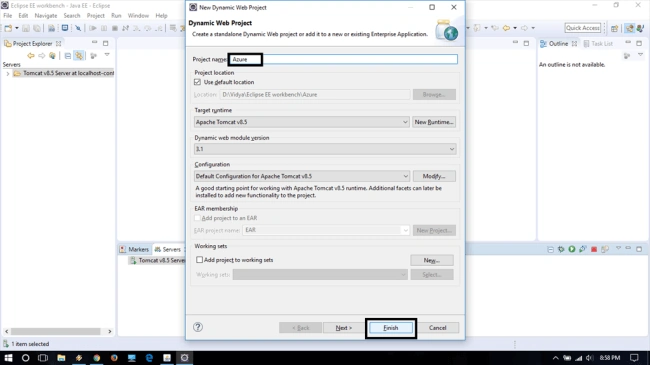
Provide a name for your project and click Finish.
Step 3
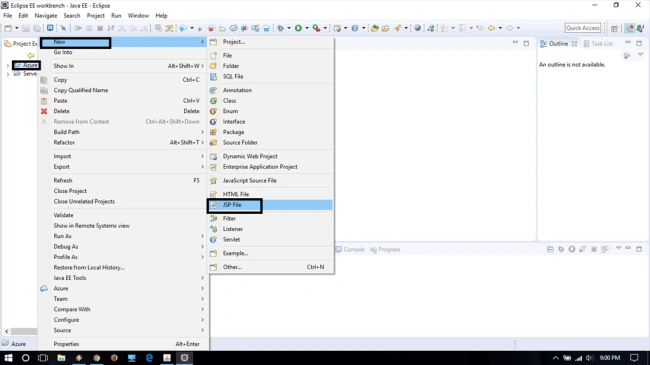
In the left side of Eclipse project explorer View, right click your project and select web content >> New >> JSP file.
Step 4
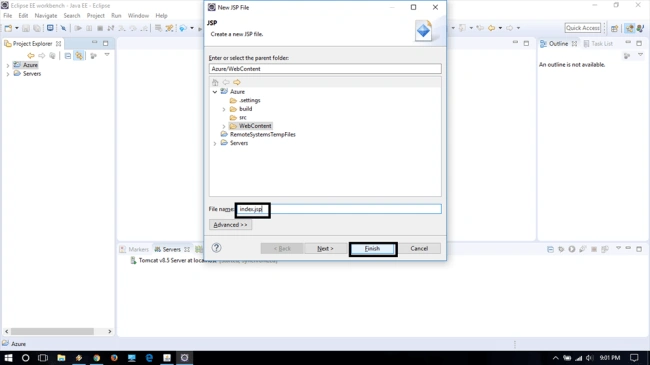
In JSP File dialog, name the file index.jsp and click Finish.
Step 5
The index.jsp file will be opened in Eclipse. In the text to display “service “within the existing <body> element tag as shown. (I have inserted text as service, you can enter any name or any content as your wish).
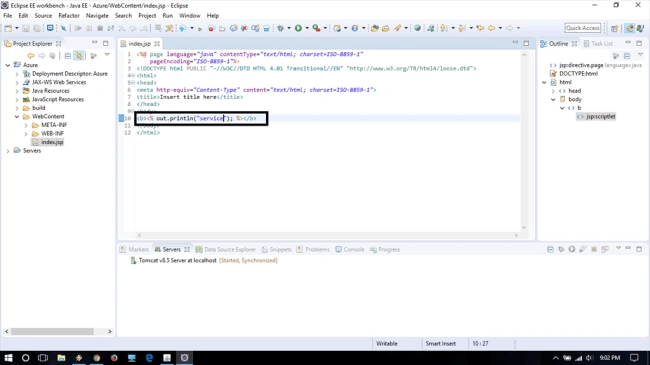
Azure deployment of Cloud Service from Eclipse
Step 6
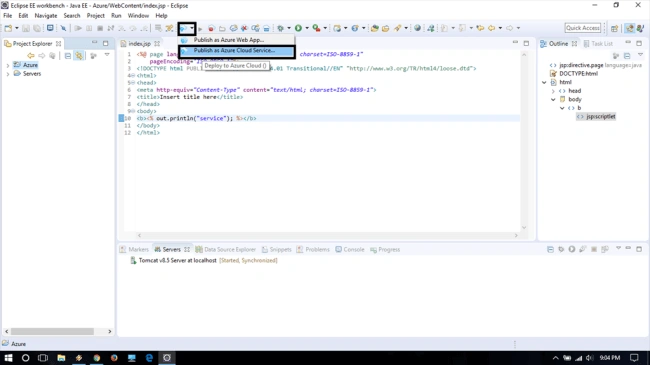
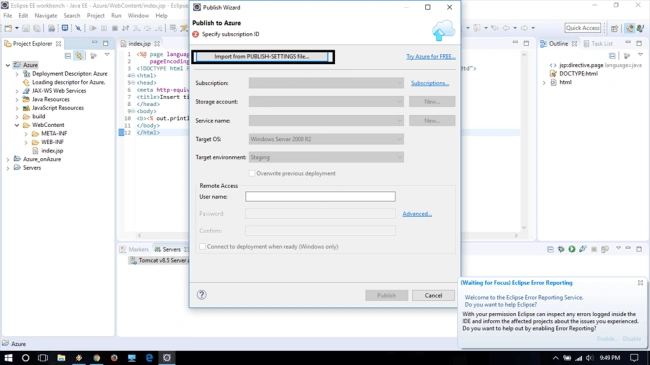
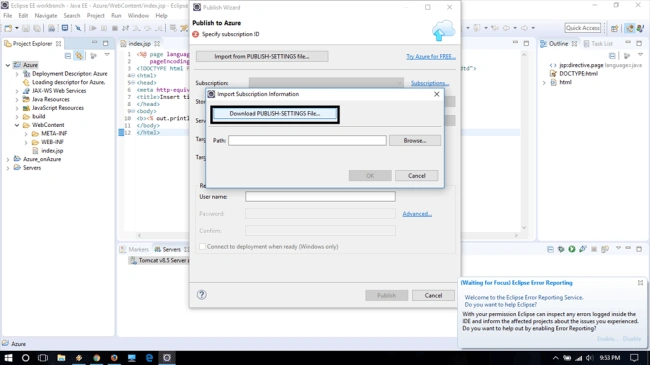
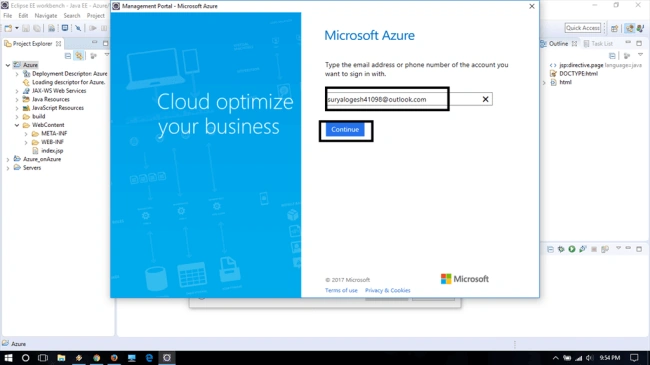
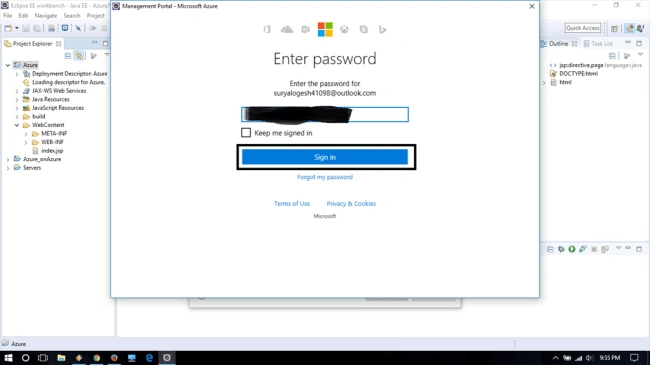
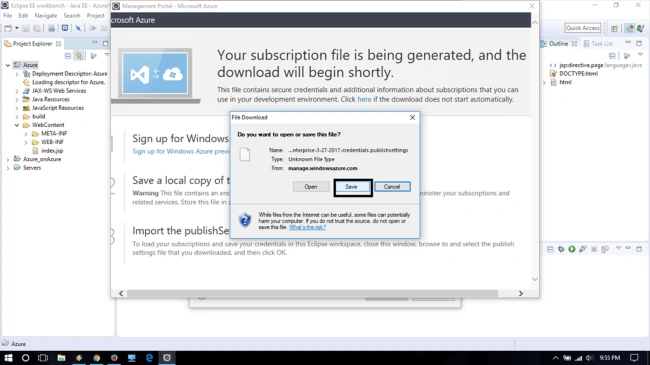
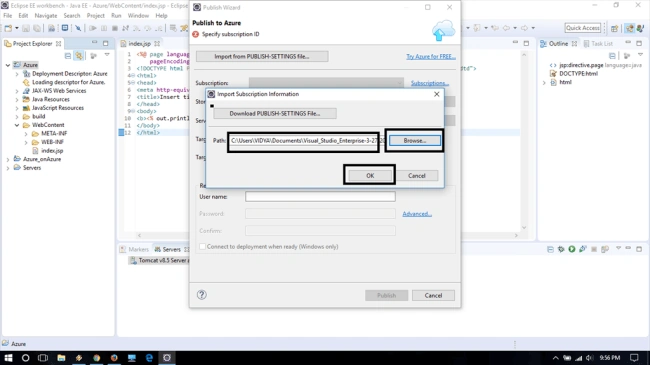
In Project Explorer, click project name.
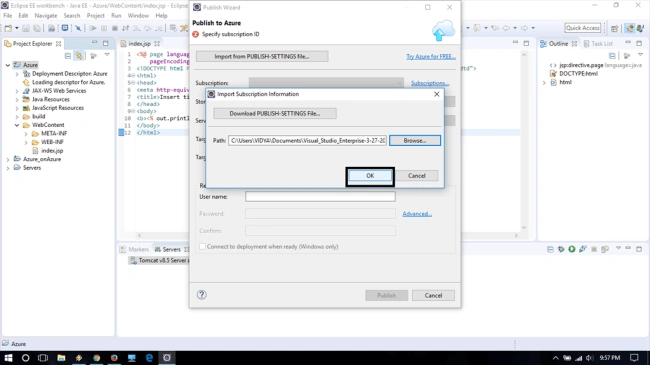
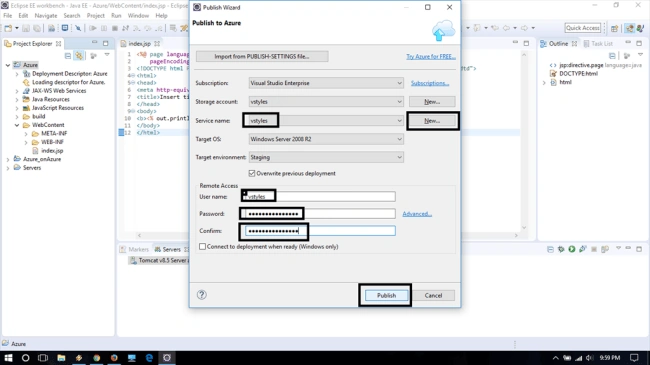
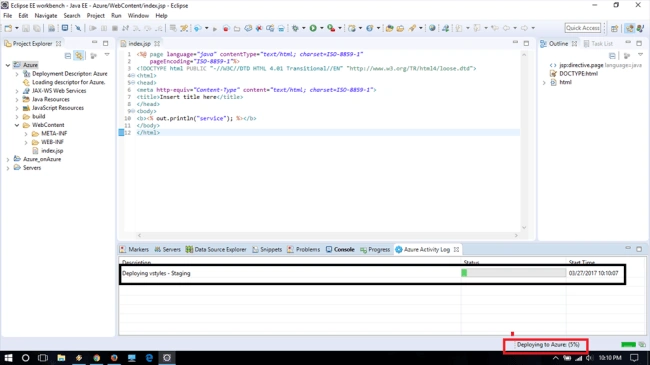
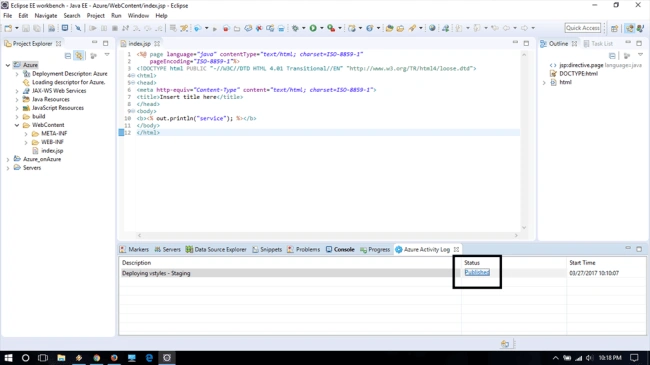

Join the conversation! Your thoughts help the community grow.