

Introduction
In this article, we will create a sample React JS application and learn how to containerize it with the help of docker.
Agenda
- Sample React JS Application
- Generate Docker File
- Containerization of Application
Prerequisites
- NPM
- React JS
- Docker Engine
Sample React JS Application
Step 1. Create a New React JS Application
Create a new React JS application using the below command.
Note. Make sure you already have NPM and React JS on your machine.
npx create-react-app reactjs-app-docker
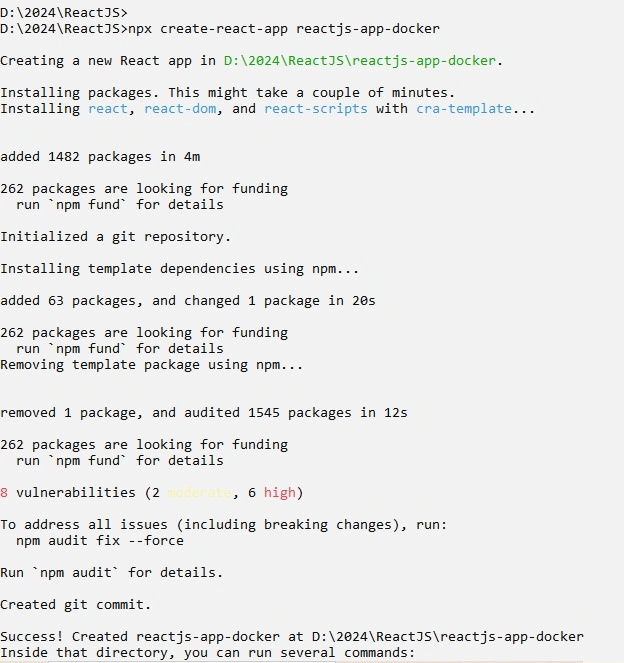
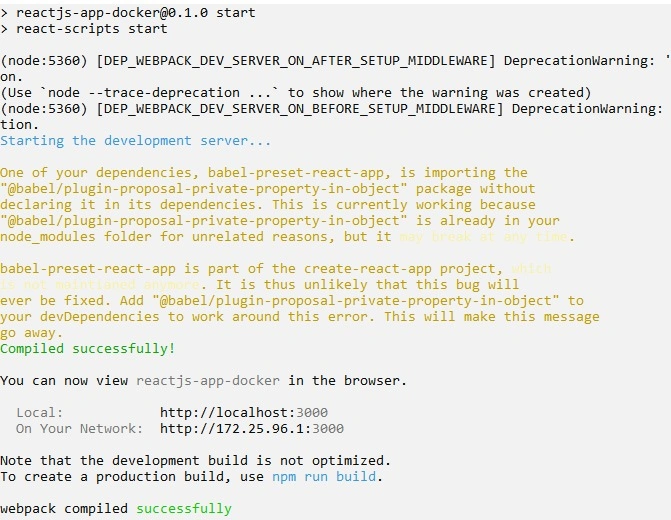
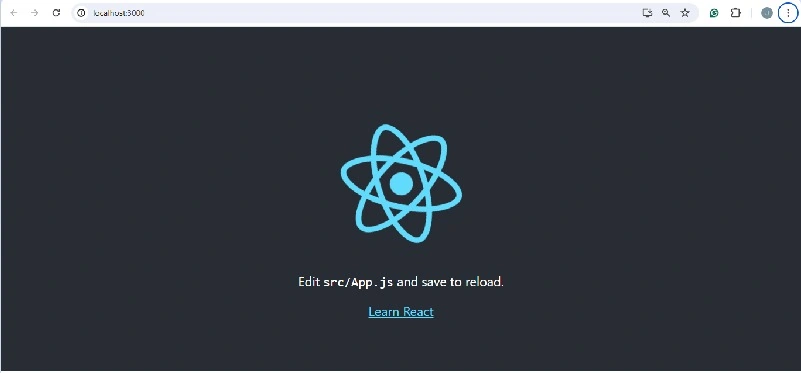
Step 2. Run the Application
Go inside the application directory and run the application.
npm start
Generate Docker File
# Use the official Node.js base image
FROM node:18

# Set the working directory
WORKDIR /app

# Copy package.json and package-lock.json files
COPY package*.json ./

# Install dependencies
RUN npm install

# Copy the rest of the application code
COPY . .

# Build the React app
RUN npm run build

# Install serve globally to serve the build folder
RUN npm install -g serve

# Expose the port the app runs on
EXPOSE 3000

# Start the React app
CMD ["serve", "-s", "build"]
Explanation of each step of Docker File.

This line specifies the base image for our Docker image. We are using the official Node.js image with version 18. This image includes everything needed to run a Node.js application.

The above line sets the working directory inside the Docker container to /app. All subsequent commands will be run in the /app directory. This helps keep the filesystem organized inside the container.

Copies package.json and package-lock.json from the host machine to the current working app directory in the Docker container. These files are necessary to install the application's dependencies.

This step runs npm install to install the dependencies defined in package.json. This step ensures that all the necessary Node.js packages are installed in the container.

Next, copy all the files and directories from the current directory on the host machine to the current working directory in the Docker container. This includes the source code and any other files required to build and run the application.

This line runs the npm run build, which builds the React application for production. The build process compiles the React code.

Installs the serve package globally inside the Docker container. serve as a simple static file server that we will use to serve the built React application.

This line informs Docker that the container listens on port 3000 at runtime. This is the port where the React application will be served.

Next, specify the command to run when the container starts. Here, the serve -s build starts the serve static file server and serves the contents of the build directory, which contains the compiled static files from the React build process.
Containerization of Application
Note. Make sure you have Docker Engine on your machine.
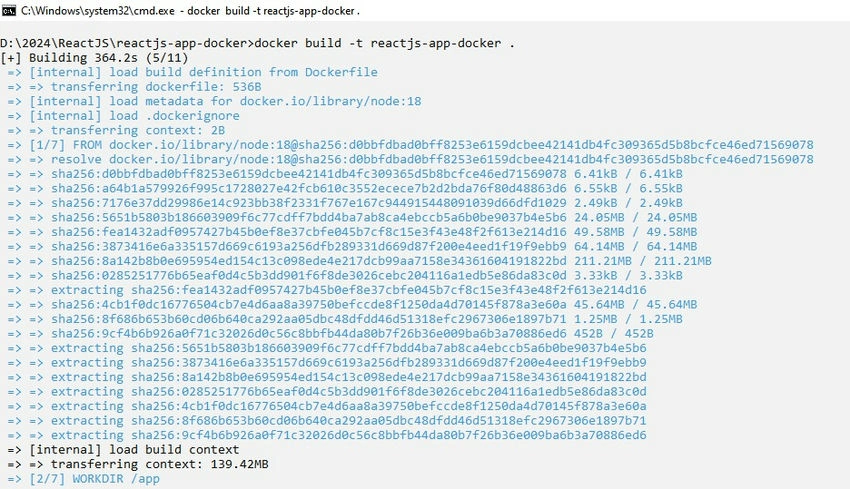
Step 1. Build the docker image
Build the docker image.
docker build -t reactjs-app-docker .
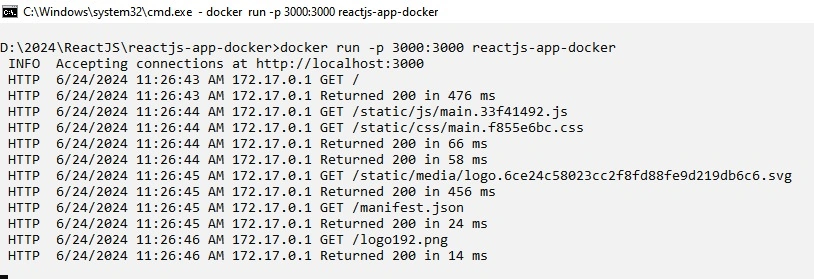
Step 2. Run the docker image
Run the docker image.
docker run -p 3000:3000 reactjs-app-docker
Github: https://github.com/Jaydeep-007/reactjs-app-docker
Conclusion
In this article, we created a sample React JS application. After that, generate one Docker file and understand each step and purpose. Lastly, build a Docker image file and containerize it with the help of Docker commands.
Join the conversation! Your thoughts help the community grow.