

SharePoint 2016 general availability was announced in the Future Of SharePoint conference in May 2016. The series that discusses the installation of SharePoint 2016 in Azure can be found at C# Corner from the links, given below-
- SharePoint 2016 installation in Azure-Part 1
- SharePoint 2016 installation in Azure-Part 2
- SharePoint 2016 installation in Azure-Part 3
Nintex is a premium technology partner for SharePoint. With the announcement of SharePoint 2016, Nintex made the announcement of the general availability of Nintex Workflow 2016 on July 11, 2016.
In this article, we will see how to copy list items across Site Collections, using Nintex Workflow. In order to store the list items, we will have a child list.
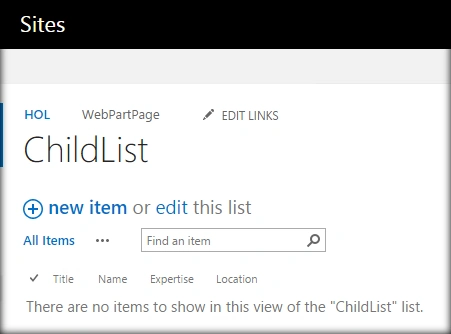
Whenever a new item is added to the child list, it will be copied to the master list, using Nintex Workflow 2016.
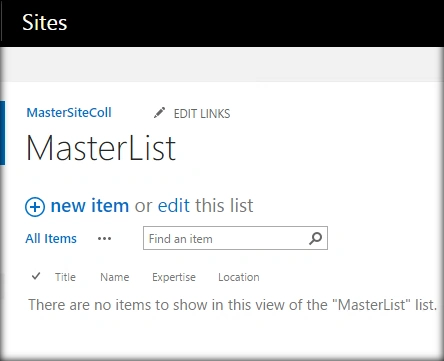
The scope of the article will be -
- Create a list item in the Child List.
- Copy the list item to master list, using Nintex Workflow
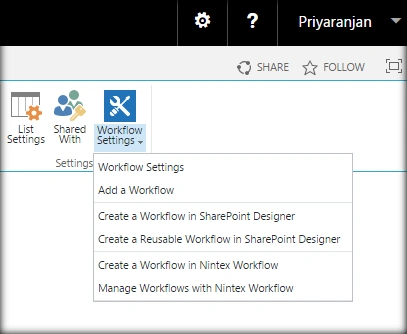
Let’s go ahead to the the primary list, where we will be running our Nintex Workflow. In our case, it is the ‘ChildList’. Select ‘Create a Workflow in Nintex Workflow’.
This will open up the Nintex Workflow designer. We can select the actions from the left pane. Add the ‘Create Item in another Site’ action to the form.
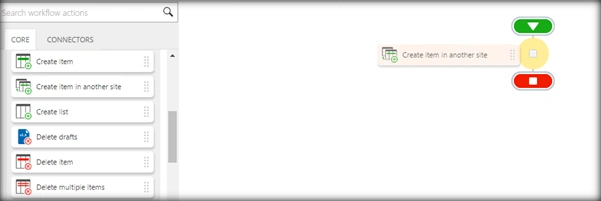
Once Run, if action is added, it will show the condition missing warning.
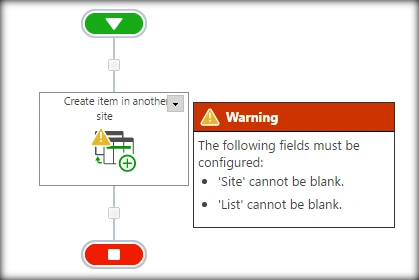
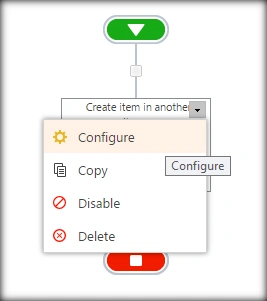
Click on Configure button, in the action.
This opens up the form where the user profile information, that needs to be updated, can be entered.
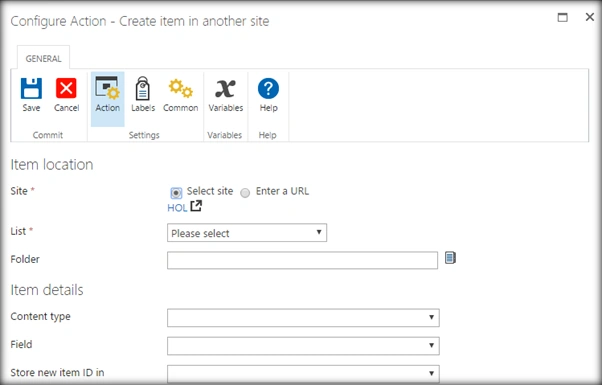
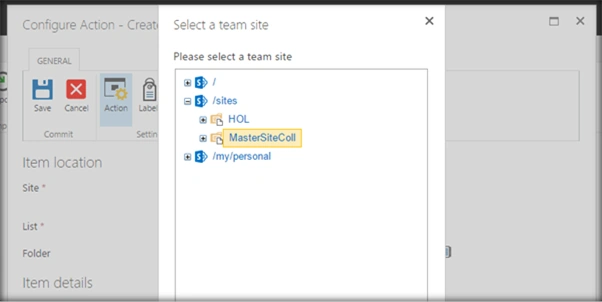
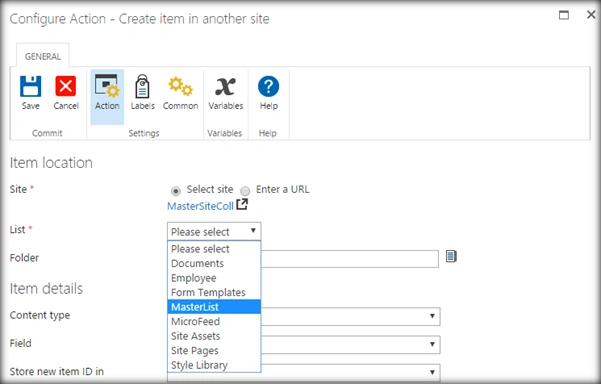
Specify the Site Collection to which the List item will be copied.
Specify the name of the list: Master List, to which the item will be copied.
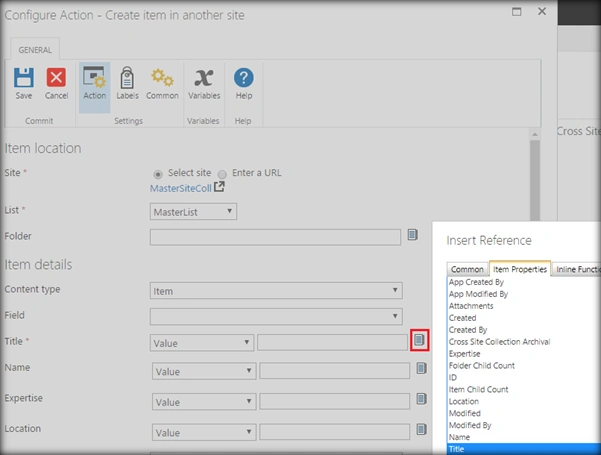
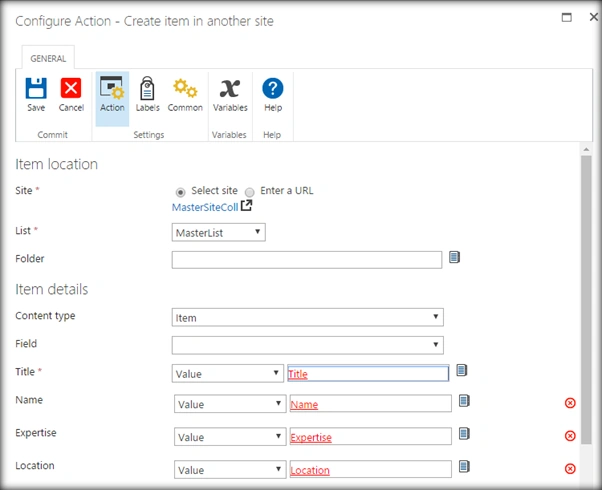
Now, we have to specify the value of the List item columns that will be copied to the list. Assign the Master List Title value with the Child List Column ‘Title’.
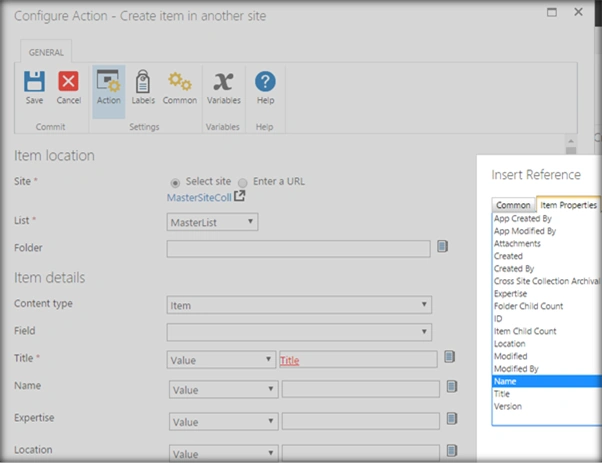
Assign the Master List Name value with the Child List Column ‘Name’.
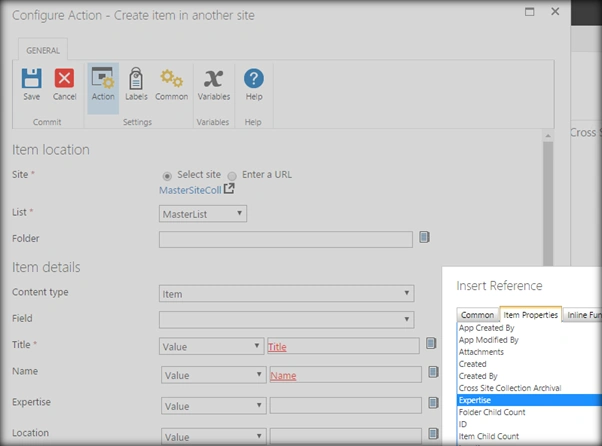
Assign the Master List Expertise value with the Child List Column ‘Expertise’.
Assign the Master List Location value with the Child List Column ‘Location’.
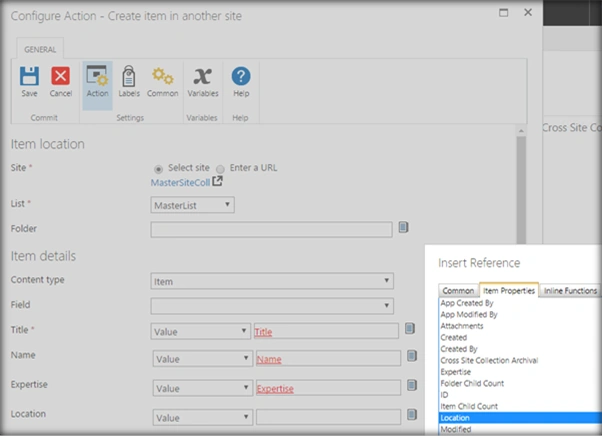
Post Configuration the form will look like,
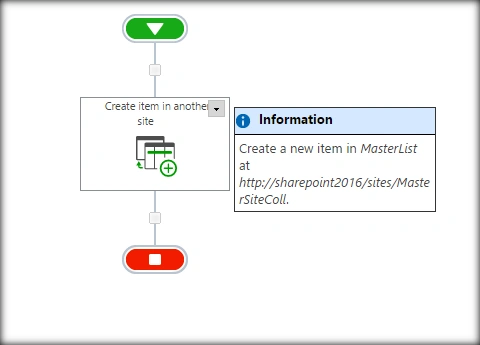
The workflow designer now looks like,
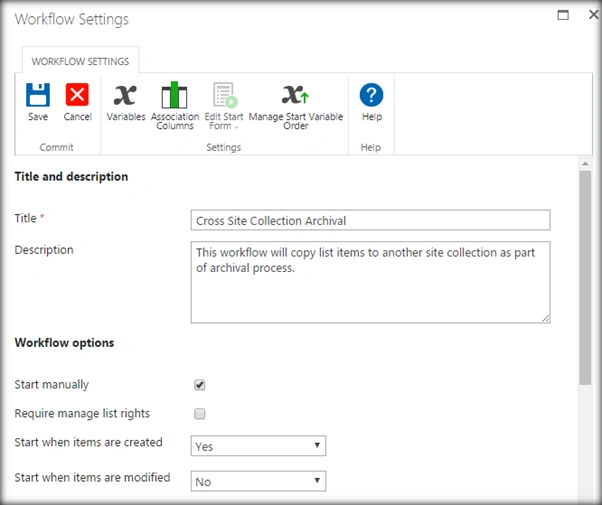
Now, set the workflow triggering condition. Here, we are setting it to ‘Start when items are created’ so that the workflow triggers on item creation.
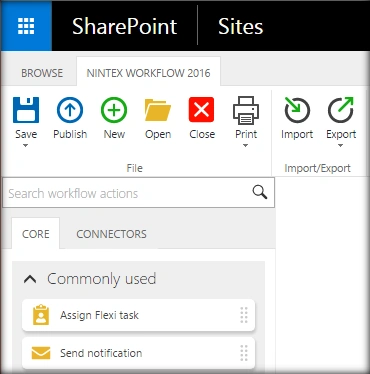
Now, ‘Publish’ the workflow.
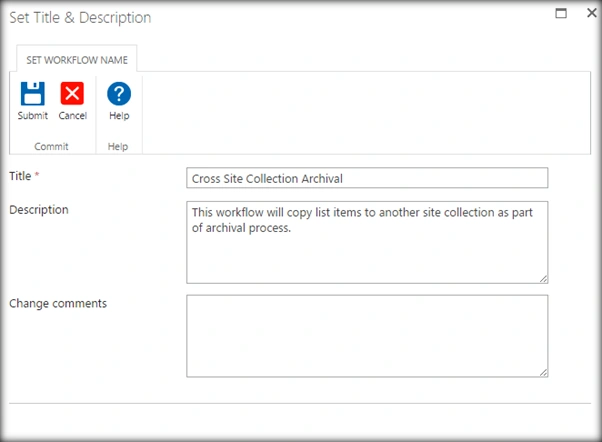
Specify the workflow name and description.Then, Submit.
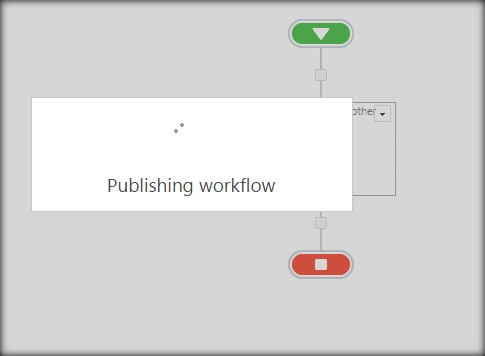
The workflow is being published.
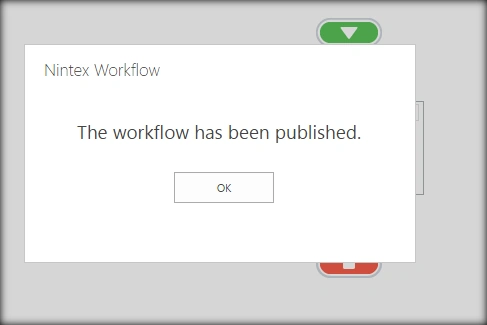
Finally, the publishing is completed.
Now, let’s head over to the Child List and create a new item.
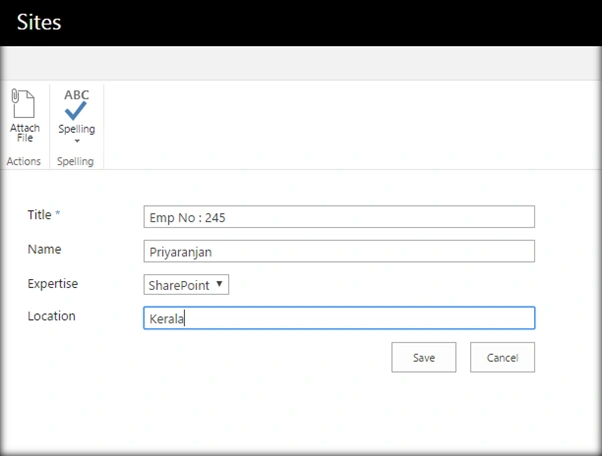
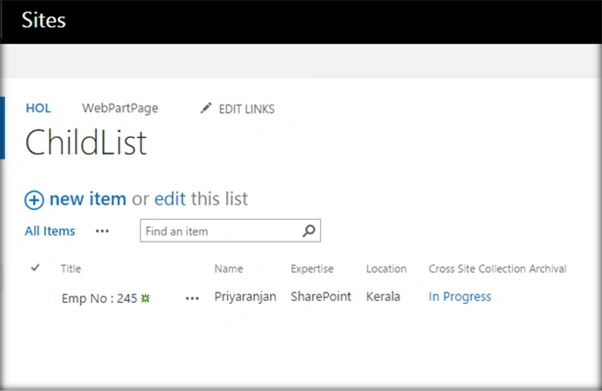
This will start the workflow that copies the list item to Master List. The status can be verified from the Workflow Column “Cross Site Collection Archival”.
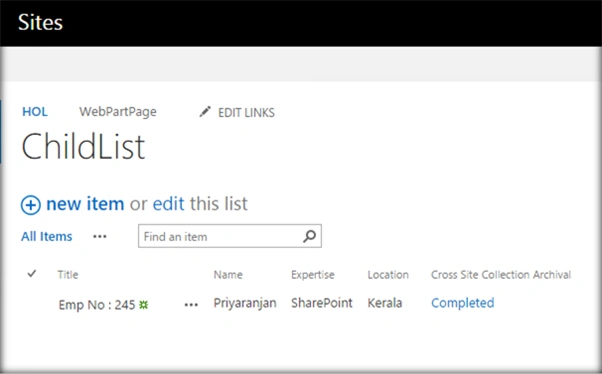
The workflow has now run to completion.
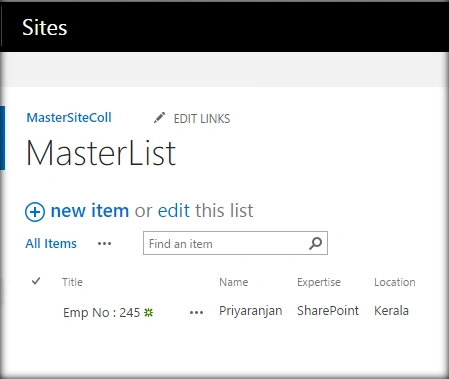
The List item has been copied and created as a new item in the Master List.
Summary - Thus, we saw how to copy List item across Site Collection in SharePoint Server 2016, using Nintex Workflow 2016.
Joshua PaynePosted Apr 14, 2018, 10:39 AM
Hi Priyan, when I use the [Create Item in another list] workflow action, copying an item from one list (LIST A) to another list on another subsite (LIST B); the items fields derived from a look up column on LIST A copy over into LIST B with "number;#data" in front of my desired field data. E.g say I intend to create a new list item in LIST B from LIST A as followsNote: [Text] = Single line of text or Multiple lines of text LIST A: Column Type, Column name, Data ************* Lookup [Text], Product Code, PRD-224 Lookup [Text], Product Name and Code, PRD-224 (Box of cool stuff -RED) Lookup [Text], Colour, Red [Text], Description, "Simple but stylish box of cool stuff, items inside are red". LIST B: Column Type,Column name, Data ************* [Text], Product Code, 32;#PRD-224 [Text], Product Name and Code, 32;#PRD-224 [Box of cool stuff -RED] [Text], Colour, 14;#Red [Text], Description, "Simple but stylish box of cool stuff, items inside are red". Columns "Product Code", "Product Name and Code" and "Colour" on LIST A are lookup columns to another list (Product Catalogue list); after the workflow is run on a item on LIST A the result is these columns (and others) are created in LIST B with a "number;#" in front of the data.... I.e. in my example "14;#". How can I stop this from happening? I hope I have explained clearly?
Tarun DPosted Sep 20, 2016, 6:33 AM
Nice one..
Vignesh ManiPosted Sep 19, 2016, 8:21 AM
Nice one