

In this article I have explained how to create a document library in SharePoint and create a folder inside the document library and provide an item level permission for list and libraries.
Step 1: Create a document library in SharePoint 2013.
Open SharePoint site.

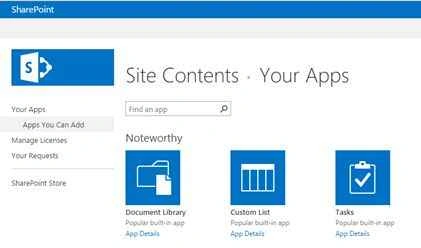
Click on site settings and Add an app.

Click Document library.
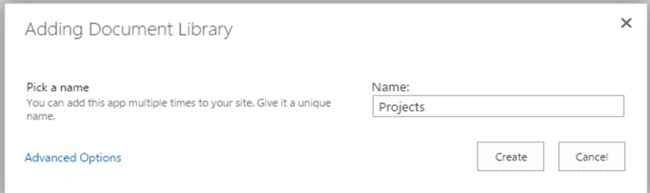
Provide name for the document library and click Create.
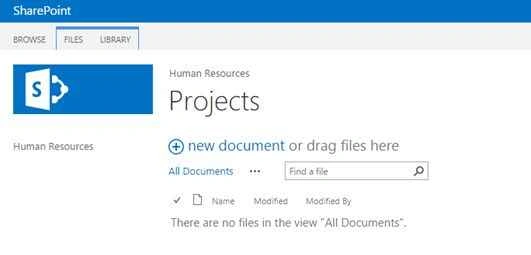
So now the new document library created successfully.

Step 2: In the next step I will explain about how to create folders inside SharePoint library.
Open your created document library.
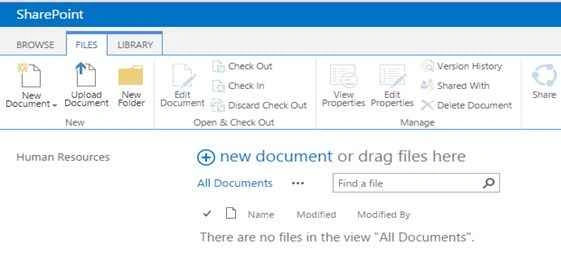
Click on ‘Files ’ in the top of the ribbon and click ‘New Folder’.
Provide the name for the new folder.
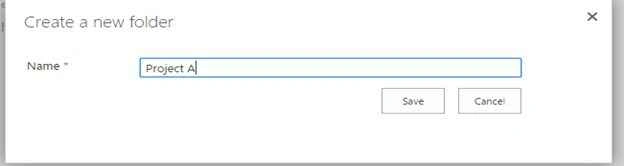
Click Save.
Created two folders inside the document library.

Upload some documents into the folders.
Click on new document.
Choose file, then choose destination folder.
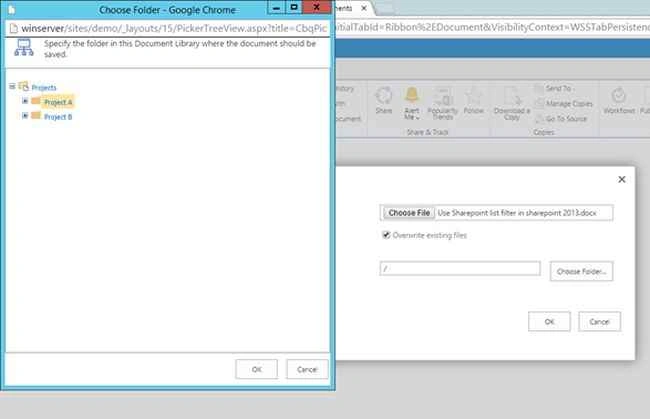
Click ok.
So now the document has been uploaded successfully.
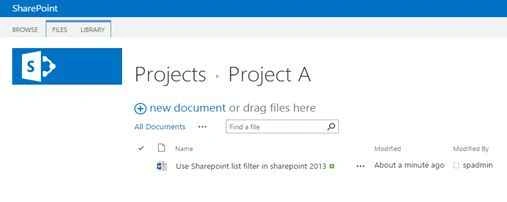
Step 3: In this step how to provide the item level permission in SharePoint document libraries.
Click SHARE.

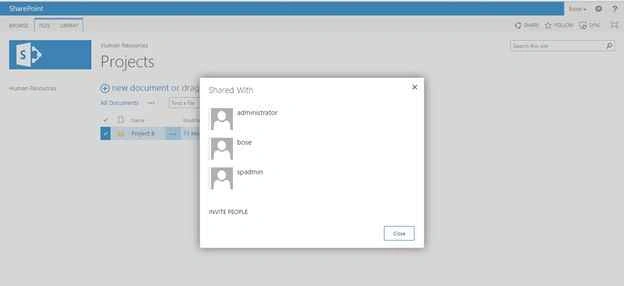
Now it has been shared with ‘administrator’.
Now login as different user name ‘bose’, see it is not showing the folder Project A.
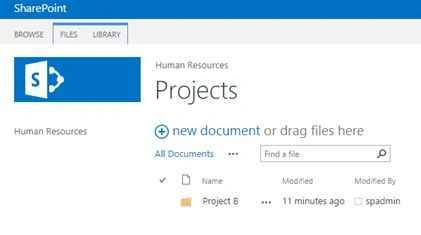
You can see now Project B item shared details.
Vinodh NarayananPosted Sep 23, 2015, 3:50 AM
Thanks a lotHarshad Pansuriya
Vinodh NarayananPosted Sep 23, 2015, 3:50 AM
Thanks a lot Sibeesh Venu
Harshad PansuriyaPosted Sep 23, 2015, 3:27 AM
Nice One
Sibeesh VenuPosted Sep 23, 2015, 3:06 AM
Nice Share
Vinodh NarayananPosted Sep 23, 2015, 2:03 AM
Karthikeyan K Thanks a lot\
Vinodh NarayananPosted Sep 23, 2015, 2:03 AM
Ankit Bansal Thanks a lot
Ankit BansalPosted Sep 23, 2015, 1:52 AM
thanks for sharing..
Vinodh NarayananPosted Sep 23, 2015, 12:08 AM
@Santhakumar Munuswamy Thanks a lot sir
Karthikeyan KPosted Sep 22, 2015, 11:19 PM
Good one sir...Thanks for sharing
Santhakumar MunuswamyPosted Sep 22, 2015, 3:01 PM
Nice Article. Thanks for sharing