

Getting Started with jQuery UI
Interactions:
- Draggable
- Droppable
- Resizable
- Selectable
- Sortable
Draggable: We can use this method for dragging and dropping elements around horizontally, around vertically and around all others.
Example: We need to add jQuery UI plugin in scripts folder of our project. And then use both the .js and ui.js scripts in our head section.
My Scripts section
- <script src="Scripts/jquery-2.1.4.js"></script>
- <script src="Scripts/jquery-ui-1.11.4.js"></script>
- <script type="text/javascript">
- $(function() {
- $("#mydemo").draggable(); //Around all
- $("#x-axis").draggable({
- axis: "x"
- }) // move only arround x-axis
- $("#y-axis").draggable({
- axis: "y"
- }) // move only arround y-axis
- });
- </script>
- #mydemo {
- width: 100px;
- height: 100px;
- padding: 0px;
- background-color: red;
- margin-left: 50%;
- }
Body Section
- <form id="form1" runat="server">
- <div id="mydemo" class="ui-widget-content">
- <p style="color:white; margin:auto">Drag me around</p>
- </div>
- <div id="x-axis" style="width: 200px; margin-left:50%; height: 100px; padding:0px; background-color:lightblue" class="ui-widget-content">
- <p style="color:white; margin:auto">Drag me around x-axis only</p>
- </div>
- <div id="y-axis" style="width: 100px; height: 100px; margin-left:50%; padding:0px; background-color:lightgreen" class="ui-widget-content">
- <p style="color:white; margin:auto">Drag me around y-axis only</p>
- </div>
- </form>
Output
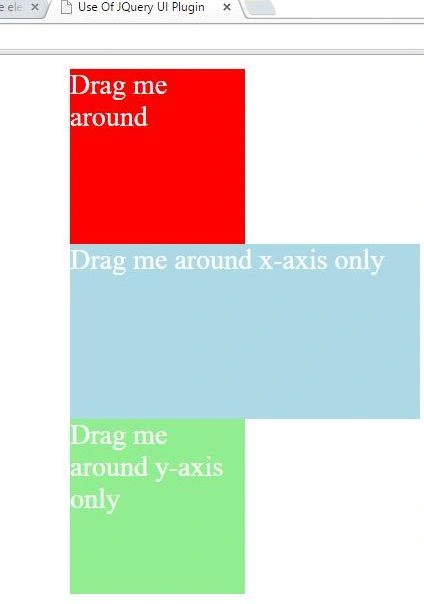

Example: You can use this function.
- $(function() {
- $("#draggableElement").draggable();
- $("#droppableElement").droppable({
- drop: function(event, ui) {
- $(this)
- .addClass("ui-state-highlight")
- .find("p")
- .html("Dropped!");
- }
- });
- });
Output
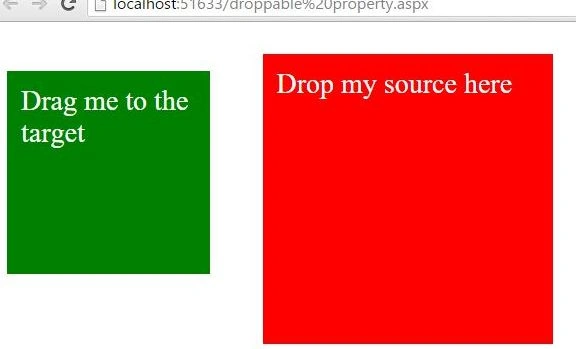
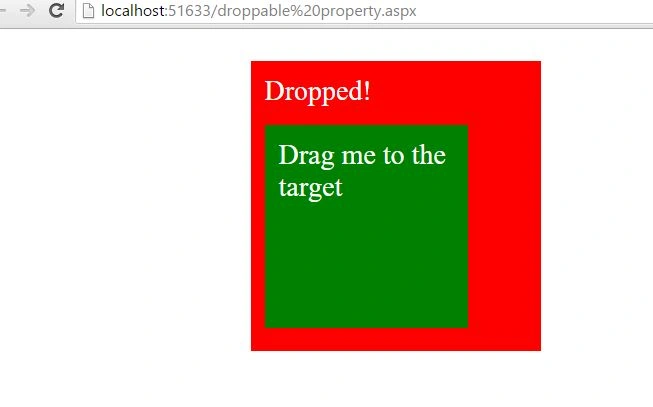
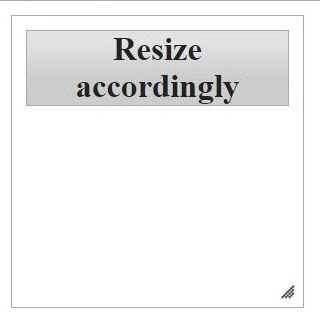
Resizable: In this we can resize our element accordingly.
Example
You can resize with the cursor; grab the right or bottom border and drag to the width or height. But your code cannot work without resizable.css file.
My CSS is below:
- <link href="Content/themes/base/all.css" rel="stylesheet" />
- <style>
- #resizable {
- width: 150px;
- height: 150px;
- padding: 0.5em;
- }
- #resizable h3 {
- text-align: center;
- margin: 0;
- }
- </style>
Script for resizable method
- <script src="Scripts/jquery-2.1.4.js"></script>
- <script src="Scripts/jquery-ui-1.11.4.js"></script>
- <script>
- $(function() {
- $("#resizable").resizable();
- });
- </script>
My Body
- <div id="resizable" class="ui-widget-content">
- <h3 class="ui-widget-header">Resize accordingly</h3>
- </div>
Output

Selectable
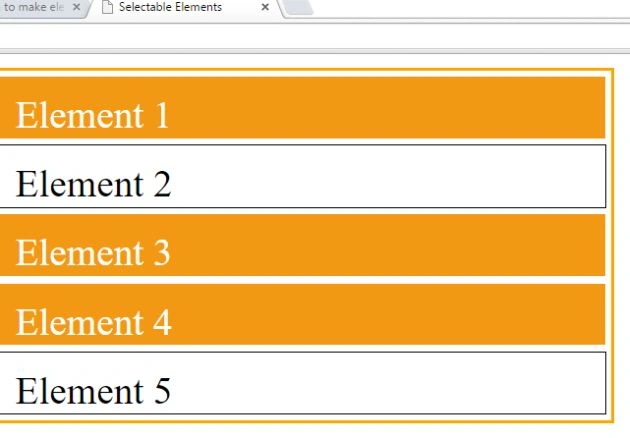
By this method you can select single element from a list or multiple elements from the list by pressing ctrl key.
Example: In this example you can select single or multiple elements.
My CSS and Scripts
- <link href="Content/themes/base/all.css" rel="stylesheet" />
- <style>
- #resizable {
- width: 150px;
- height: 150px;
- padding: 0.5em;
- }
- #resizable h3 {
- text-align: center;
- margin: 0;
- }
- </style>
- <script src="Scripts/jquery-2.1.4.js"></script>
- <script src="Scripts/jquery-ui-1.11.4.js"></script>
- <script>
- $(function() {
- $("#resizable").resizable();
- });
- </script>
Output
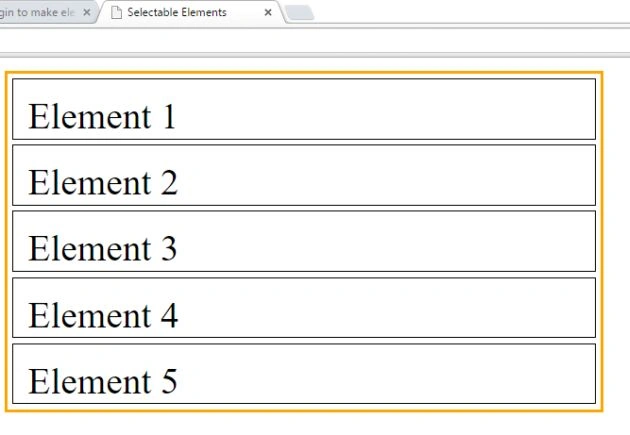
Figure: Image before selection
Sortable
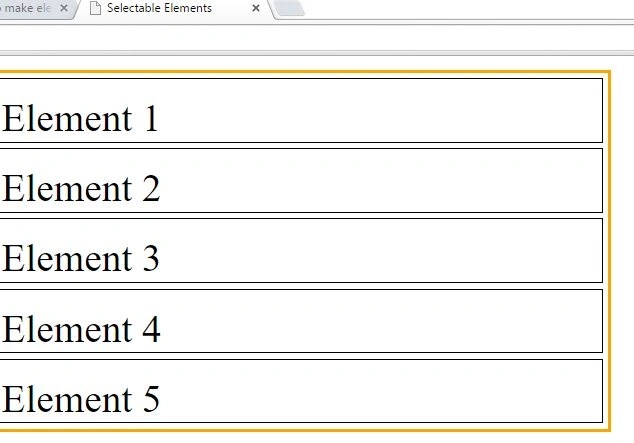
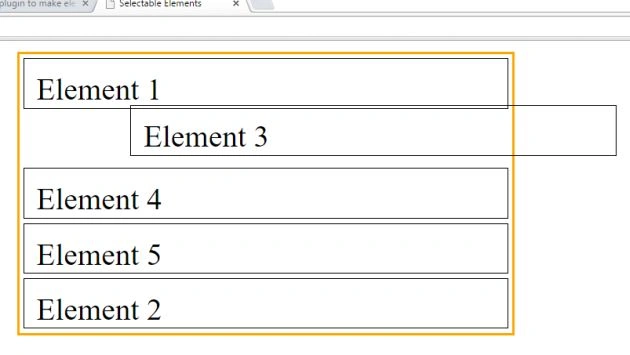
By using this method you can select any element from the list and replace it to other one, means you can sort your list accordingly.
Example: You can click on and drag an element to a new spot within the list, and the other items will adjust to fit. By default, sortable items share draggable properties.
You can use this function for sorting
- $(function() {
- $("#selectableElement").sortable();
- $("#selectableElement").disableSelection();
- });
Output
Summary
Sibeesh VenuPosted Oct 6, 2015, 9:45 AM
Nice Share
Priyaranjan K SPosted Oct 6, 2015, 6:26 AM
Nice Share ..
Ankit BansalPosted Oct 6, 2015, 3:16 AM
nice..
Santhakumar MunuswamyPosted Oct 5, 2015, 11:50 PM
Good One
RakeshPosted Oct 5, 2015, 1:10 PM
Good share
Rajeesh MenothPosted Oct 5, 2015, 12:57 PM
Nice Share
Nilesh JadavPosted Oct 5, 2015, 9:37 AM
Great Work sir