

Introduction
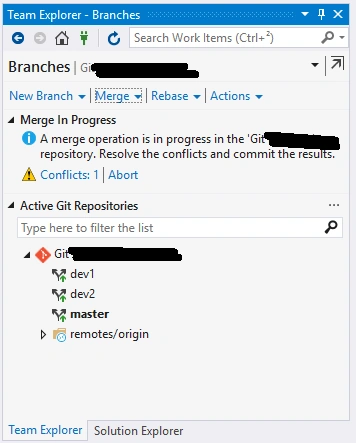
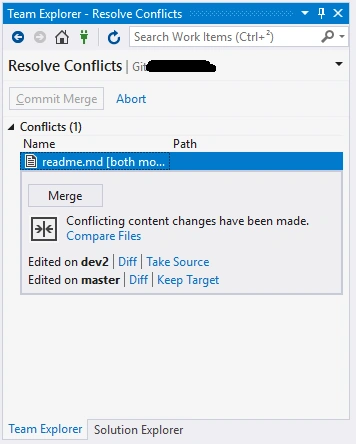
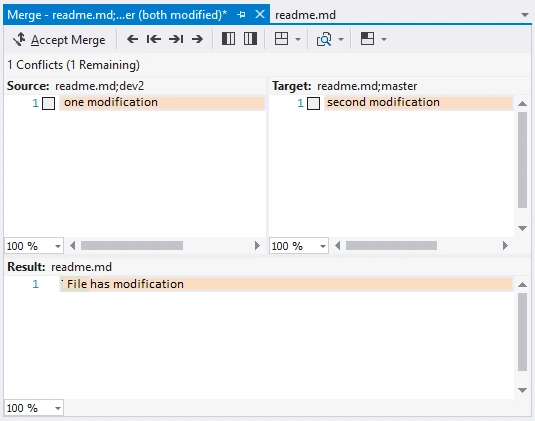
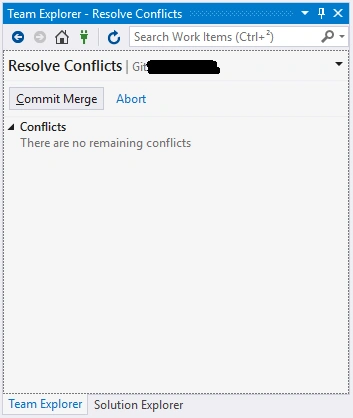
Today, I will show some more advanced Git operations using Visual Studio, without using the Git command line tool. This is the second part of the "Git Basic Operations With Visual Studio" series. Please read the first article here. In the previous article, we have seen Git basic operations like creating repository and branch, cloning, commit, push changes etc. Now, in this article, I will explain how to merge the branches and resolve the conflicts if any.
Update Local Branch
Update local repository/Branch to get changes from other members who have already made changes and merged. To update the code to keep it synced with others, there are three operations that come into the picture.
- Fetch: Fetch is used to get the changes from the remote repository but it does not merge them in your code.
- Merge: Merge is used to apply changes taken from Fetch to a branch in the local repository.
- Pull: Pull is the combination of two operations - Fetch and then Merge.
We can get the changes to the local branch from the remote server using Fetch. Fetch downloads all the commits and new branches from the remote repository which others have pushed but you do not have. It also creates local branches if needed, but will not merge any changes into the local branches. Fetch only downloads the new commits.
Fetch: Download the changes
To fetch the changes, go to Team Explorer and click on "Home", then click "Sync".
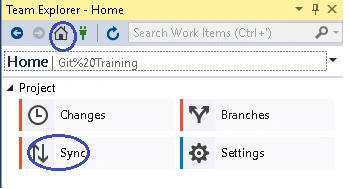
When you click "Sync", the window is changed to a new View. Now, click on "Fetch" to update the incoming commit list.
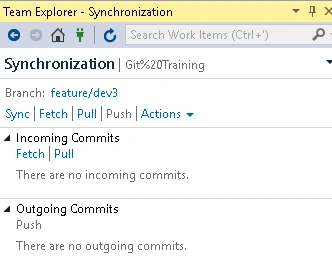
When you click on Fetch, you will see the incoming commits list.
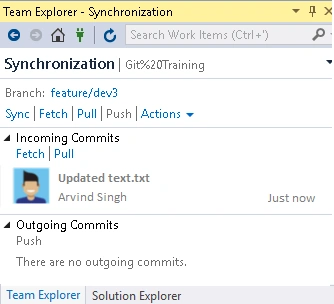
Merge: Update Branches
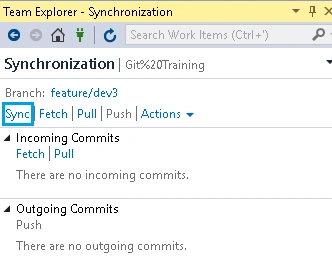
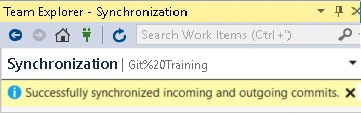
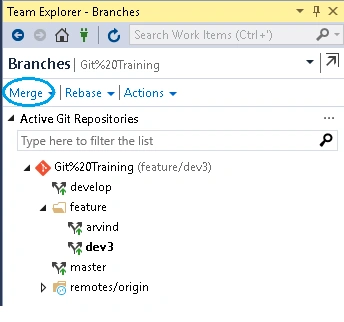
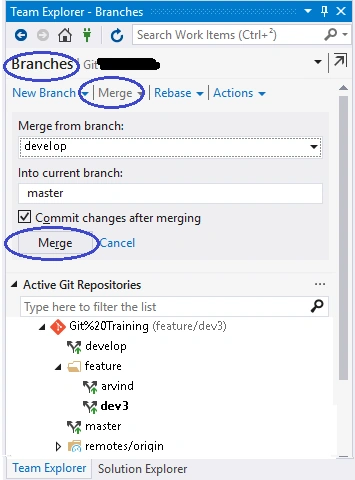
We have downloaded the changes using the Fetch operation. Now, let us merge these changes into the local branch. When we do Sync or Pull from the Changes view, it will perform a merger.
To merge the downloaded changes into your branch, go to Team Explorer and click on "Home". Then, click on "Sync".
Join the conversation! Your thoughts help the community grow.