

Introduction
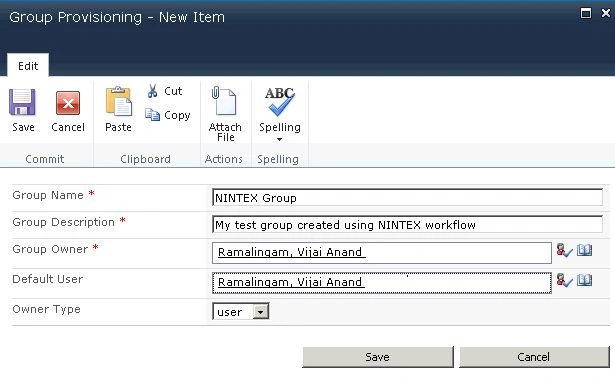
In this article you will see how to add a group to a SharePoint site using a NINTEX workflow. We will be adding the group to the SharePoint site by calling the web service "_vti_bin/usergroup.asmx". I have created a custom list named "Group Provisioning" in which I have the following columns: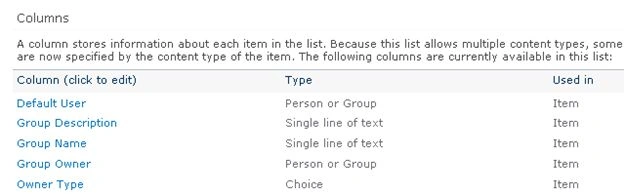
Workflow Design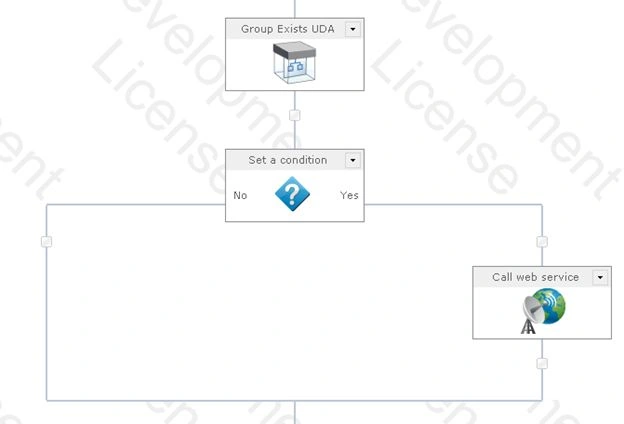
The Group Exists UDA is a user defined action that is used to check if the group exists. Please refer to the following articles:
- How to Check if SharePoint Group Exists Using NINTEX Workflow
- How to Create User Defined Action For NINTEX Workflows in SharePoint
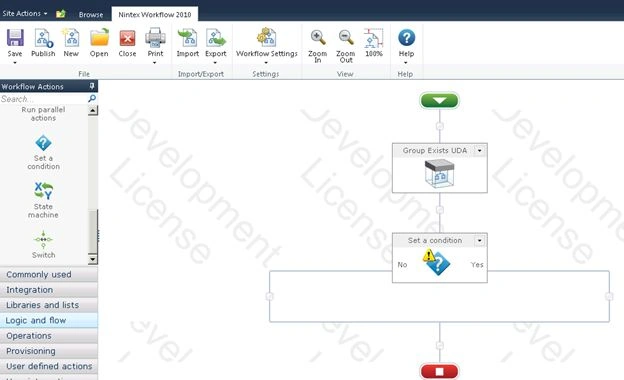
Set a condition is used to set the Yes or No value. The Call web service action adds the group to the SharePoint site.
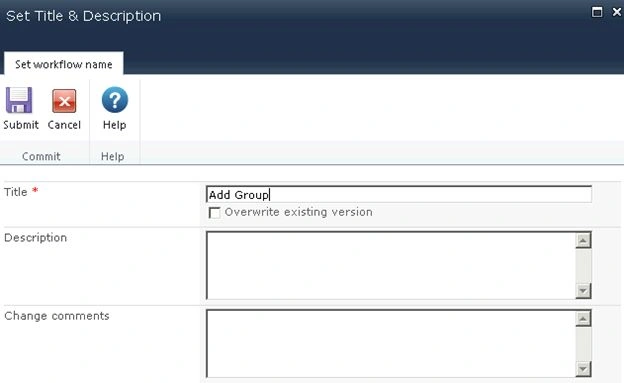
Add Group workflow
- Navigate to the Group Provisioning list.
- Click on the "List" tab and then click on "Workflow Settings".
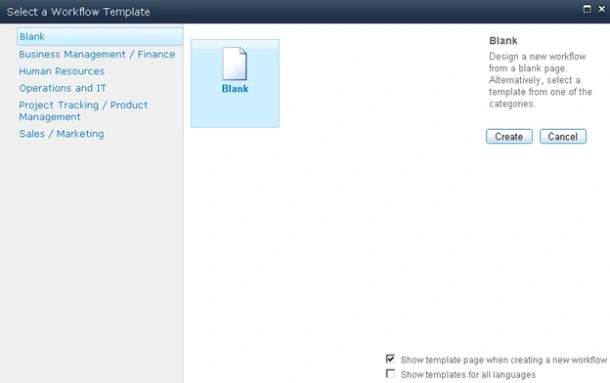
- Click on "Create a Workflow in Nintex Workflow".

- Click on "Cancel".
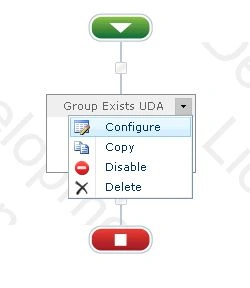
- Drag and drop the Group Exists UDA action from the User defined actions section.
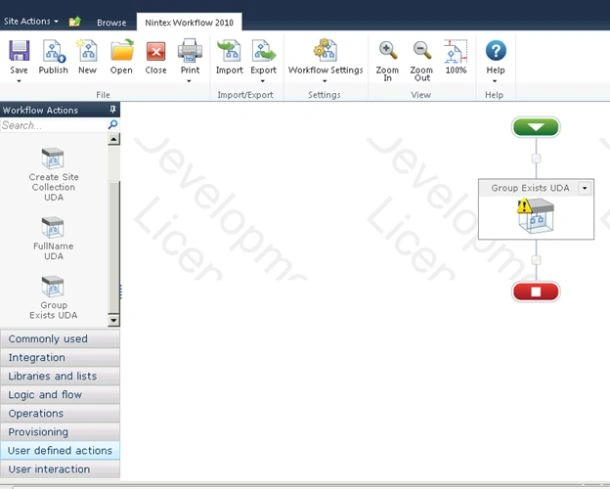
- Click on "Configure" from the drop down list in the Group Exists UDA action.
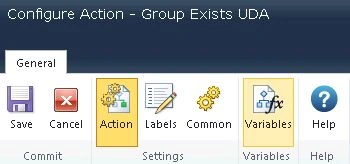
- Click on the "Variables" button in the ribbon interface.
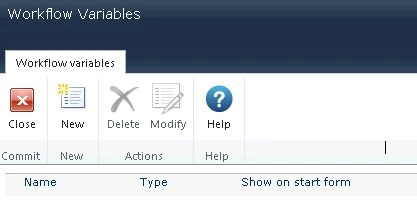
- Click on the "New" button.
- Enter the variable details.
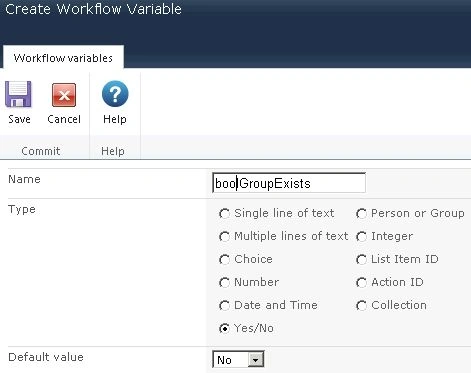
- Click on "Save".
- The Workflow variable is created successfully.
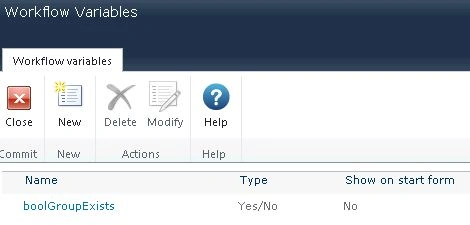
- Click on "Close".
- Enter the Input and Output parameters for the UDA as shown below.
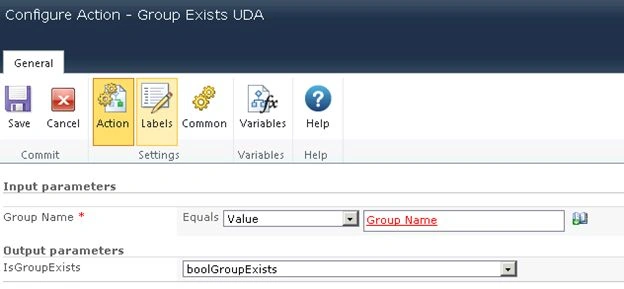
- Click on "Save".
- Drag and drop the "Set a condition" action from the Operations section.
- Click on "Configure" from the drop down list.
- Set the condition as shown below.
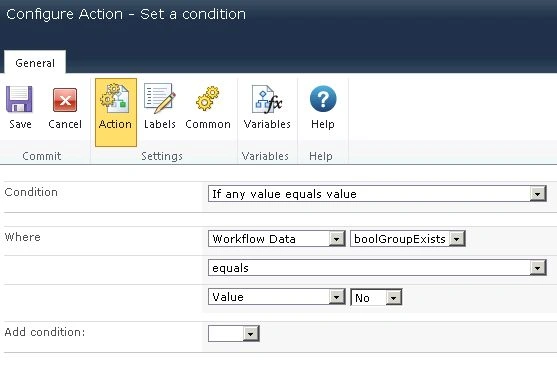
- Click on "Save".
- Drag and drop the "Call web service" action from the Integration section for the true condition.
- Click on "Configure" from the drop down list.
- Click on the "Insert Reference" button for the URL column and then click on the "Common" tab. Select "Web URL" and then click on "Ok".
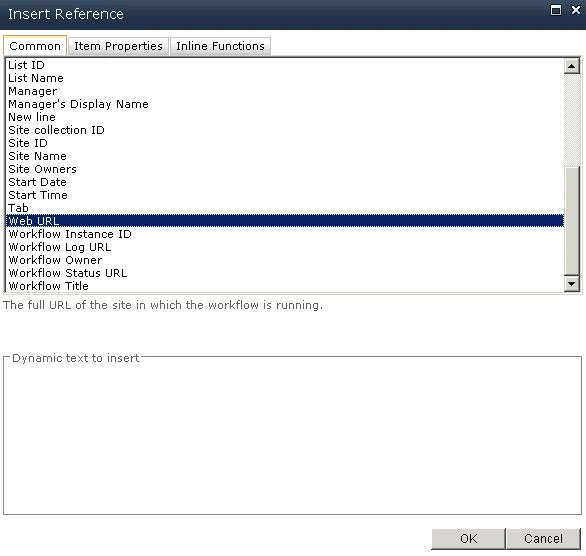
- Append "/_vti_bin/usergroup.asmx" to the URL column.
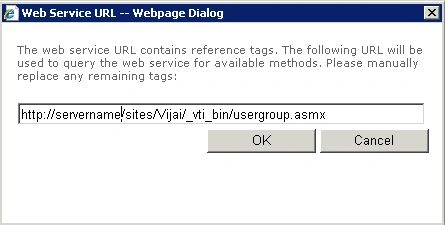
- Enter the User Name and Password to call the web service and then click on the "Reference" button.
- Click on "Ok".
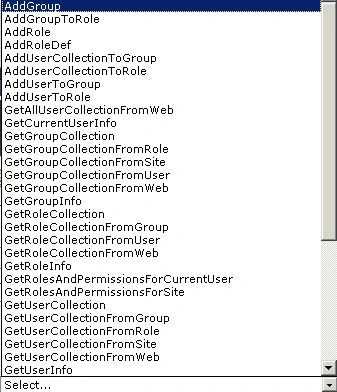
- All the web service methods will be populated. Select the AddGroup web method that will be used to remove the specified SharePoint group.
- The Web Service Input section will be populated for passing the input values to the web method.
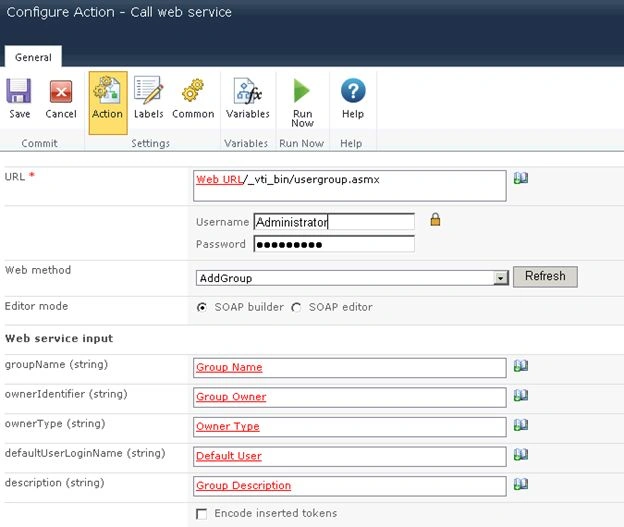
- Click on the "Insert Reference" button for the groupName column and then click on the "Item Properties" tab. Select the Group Name and then click on "Ok".
- Click on the "Insert Reference" button for the ownerIdentifier column and then click on the "Item Properties" tab. Select the Group Owner and then click on "Ok".
- Click on the "Insert Reference" button for the ownerType column and then click on the "Item Properties" tab. Select the Owner Type and then click on "Ok".
- Click on the "Insert Reference" button for the defaultUserLoginName column and then click on the "Item Properties" tab. Select the Default User and then click on "Ok".
- Click on the "Insert Reference" button for the description column and then click on the "Item Properties" tab. Select the Group Description and then click on "Ok".
- Click on Save.

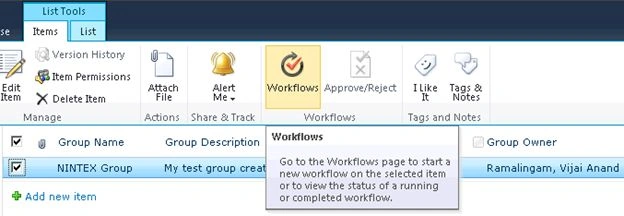
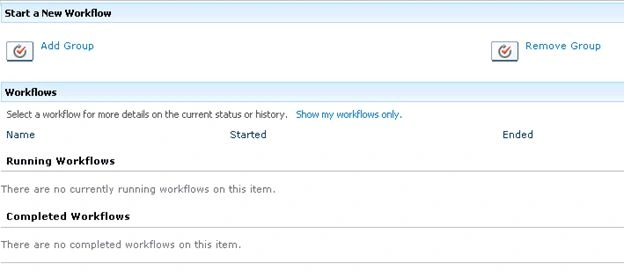
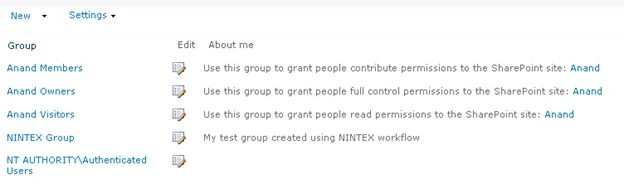
Join the conversation! Your thoughts help the community grow.