

Amazon Web Services (AWS) offers a Virtual Private Cloud (VPC) that allows users to create isolated networks within the AWS environment. A VPC provides control over your network architecture, including IP address ranges, subnets, route tables, and network gateways. When you create a VPC, it acts as a virtual data center that hosts resources like EC2 instances, RDS databases, and other AWS services.
In this article, we’ll walk you through the steps to create a VPC with subnets in AWS using the AWS Management Console. We’ll cover the basics of VPCs and subnets and how they fit together to create a functional network environment in AWS.
Key Concepts
Before diving into the process, it’s important to understand a few key concepts.
- VPC (Virtual Private Cloud): A logically isolated network within the AWS cloud.
- Subnets: Divisions within a VPC to isolate resources. Subnets can be private or public.
- CIDR Block: Classless Inter-Domain Routing block defines the IP range available for the VPC or subnet.
- Route Tables: Define how traffic should be routed between subnets or to the internet.
Step 1. Access the AWS Management Console
First, sign in to your AWS Management Console.
- Go to the AWS Console.
- In the search bar, type “VPC” and select VPC from the dropdown to navigate to the VPC dashboard.
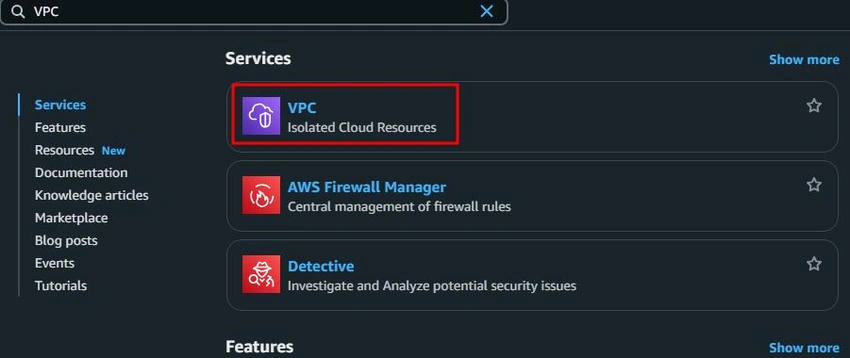
Step 2. Create a VPC
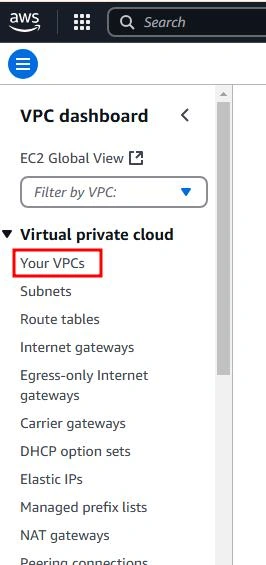
Choose “Your VPCs” from the left-hand menu under the VPC Dashboard.
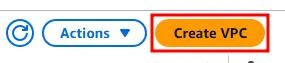
Click Create VPC to start the process of creating a new VPC.
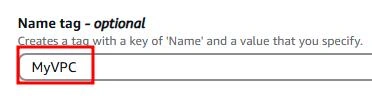
- Name tag: Provide a name for your VPC.
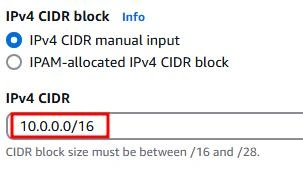
- IPv4 CIDR block: Enter an IP address range in CIDR notation. For example, 10.0.0.0/16 will allow you to create 65,536 IP addresses.
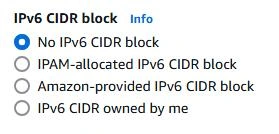
- IPv6 CIDR block: You can optionally add an IPv6 CIDR block.
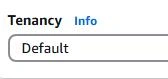
- Tenancy: Choose whether you want the VPC to be "default" (shared hardware) or "dedicated" (dedicated hardware for higher performance and security).
Once you've filled in the details, click Create.
Your VPC has been created, and you’ll be able to see it listed under the Your VPCs section.
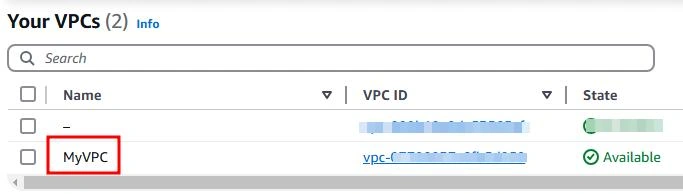
Step 3. Create Subnets
A VPC can contain multiple subnets, which are required to logically segment your resources. Typically, you create public subnets for internet-facing resources (like web servers) and private subnets for backend systems (like databases). Here’s how to create subnets within your VPC.
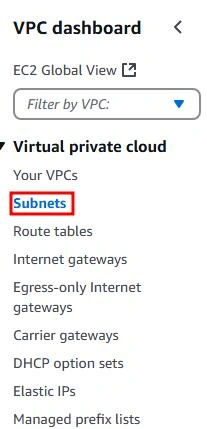
Choose Subnets from the left-hand menu under the VPC Dashboard.
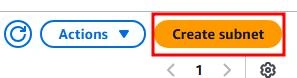
Click Create subnet.
- Name tag: Assign a name to the subnet.
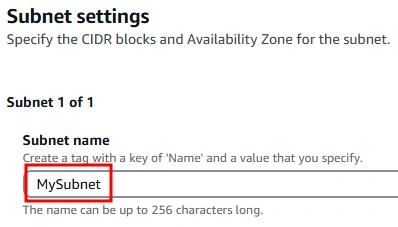
- VPC: Choose the VPC you created earlier.
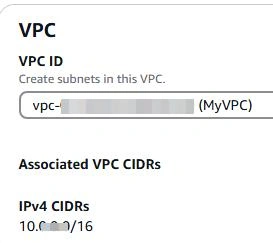
- Availability Zone: Select the AWS Availability Zone (AZ) where you want to place the subnet. It’s a good practice to distribute your subnets across multiple AZs for fault tolerance.

- IPv4 CIDR block: Enter a subnet CIDR block that is a subset of the VPC CIDR block. For example, if your VPC CIDR block is 10.0.0.0/16, a subnet CIDR might be 10.0.1.0/24 (which provides 256 IP addresses).
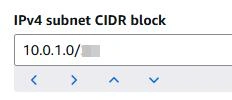
Once you've entered the subnet details, click Create.
Repeat this process to create additional subnets. You can create.
- Public Subnet: This subnet will be used for resources that need internet access (e.g., load balancers, web servers).
- Private Subnet: This subnet is for backend resources that do not need direct access to the internet (e.g., databases, application servers).
Step 4. Set Up a Route Table
By default, new subnets are associated with the default route table, which allows outbound traffic. However, you may need to set up custom routing for specific requirements, like routing public traffic through an internet gateway.
- Go to Route Tables in the VPC dashboard.
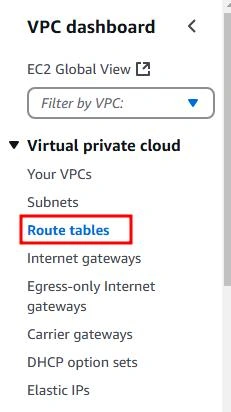
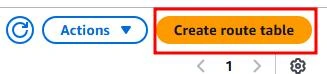
- Click Create Route Table.
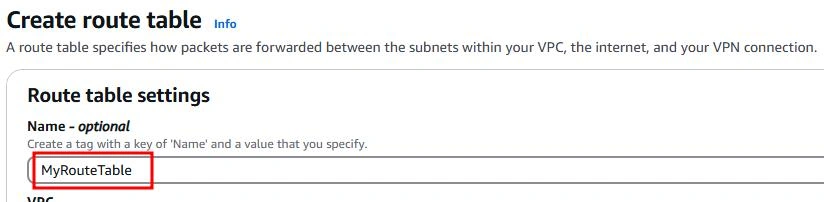
- Name tag: Enter a name for the route table.
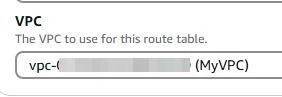
- VPC: Choose the VPC you created.
- Name tag: Enter a name for the route table.
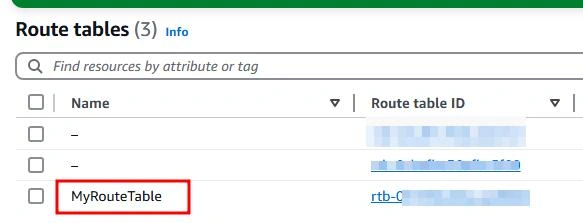
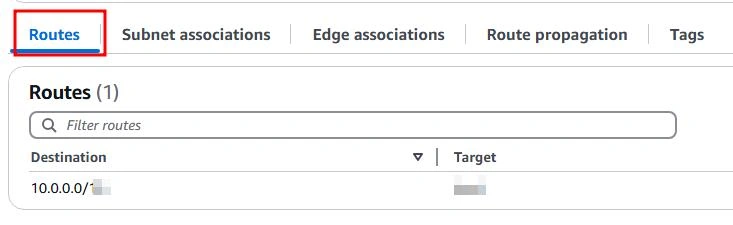
- Once the route table is created, select it from the list.
- Click on the Routes tab.
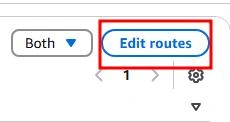
- For public subnets, add a route to the internet. Click Edit Routes.
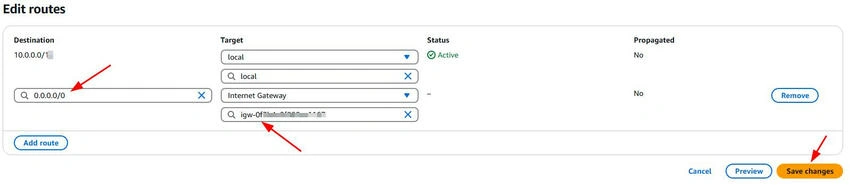
- Destination: 0.0.0.0/0 (this represents all IP addresses on the internet).
- Target: Select Internet Gateway (if one exists, or create one).
- Click Save Changes.
Step 5. Attach an Internet Gateway (for Public Subnets)
To allow internet access for resources in your public subnets, you need to create and attach an Internet Gateway.
- Go to Internet Gateways in the VPC dashboard.
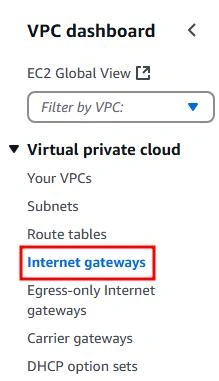
- Click Create internet gateway.
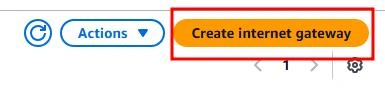
- Name tag: Name the internet gateway.

- Name tag: Name the internet gateway.
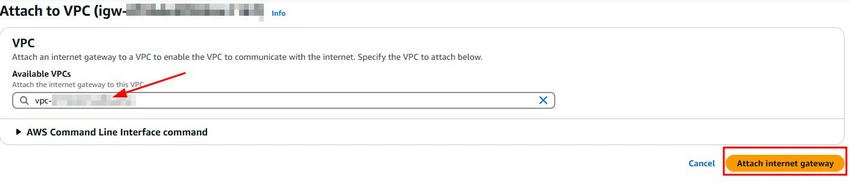
- Once created, select the internet gateway and click Actions > Attach to VPC.

- Choose your VPC from the dropdown and click Attach.
Step 6. Associate Subnets with the Route Table
For each subnet (public or private), you need to associate it with the correct route table.
- Go to Route Tables in the VPC dashboard.
- Select the route table you want to associate (e.g., the one with internet routes).
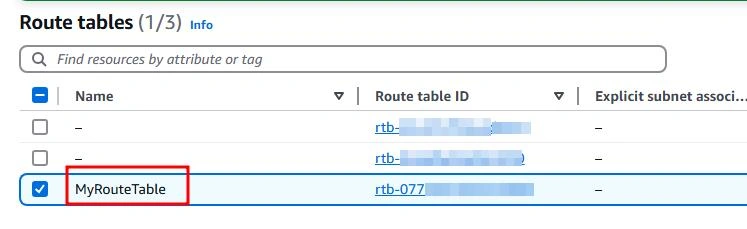
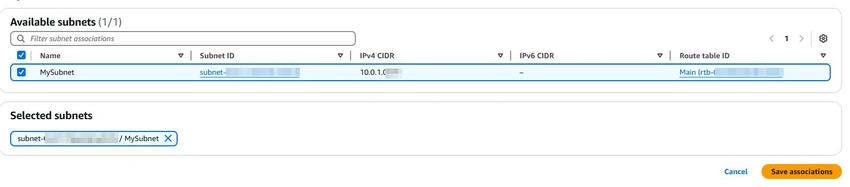
- Under the Subnet Associations tab, click Edit subnet associations.

- Select the subnets you want to associate with the route table and click Save.
Step 7. Test your VPC and Subnets
To verify your VPC setup, launch an EC2 instance in one of the subnets and test connectivity. For detailed instructions on how to launch an instance, please refer to my article “How to Launch Your First EC2 Instance”.
- For public subnets: Launch an EC2 instance in the public subnet and assign it a public IP address. Try to SSH into the instance.
- For private subnets: Launch an EC2 instance in the private subnet and verify it doesn't have a public IP. You can access it via a bastion host or a VPN.
Conclusion
Creating a VPC with subnets in AWS allows you to securely segment your network and manage your cloud resources effectively. By following the steps outlined above, you’ll be able to create isolated environments within AWS, define routing rules, and provide internet access as needed. Whether you’re setting up a production environment or a testing sandbox, a well-configured VPC is a foundational component for any AWS architecture.
Join the conversation! Your thoughts help the community grow.