

Introduction
In this article you will see how to create an item in another site using a NINTEX workflow in SharePoint.
I have the following two sites:
- http://serverName/sites/Vijai/
- http://serverName/sites/Anand/
In which I have a custom list named "Custom List" and have the following columns: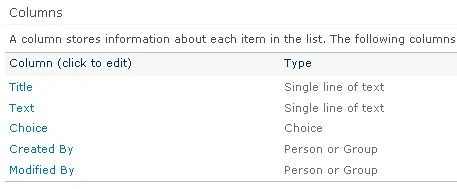
I have created a NINTEX workflow in http://serverName/sites/Vijai/ and when I run the workflow for an item, an item will be created in another site http://serverName/sites/Anand/ in the "Custom List". I have used the "Create item in another site" NINTEX workflow action to do this.
Create an item in another site workflow:
- Navigate to the SharePoint site http://serverName/sites/Vijai/.
- Click on "Custom List" in the quick launch bar.
- Click on the "List" tab and then click on "Workflow Settings".
- Click on "Create a Workflow" in the Nintex Workflow.

- Click on "Cancel".
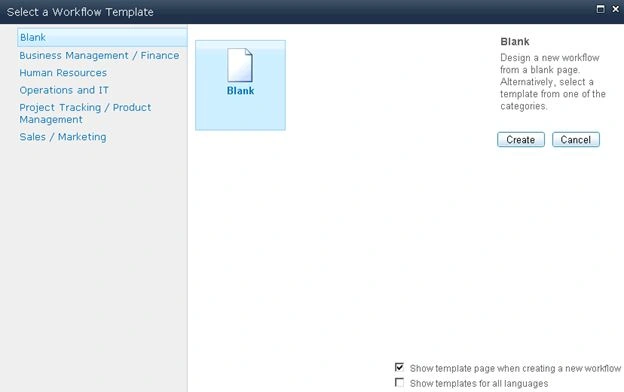
- Drag and drop the "Create item in another site" action from the Libraries and lists section.
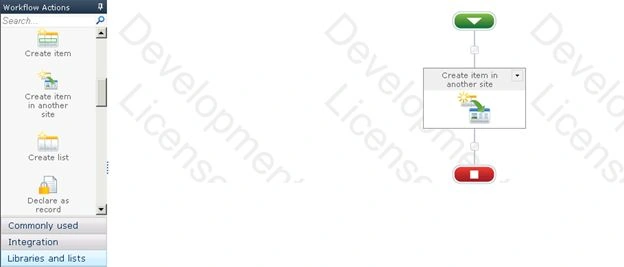
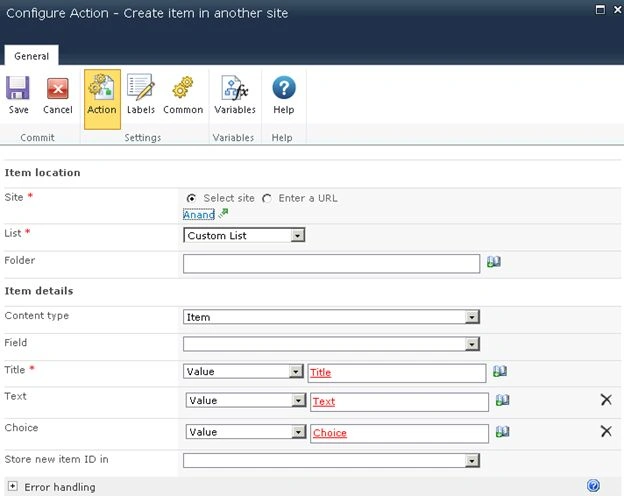
- Click on "Configure" from the drop down list in the "Create item in another site" action.
- Select the site where the item is to be created.
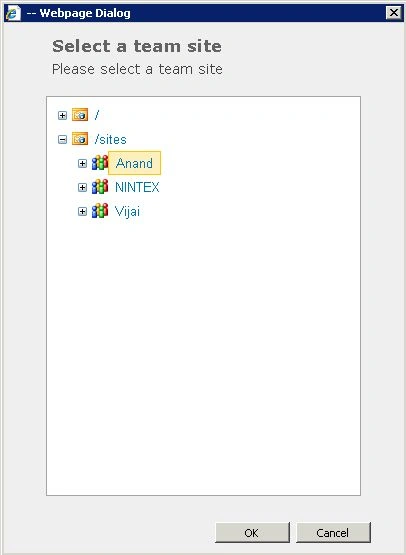
- The entire list will be populated from the "Anand" site. Select the "Custom List" where the item is to be created.
- Select the content type.
- Select the fields from the Field drop down list (when you select a field from the drop down a row will be generated to set the value for the field).
- Set the values for the field.
- Click on "Save".
Publish the workflow
- Click on "Publish" button in the ribbon interface.

- Ensure the Title is set; optionally you can set the values for Description and Change Comments.
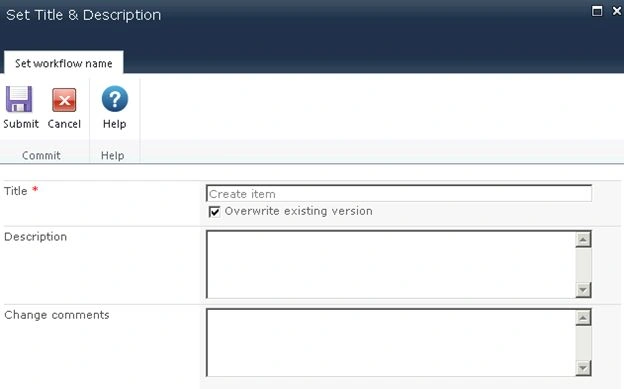
- Click on the "Submit" button.
- The workflow is published successfully.
Test the workflow
- Navigate to the SharePoint site http://serverName/sites/Vijai/.
- Click on "Custom List" in the quick launch bar.
- Select the item and then click on "Workflows" in the ribbon interface.
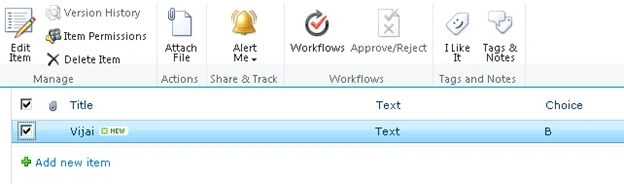
- Click on "Create item workflow" and then click on "Start" button.
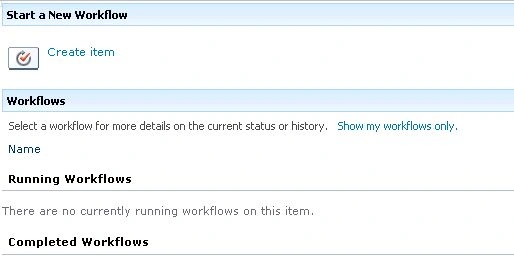
- After few minutes the workflow status will be changed to "Completed".
- Navigate to the other SharePoint site http://serverName/sites/Anand/.
- Click on "Custom List" in the quick launch bar.
- A new item is created successfully in the other site.

Summary
Thus in this article you saw how to create an item in another site using a NINTEX workflow in SharePoint.
Related Links
- How to Create Site Using NINTEX Workflow in SharePoint
- How to Delete Site Using NINTEX Workflow in SharePoint
- How to add user to SharePoint group using NINTEX workflow
- How to Remove User From SharePoint Group Using NINTEX Workflow
- How to Check if SharePoint Group Exists Using NINTEX Workflow
- How to Create User Defined Action For NINTEX Workflows in SharePoint
- How to Add a Group in SharePoint Site Using NINTEX Workflow
- How to Remove Group From SharePoint Site Using NINTEX Workflow
- How to Set Item Level Permission Using NINTEX Workflow in SharePoint
Marco GehlenPosted Feb 19, 2021, 12:25 PM
I got an error when starting the workflow first time. I dont use a standard content type. Second time works
Phil NelsonPosted May 5, 2014, 4:29 PM
Is there a way to copy the attachments from the original item to the new item?