
Toolbar is a way by which we can do our work without navigating the Menu System. This is the reason behind that every window application should have at least one Toolbar. A Toolbar can have Components and Button which used as command to the user. Generally you can say if a program contains menu than it is also containing a Toolbar. Toolbar components are like shortcuts for menu items. A Toolbar can contain various types of control.
Here we are discussing an
example in which we are implementing Toolbar with New, Save, Open, Cut, Copy,
Print and Delete icons. Firstly we will take all the icon images and save them
in a folder named icons. Then we will bind a command for Toolbar creation, which
can be created by below code.
// This will use for Bindind the cmd outside toolbar creation
let
shw (msg:string) (label:string) = MessageBox.Show(msg,label) |>ignore
comd |> Seq.iter (fun cmd
->
new CommandBinding(cmd,(fun
_ _ ->
shw (cmd.Name + " command not yet implemented")
wndw.Title))
|> wndw.CommandBindings.Add |>ignore)
Then we will create a Toolbar
given the Command and img file. This can be done by below code.
// Creating toolbar given the cmd and img file
let
adTlbrBtns list =
list |> Seq.iter (fun (cmd:RoutedUICommand,imgFile)
->
let img =
new Image(Stretch=Stretch.None)
img.Source <- new BitmapImage(new
Uri(@"file:///icons/" + imgFile))
let tp = new
ToolTip(Content=cmd.Text)
let butn = new
Button(Command=cmd,Content=img,ToolTip=tp)
tlbr.Items.Add(butn) |>ignore)
When we
will create the command then we will give code for creating the separator for
every nth element.
//
Creating separator at the every nth element
let
rec adTlbrBtnWthSprtr list n=
if (Seq.length list) > n
then
adTlbrBtns (Seq.take n list)
tlbr.Items.Add(new Separator()) |>ignore
adTlbrBtnWthSprtr (drpsec n list) n
else
adTlbrBtns list
And Lastly
we create the Toolbar with separators
//
Creating the toolbar with separators
let
lst = Seq.zip comd img
adTlbrBtnWthSprtr lst 4
Steps for Implementation of Toolbar
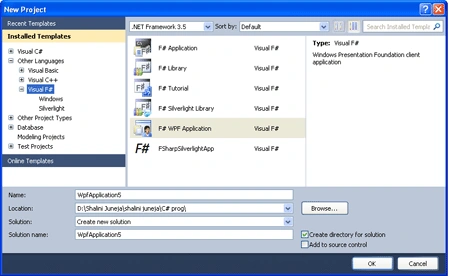
Step 1: Firstly open a new project in F# using Visual Studio 2010. Select F# WPF application template and give name to the project like below image.
Step 2: Now add the below define references in the project by right clicking on project in solution explorer.
PresentationCore
PresentationFrameWork
WindowsBase
System
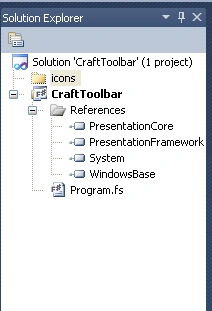
Step 3: Then add a new folder by right clicking on solution in solution explorer and give name icons to it.
Step 4: Now add all the icon images in the icons folder and copy this folder inside your program name folder, where you will save the program.
Step 5: When you will add all the references and images your solution Explorer will look like below.
Step 6:
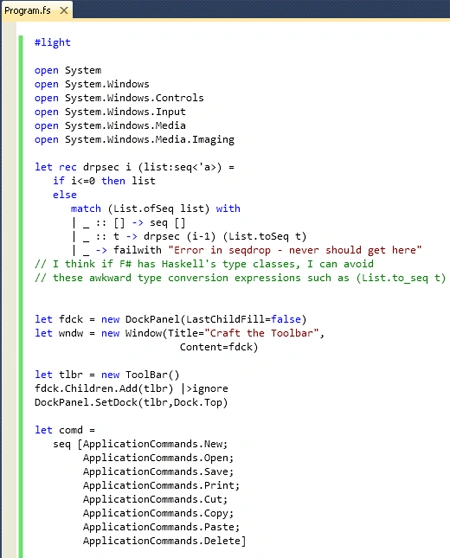
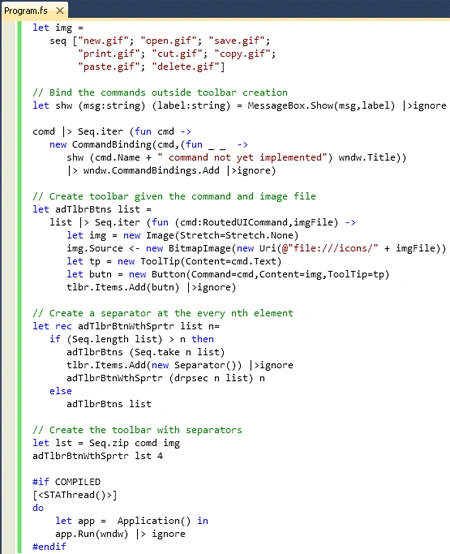
Now click on Program.fs file and write below code in Program.fs window. Your
window will look like below Image.
#light
open System
open
System.Windows
open
System.Windows.Controls
open
System.Windows.Input
open
System.Windows.Media
open
System.Windows.Media.Imaging
let
rec drpsec i (list:seq<'a>) =
if i<=0 then
list
else
match (List.ofSeq list)
with
| _ :: [] -> seq []
| _ :: t -> drpsec (i-1) (List.toSeq t)
| _ -> failwith
"Error in seqdrop - never should get here"
let
fdck = new DockPanel(LastChildFill=false)
let
wndw = new Window(Title="Craft
the Toolbar",
Content=fdck)
let
tlbr = new ToolBar()
fdck.Children.Add(tlbr) |>ignore
DockPanel.SetDock(tlbr,Dock.Top)
let
comd =
seq [ApplicationCommands.New;
ApplicationCommands.Open;
ApplicationCommands.Save;
ApplicationCommands.Print;
ApplicationCommands.Cut;
ApplicationCommands.Copy;
ApplicationCommands.Paste;
ApplicationCommands.Delete]
let
img =
seq ["new.gif";
"open.gif"; "save.gif";
"print.gif";
"cut.gif"; "copy.gif";
"paste.gif";
"delete.gif"]
//
This will use for Bindind the cmd outside toolbar creation
let
shw (msg:string) (label:string) = MessageBox.Show(msg,label) |>ignore
comd |> Seq.iter (fun cmd
->
new CommandBinding(cmd,(fun
_ _ ->
shw (cmd.Name + " command not yet implemented")
wndw.Title))
|> wndw.CommandBindings.Add |>ignore)
//
Creating toolbar given the cmd and img file
let
adTlbrBtns list =
list |> Seq.iter (fun (cmd:RoutedUICommand,imgFile)
->
let img =
new Image(Stretch=Stretch.None)
img.Source <- new BitmapImage(new
Uri(@"file:///icons/" + imgFile))
let tp = new
ToolTip(Content=cmd.Text)
let butn = new
Button(Command=cmd,Content=img,ToolTip=tp)
tlbr.Items.Add(butn) |>ignore)
//
Creating separator at the every nth element
let
rec adTlbrBtnWthSprtr list n=
if (Seq.length list) > n
then
adTlbrBtns (Seq.take n list)
tlbr.Items.Add(new Separator()) |>ignore
adTlbrBtnWthSprtr (drpsec n list) n
else
adTlbrBtns list
//
Creating the toolbar with separators
let
lst = Seq.zip comd img
adTlbrBtnWthSprtr lst 4
#if
COMPILED
[<STAThread()>]
do
let app = Application()
in
app.Run(wndw) |> ignore
#endif
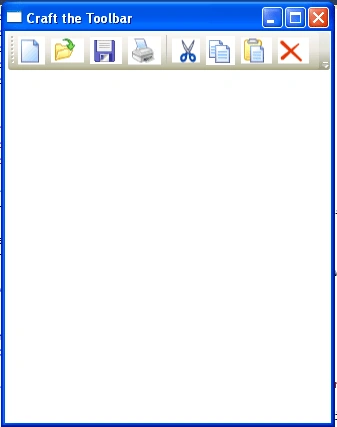
Step 7: Now press F5 to execute the code and your Toolbar is ready.
Output
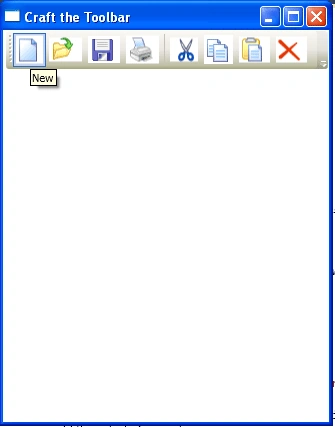
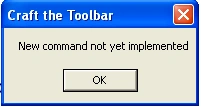
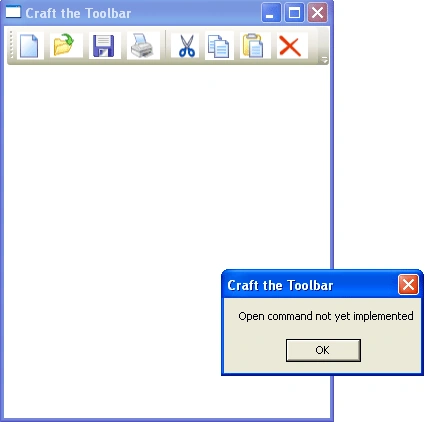
When you click on New a new messagebox will display like below.
Summary
In this article I have discussed that how to create a Toolbar in WPF using F#
Join the conversation! Your thoughts help the community grow.