

Introduction
This article demonstrates how to download, create a queue, and send a message from the service bus explorer.
Service Bus Explorer Steps for Setup
We can use an open-source third-party tool to monitor and maintain the Service Bus messages, but right now we need to concentrate on handling the message using Azure Functions. You can download the tool by clicking this link.
- To connect, open the File menu in the Service Bus Explorer tool and choose Connect.
- In the Service Bus Namespaces field, select Enter Connection String and enter the connection string. To save the connection locally, click Save. To establish a connection to the Service Bus, click OK.
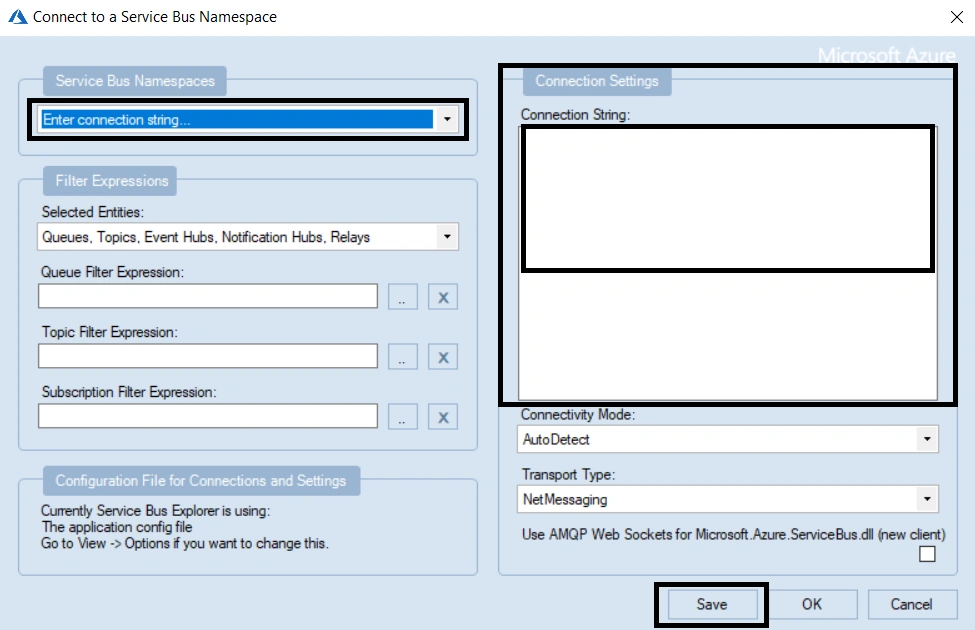
- Copy the connection string from the Azure Portal as below.

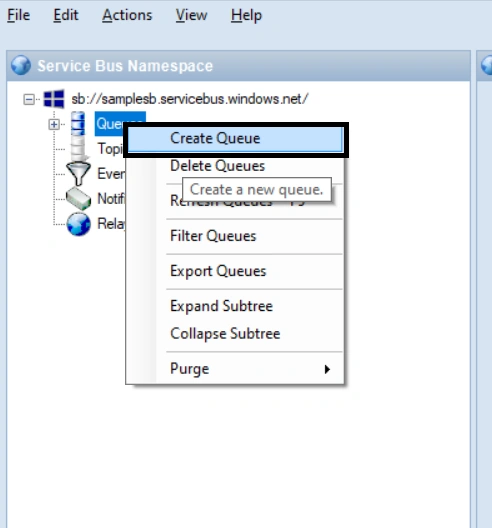
- Create a queue for sending messages by choosing Create Queue by doing a right click on the Queues.
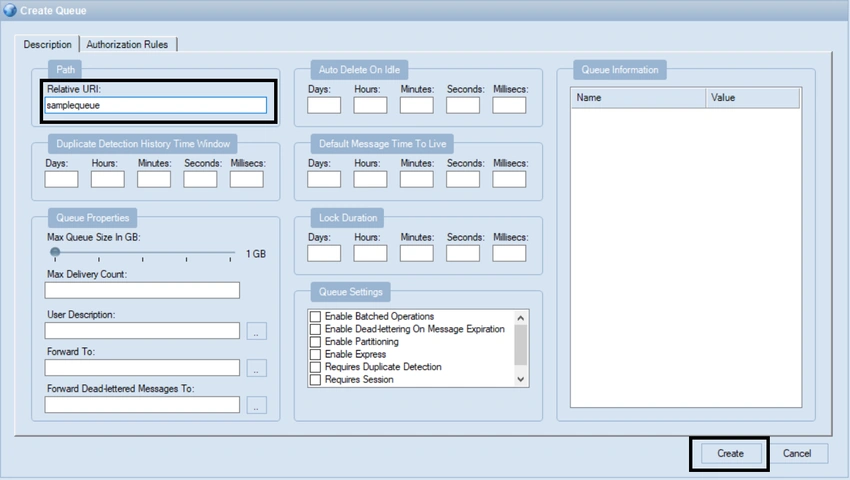
- Fill in the Relative URI and any other configuration that you wish. Then click the Create button.
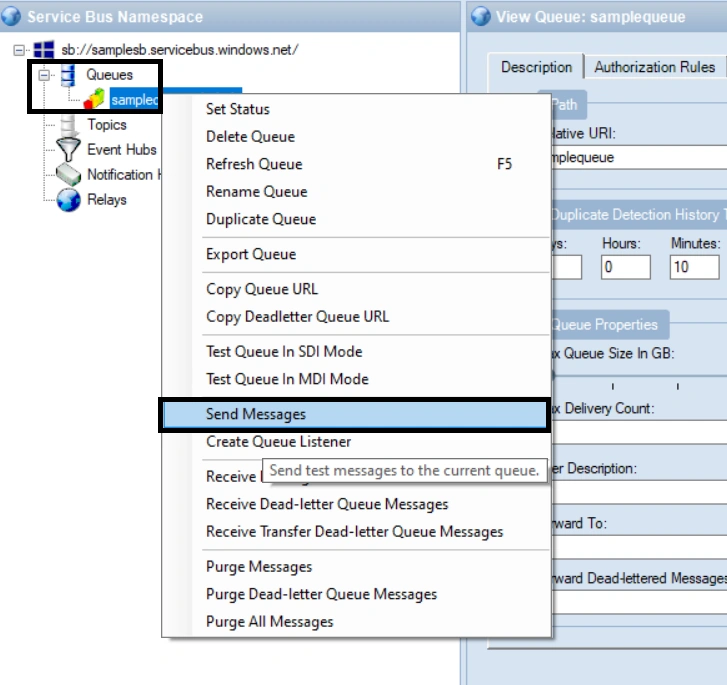
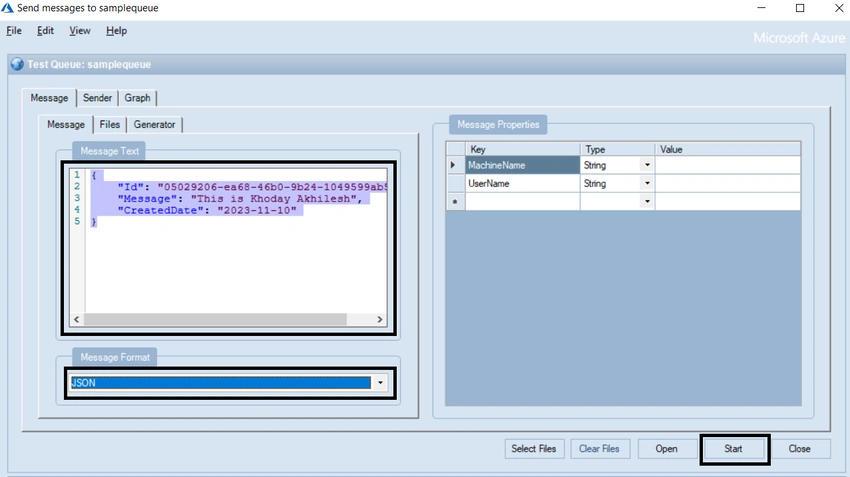
- After creating your queue, expand it, right-click on it, and select Send Messages.
- In this instance, we might try using the JSON format, so fill in the message text and choose JSON as the message format and click on send. Here is an example of JSON:
{
    "Id": "05029206-ea68-46b0-9b24-1049599ab562",
    "Message": "This is Khoday Akhilesh",
    "CreatedDate": "2023-11-10"
}
- You may need to repeat this to insert several messages with different contents to fill up the Queue with messages.
Summary
In this article, I discussed how we can download the service bus explorer and then create the Queue, and send the message in JSON Format by sharing the Screenshots.
Muzaffar Ur RahmanPosted Dec 1, 2023, 11:31 AM
Nice Article!