

Introduction
In this article, I will demonstrate the new InputScope feature of Windows Phone 7 applications. This feature, when applied to a TextBox could be very useful for many WP7 consumers, because it increases usability of your applications and decreases the time required for entering specific text using the SIP (Soft Input Panel). The namespace System.Windows.Input, which contains the InputScope class to handle this event and various constructors of this class represent InputScope for various controls.
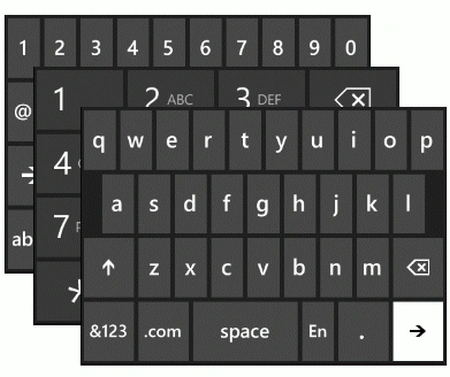
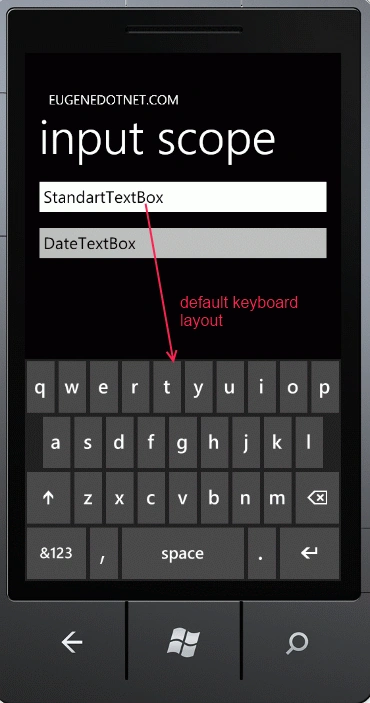
Simply speaking, InputScope is an attribute that can be applied to a TextBox control to change the default SIP layout (i.e when user enters text into a TextBox). There are several ways of specifying InputScope for a TextBox. Each of the ways has similar results, but also has specific advantages and disadvantages.
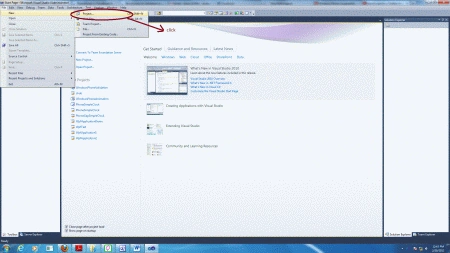
Step 1 : Open Visual Studio.- Select new -> project
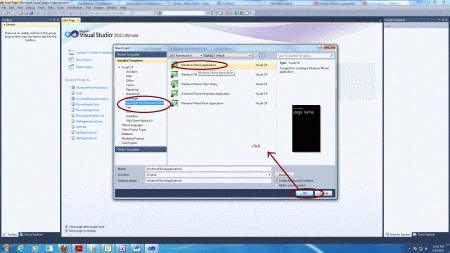
- Select your preferred language
- Select Silverlight for Windows Phone application
- Name the project
- Now name of project is "WindowsPhoneApplication"
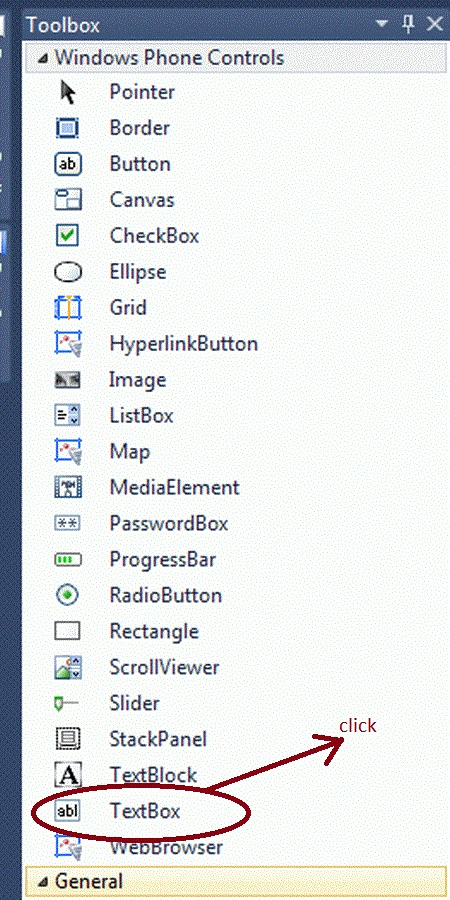
Step 2 : Open the Toolbox of the Windows Phone application.
- Drag & Drop two TextBox controls onto the design view.
Step 3 : Set some formatting on the TextBox and InputScope properties in XAML code.
- Open the XAML editor. Find a <Grid> element with x:Name="ContentGrid". This grid can be used as a container for our TextBoxes.
- Next we need to add two RowDefinitions for the Grid.
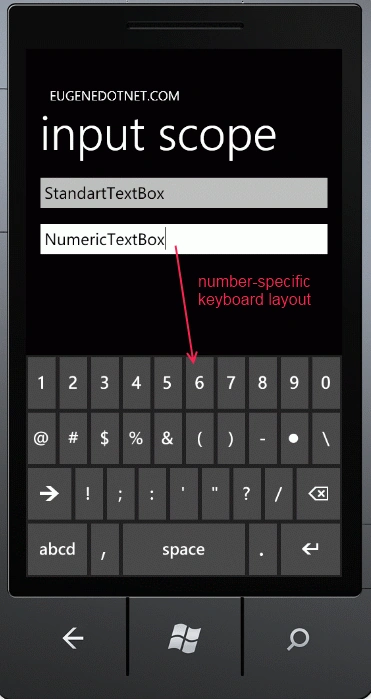
- The next step is to add two; one is a Standard and the second one is a Numeric TextBox with InputScope (with the property NameValue="Number").
Code
<Grid x:Name="ContentPanel" Grid.Row="1" Margin="12,0,12,0">
<Grid.RowDefinitions>
<RowDefinition Height="Auto"/>
<RowDefinition Height="Auto"/>
</Grid.RowDefinitions>
<TextBox Text="StandartTextBox" Height="70" Width="460" Grid.Row="0">
</TextBox>
<TextBox Text="NumericTextBox" Height="70" Width="460" Grid.Row="1">
<TextBox.InputScope>
<InputScope>
<InputScopeName NameValue="Number" />
</InputScope>
</TextBox.InputScope>
</TextBox>
</Grid>
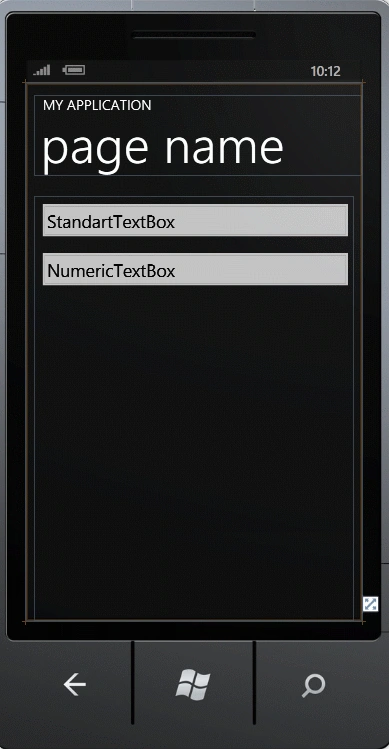
Step 4 : The final presentation of the design view is given below:
Jessica StephenPosted Feb 21, 2012, 12:37 AM
Very nicely explained.