

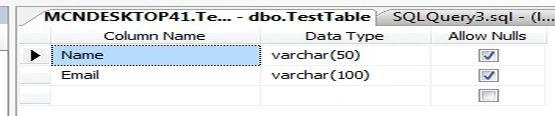
In this article I provide a quick overview of how to insert a record into SQL Server using jQuery. You can do it in many ways such as using Generic Handlers and using a WCF service. Here you will see it using jQuery with Ajax in ASP.Net. First we create a database table named "TestTable".
Creating SQL Database Table
This database contains one table named test.
- CREATE TABLE [dbo].[TestTable]
- (
- [Name] [varchar](50) NULL,
- [Email] [varchar](100) NULL
- )
Now press F5 to execute the script above that looks like this:
ASPX Page
Right-click your ASP.NET project then select "Add New Item" -> "New Page" and give it the name "Default.aspx" and add the following control into it:
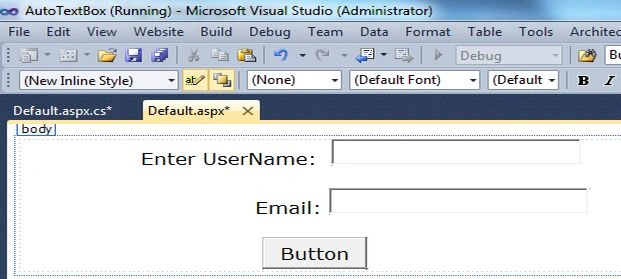
Now click on the source tab and add the following code:
- <%@ Page Language="C#" AutoEventWireup="true" CodeFile="Default.aspx.cs" Inherits="_Default" %>
- <!DOCTYPE html PUBLIC "-//W3C//DTD XHTML 1.0 Transitional//EN" "http://www.w3.org/TR/xhtml1/DTD/xhtml1-transitional.dtd">
- <html xmlns="http://www.w3.org/1999/xhtml">
- <head id="Head1" runat="server">
- <title>AutoComplete Box with jQuery</title>
- <link href="http://ajax.googleapis.com/ajax/libs/jqueryui/1.8.1/themes/base/jquery-ui.css" rel="stylesheet" type="text/css" />
- <script type="text/javascript" src="http://ajax.googleapis.com/ajax/libs/jquery/1.4.2/jquery.min.js"></script>
- <script type="text/javascript" src="http://ajax.googleapis.com/ajax/libs/jqueryui/1.8.1/jquery-ui.min.js"></script>
- <script type="text/javascript">
- $(document).ready(function()
- {
- $('#Button1').click(function()
- {
- $.ajax({
- type: 'POST',
- contentType: "application/json; charset=utf-8",
- url: 'Default.aspx/InsertMethod',
- data: "{'Name':'" + document.getElementById('txtUserName').value + "', 'Email':'" + document.getElementById('txtEmail').value + "'}",
- async: false,
- success: function(response)
- {
- $('#txtUserName').val('');
- $('#txtEmail').val('');
- alert("Record Has been Saved in Database");
- },
- error: function()
- {
- console.log('there is some error');
- }
- });
- });
- });
- </script>
- </head>
- <body>
- <form id="form1" runat="server">
- <div class="demo">
- <div class="ui-widget">
- <label for="tbAuto">
- Enter UserName:
- </label>
- <asp:TextBox ID="txtUserName" runat="server" ClientIDMode="Static" Width="202px"></asp:TextBox>
- <br />
- <br /> Email:
- <asp:TextBox ID="txtEmail" runat="server" ClientIDMode="Static" Width="210px"></asp:TextBox>
- <br />
- <br />
- <asp:Button ID="Button1" runat="server" Text="Button" ClientIDMode="Static" />
- </div>
- </div>
- </form>
- </body>
- </html>
Now double-click on the default form and add the following .cs file code:
- using System;
- using System.Collections.Generic;
- using System.Data.SqlClient;
- using System.Web.Services;
- using System.Web;
- using System.Data;
- public partial class _Default: System.Web.UI.Page
- {
- protected void Page_Load(object sender, EventArgs e) {}
- [WebMethod]
- public static string InsertMethod(string Name, string Email)
- {
- SqlConnection con = new SqlConnection("Data Source=.;Initial Catalog=TestDB;User ID=sa;Password=Micr0s0ft");
- {
- SqlCommand cmd = new SqlCommand("Insert into TestTable values('" + Name + "', '" + Email + "')", con);
- {
- con.Open();
- cmd.ExecuteNonQuery();
- return "True";
- }
- }
- }
- }
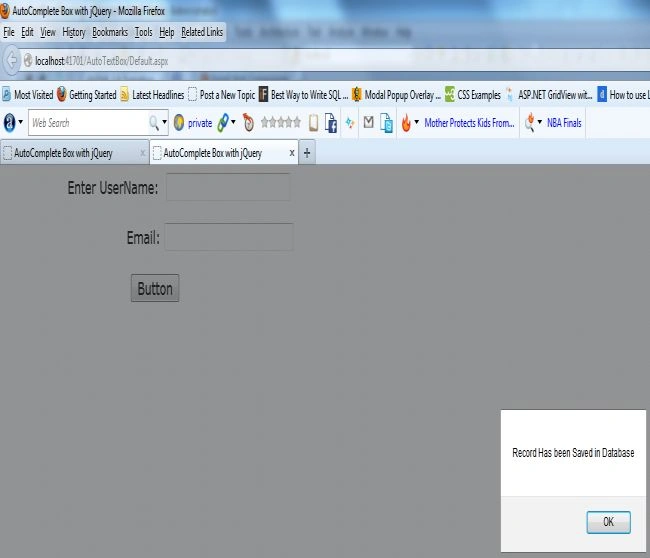
Now run the application.
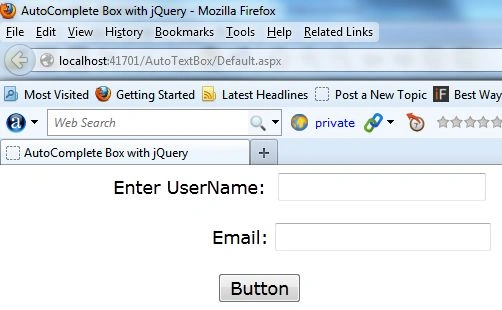
Now enter the name and email into the corresponding TextBox.
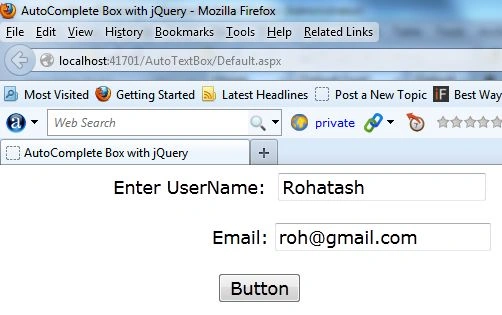
Now click on the Button control.
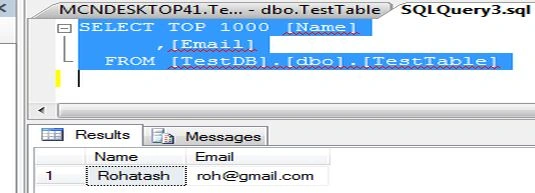
Now open the SQL Server database and check it.
Mhlengi ZuluPosted Mar 7, 2021, 6:16 PM
Great work, it is working 100%
Pascha NwankwPosted Jul 16, 2020, 2:25 PM
Thanks so much for your example. Please can you provide an example on how to insert image alongside text data into sql server using jquery as well?
kalu singh raoPosted Jul 8, 2016, 1:25 AM
Nice...
Abhishek KumarPosted Oct 14, 2015, 5:25 AM
Thanks For Share sir...
Krishna VPosted Jan 6, 2015, 9:46 AM
Excellent tutorial. Can you please post a tutorial on how to export the data inserted into an SQL server to an excel sheet.
NavinKumar MisraPosted Jul 24, 2014, 9:34 AM
Nice Tutorial
Mathews JacobPosted Jun 2, 2014, 3:51 AM
sir how to insert html tags (hyper links etc...) to MSSQL server DB using asp.net form and text box?...pls help.... Mi email id : [email protected]
Rohatash KumarPosted Aug 26, 2013, 10:56 PM
Thanks Roby James.
Roby James JohnPosted Aug 26, 2013, 5:43 AM
Great.. thx a lot .. was looking for this
Sandeep Singh ShekhawatPosted Jun 18, 2013, 1:09 AM
Nice @Rohatash, Why does it not work when I remove async: false or define async: true ? I know that the request can't go asynchronously to insert so we define it async: false, so that it can work in synhronuos way.