

Introduction
In this article, we will learn how to create, install, and customize (basic customization) a WordPress website with Microsoft Azure Web App.
Prerequisite
- Microsoft Azure Subscription
- Basic knowledge of WordPress
Overview
Azure web App is a PaaS offering by Microsoft Azure to host a asp.net web development application with any given language, be it ASP.NET web development, PHP, Python etc. It comes with many cool features like auto-scaling to the application.
With such supercool powers, Azure Web App also provides an ease of creating WordPress websites. WordPress is the largest self-hosted blogging tool in the world. It is a free & open-source content management system. It is based on PHP and MySQL. It’s being used by millions of users worldwide.
To be functional, WordPress has to be installed on a web server, and we can achieve this seamlessly with Microsoft Azure App.
Create WordPress in Azure Portal
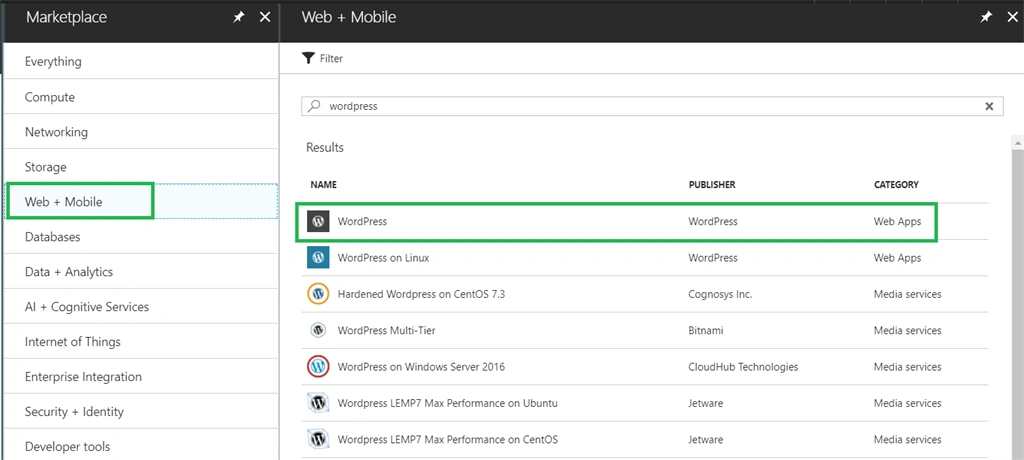
Open Microsoft Azure portal. Click +New => Type ‘wordpress’ in Marketplace search box.
It will list multiple options; select the one highlighted in the below image.
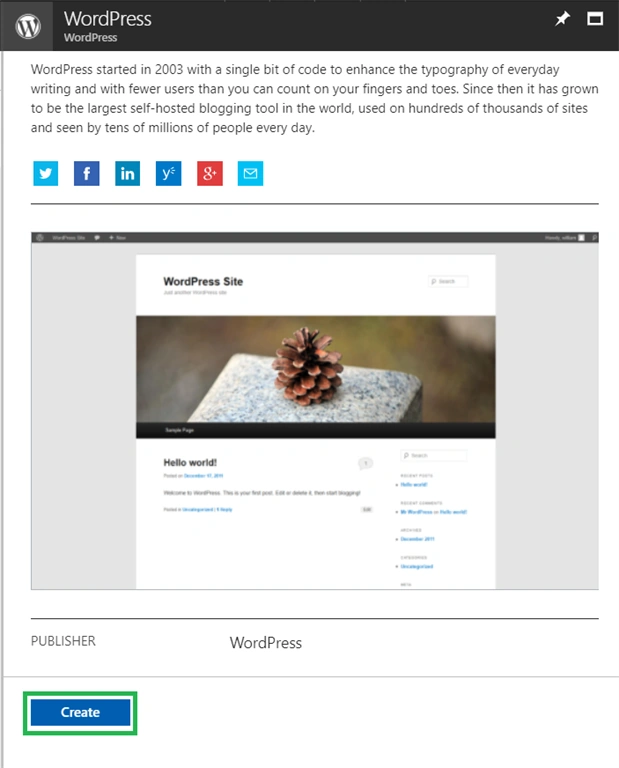
This will present with a descriptive window with respect to WordPress with button name "Create".
Click on "Create" to proceed.
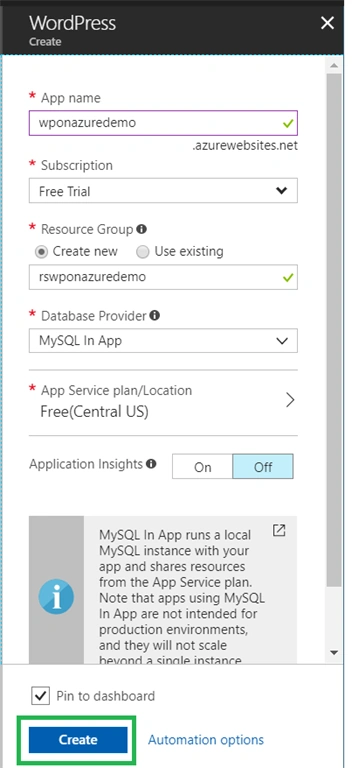
This will present a WordPress registration blade.
It will require the following things to be fed in.
App Name
This will be the application name, and part of the public URL. <App name>. azurewebsites.net. This name should be globally unique. For this blog, we are giving a name as ‘wponazuredemo’.
Subscription
Here we need to select Microsoft Azure Subscription.Resource Group
Here we can select from existing resource group or create a new resource group. Azure web app is Azure resource, we need to logically group it in the resource group. For this blog, we are creating a new resource group name ‘rswponazuredemo’.
Database Provider
Here at the time of writing this blog, we have two options.
Azure Database for MySQL (Preview)
It provides managed database service for app development. This could be used in the case where we require a scale-in,scale-out scenario with huge traffic and high expected data usage. If we opt for this, the blade provides a tab to configure Azure Database for MySQL settings.
MySQL in App
It provides MySQL database for a Web app. It’s a feature of Azure web app, and shares all resources within App Service plan.
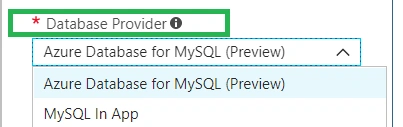
For this blog, we will be selecting MySQL In-App.
App Service Plan
It is a container for our App. This plan's settings will govern location, features, cost & other compute resources associated with our app. You can use an existing plan or can create a new dedicated plan for the app. For this blog, we have created a Free tier pricing plan with limited features. And we named it as ‘Free’ with the location selected as ‘Central US’.
Application Insight
Is not mandatory to go with this selection. By default, it's disabled. Will go with the default option.
"Pin to dashboard" to manage from the Portal dashboard.
Click on "Create".
After entering all the above details, it will be presented as:
Within a few minutes, it will deploy the WordPress Web app.
Once deployed, it can be seen on the dashboard & even in the notifications.
Click to proceed.
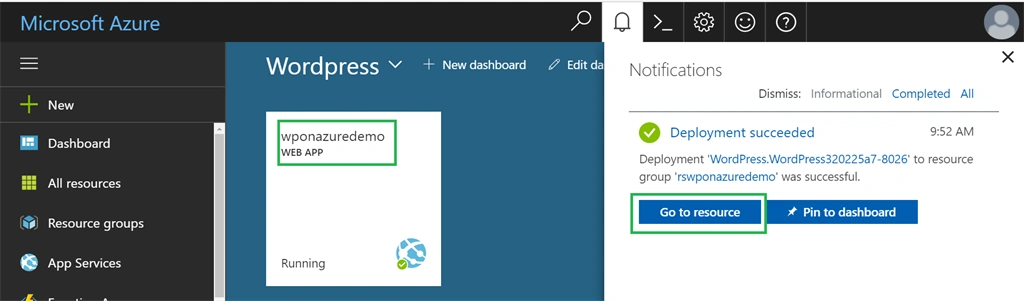
It will present us with Web App blade. All web app features can be leveraged with WordPress website.
Installation of WordPress
Navigate to Overview Section => And copy Web URL or click on "Browse".
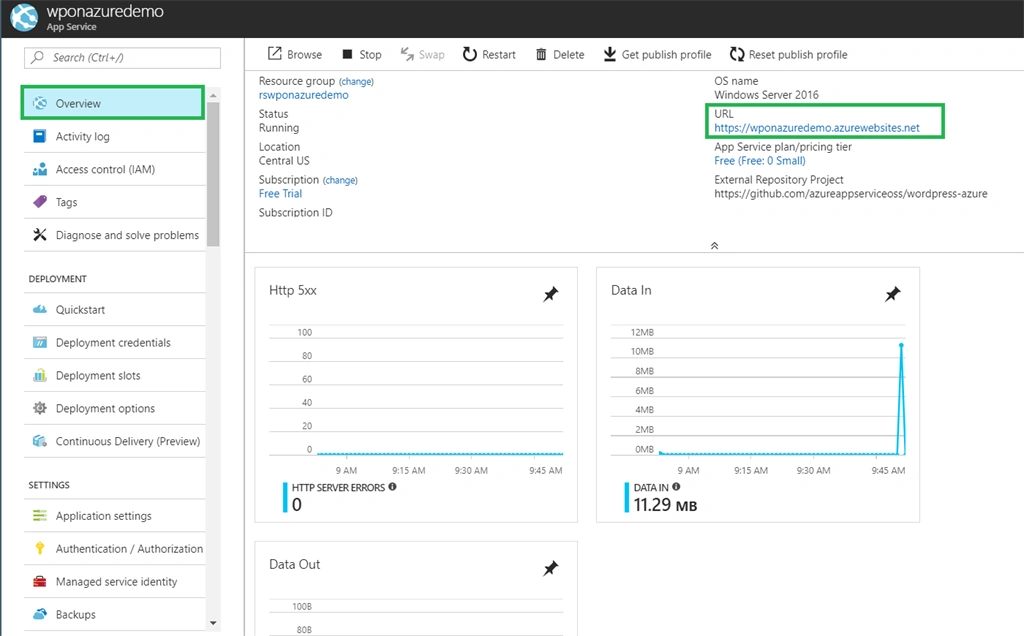
Open the browser and paste the URL.
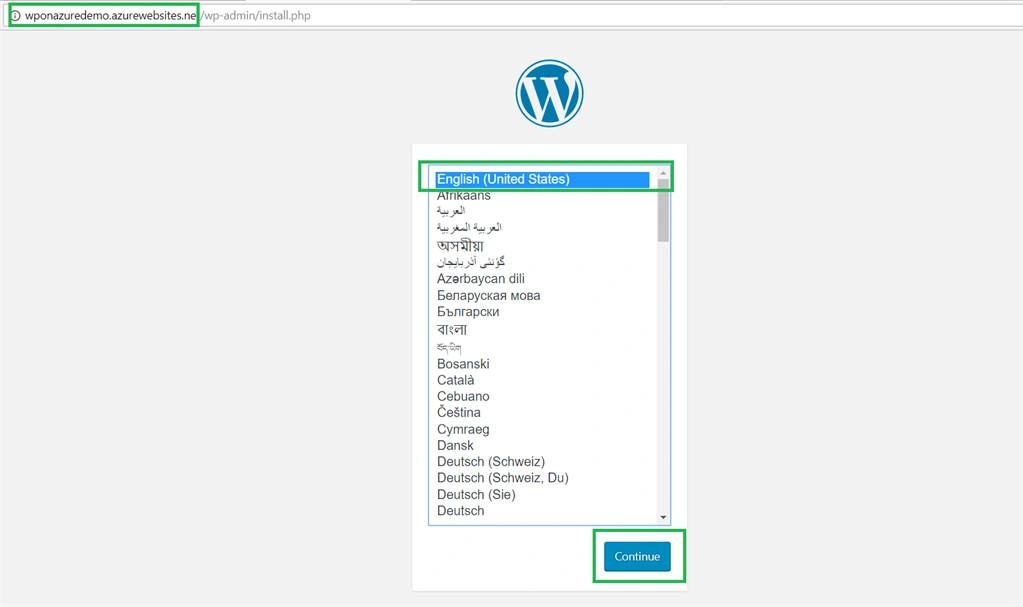
This time, it will not open up the default web app template, the blue page with a pleasant message! As it's a WordPress site, it will open up with WordPress installation steps in the browser.
Follow the instructions.
Select desired language => click on "Continue".
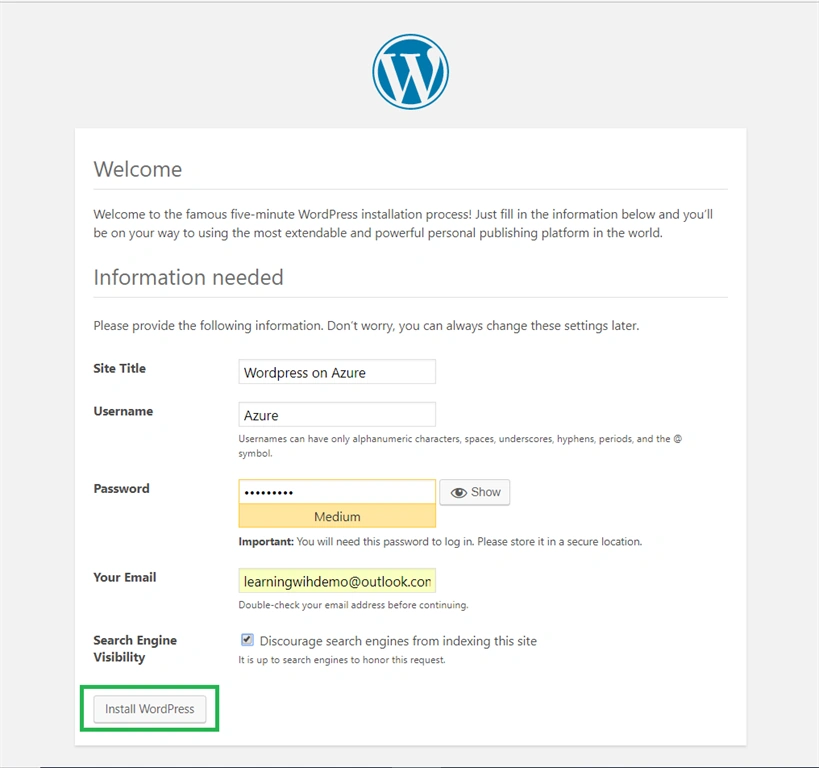
Enter the required information, as asked for, and click "Install WordPress".
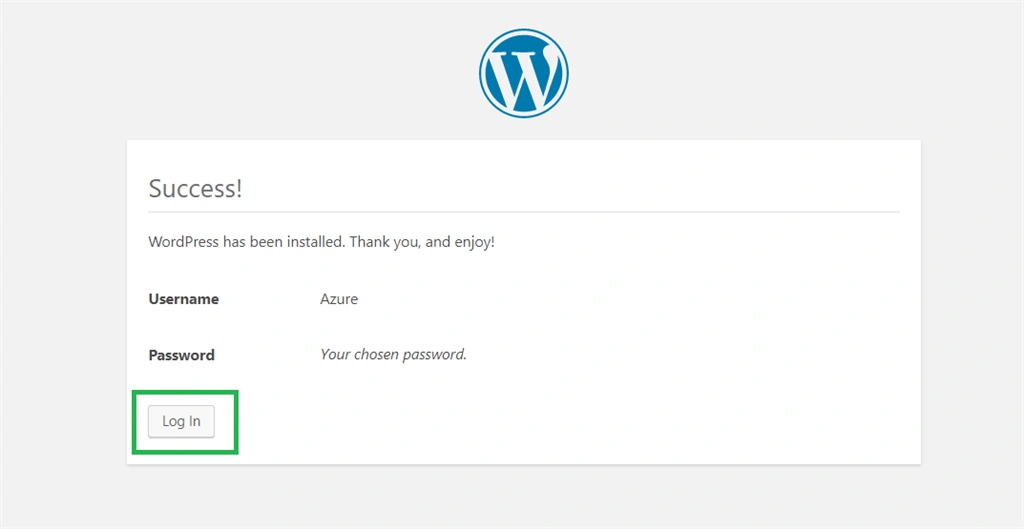
It may take some time to install WordPress. After successful installation, it will display a success message.
Click "Log In".
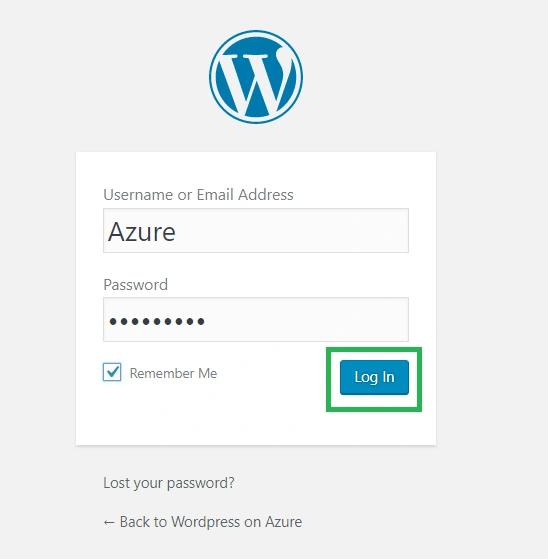
Enter the login credentials that we entered in the above step.
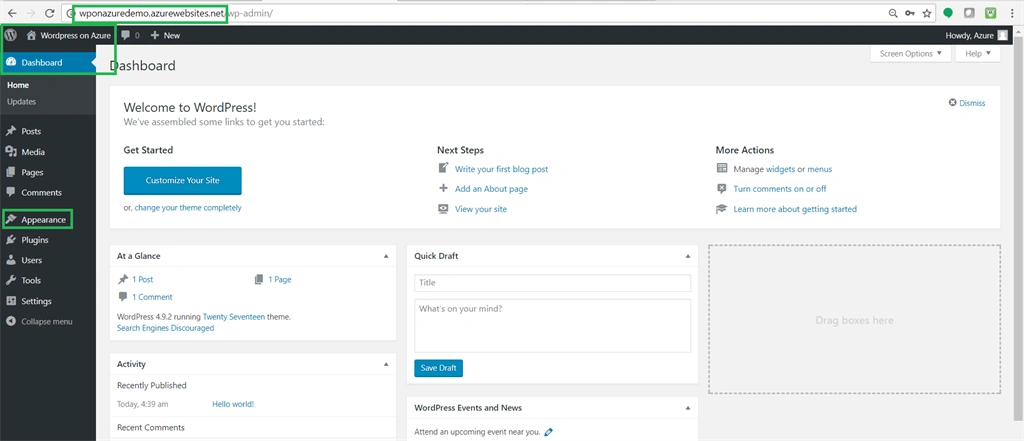
After successful login, it will present the WordPress Dashboard, a place from where you can customize and manage your WordPress theme & other components.
Notice that the URL is of the Web App we created, and we have presented WordPress dashboard hosted on the same.
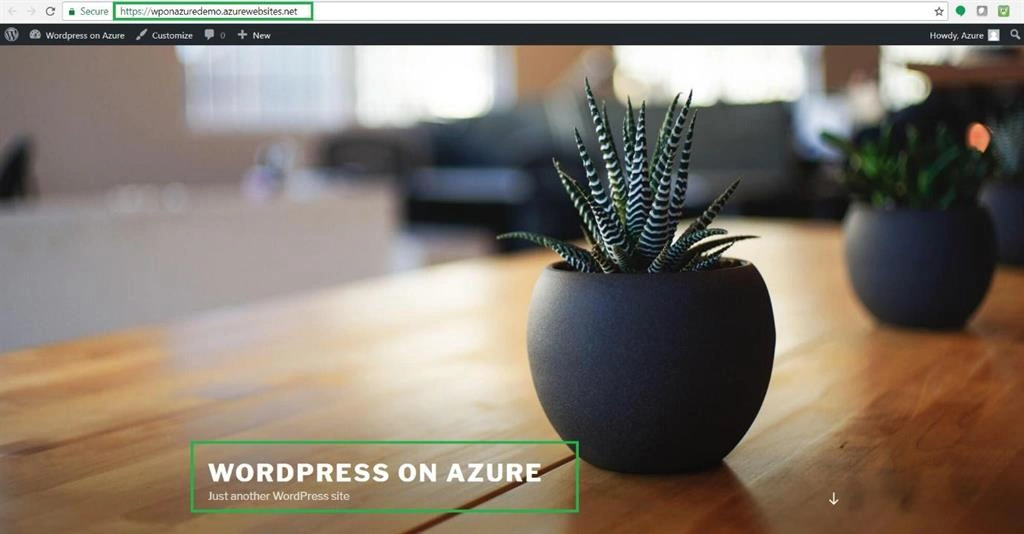
Now again, open the Web App URL in the browser and hit Refresh!
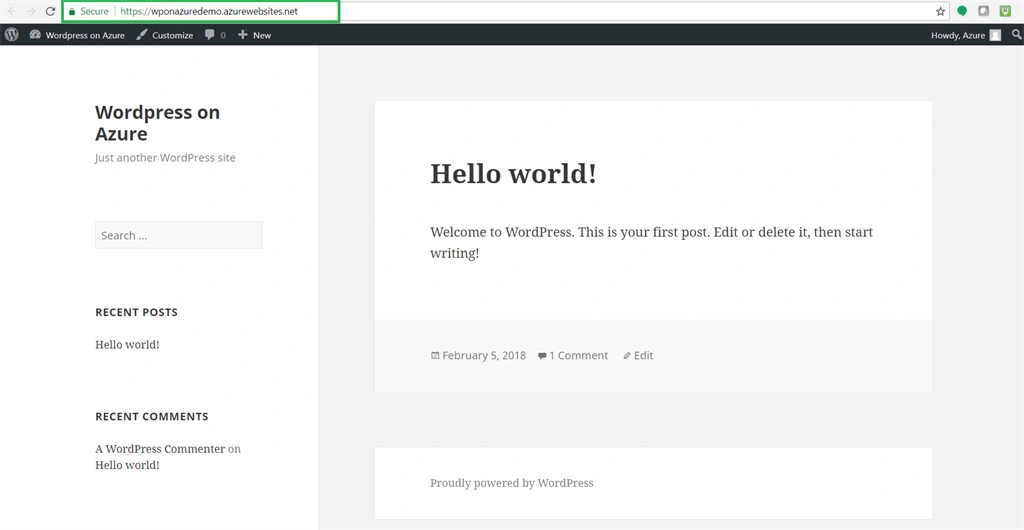
The WordPress site will be live on Azure Web App with a default theme.
Customizing WordPress
We ill change the default theme from available options, through the dashboard.
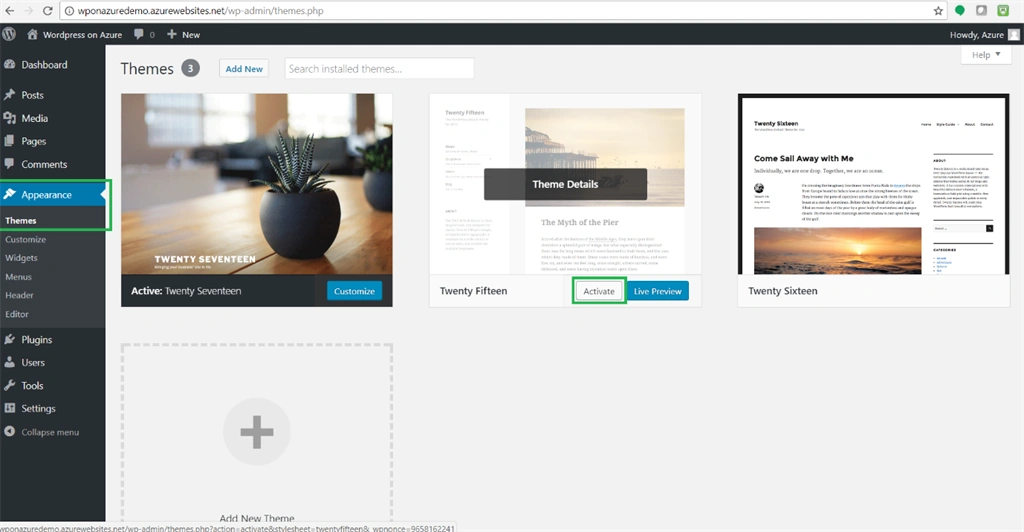
Navigate to left navigation panel => Appearance => Themes.
Default theme can see the message as ‘Active’.
Select from other available options or we can add a new theme.
For the blog, let's select the theme named Twenty Fifteen.
Click on "Activate".
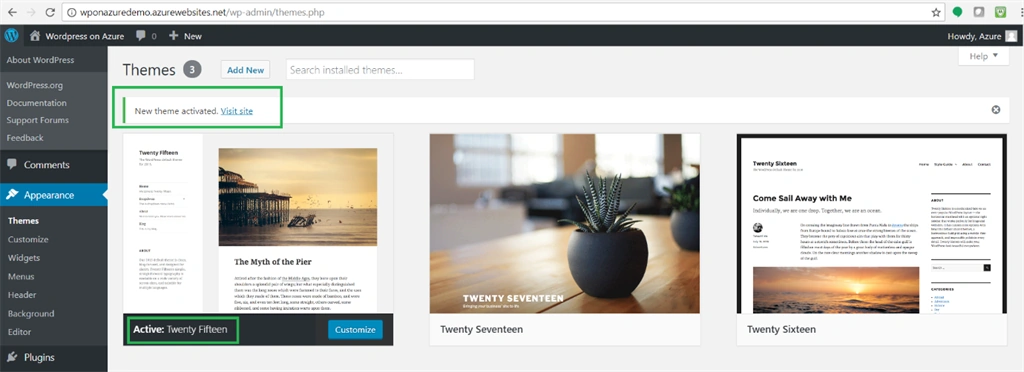
The selected theme will be activated.
Click Visit Site or Open Web URL in the browser and hit Refresh!
Summary
We learned how seamlessly with a few clicks we were able to create, install & customize a WordPress site on Azure Web Apps. Also, this powerful feature can even be used by Azure Free account.
I would recommend you give the above step a try & make your own WordPress site live on Microsoft Azure Cloud.
Thank You!
Koshila SenadhiraPosted Dec 1, 2022, 8:39 AM
Interesting Article!!
MyProfyle AdminPosted Sep 20, 2018, 4:07 AM
That's great explanation! Any idea on how to deploy the WordPress local code directly to azure web service that you created above. I've created the WordPress site on Azure as per your instruction and want some customization so, I did that code on my local machine and want to deploy the same WordPress code(php) to azure.
Kazim AliPosted Apr 12, 2018, 10:26 AM
Great stuff, very insightful.
Sagar Pandurang KapPosted Mar 13, 2018, 11:40 PM
Wow!!Thats amazing stuff.Keep sharing.....