

Overview
Microsoft recently added one interesting feature in Power BI, i.e., Selection Pane. This is an amazing preview feature rolled out by the company during the October update. Before we start, we may have a question in our mind how this feature will be helpful to us.
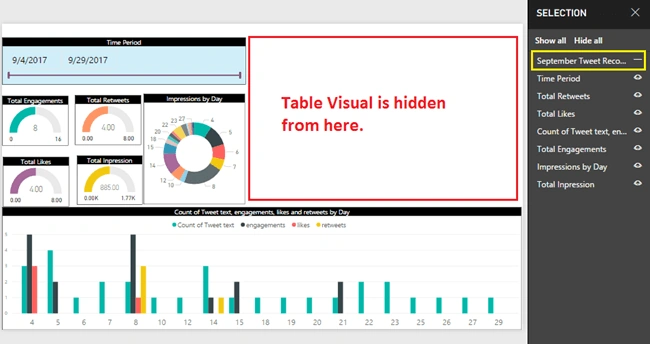
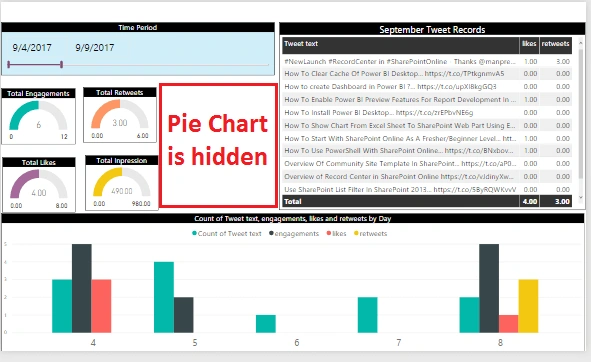
Suppose, I have added 10 visuals in my single page of the report and while publishing this report, I only want to show 8 visuals. I want to hide other two visuals. This is where the selection pane feature comes handy.
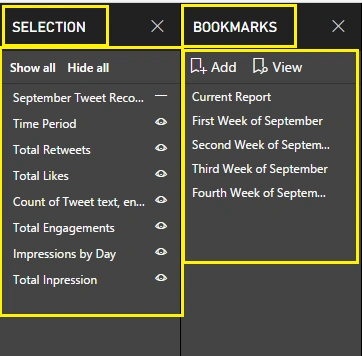
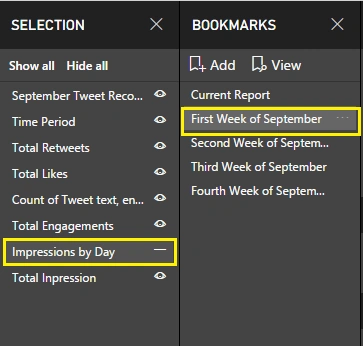
Secondly, we can combine this feature with Bookmark Pane feature. For every bookmark in a bookmark pane, Power BI provides one selection pane. Sometimes, when we perform slideshow to the client with Power BI Desktop, we can hide unnecessary visuals within a click to focus a specific visual.
Now, let us check its amazing functionality!
In this article, steps 1 to 5 focus on the Selection Pane only.
Then, from Step 6 onward, we combine this Selection Pane feature with Bookmark Pane for better understanding. I prefer you to go through my previous article - Power BI New Feature: Bookmark Pane in Power BI (Preview Feature).
Prerequisites to enable this feature
- Latest version of Power BI Desktop
- Enable Preview Feature for bookmark ( To know how to enable preview feature in Power BI Desktop, visit my blog)
Step 1
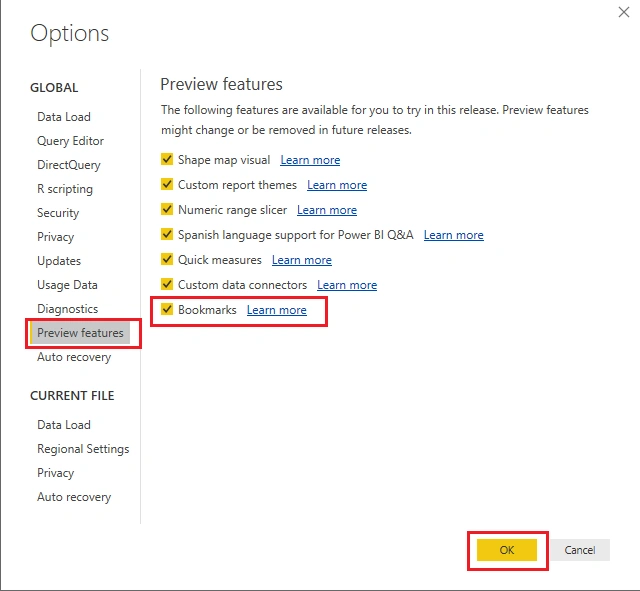
Make sure the Bookmark Preview feature is enabled. To check, go to File > Options and Setting > Option > Preview Feature > Bookmark.
Make sure that the "Bookmarks" option is checked.
Step 2
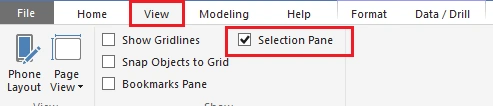
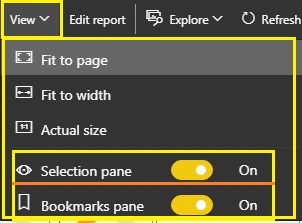
If we have enabled this option, it provides us two panes under View option.
- Bookmark Pane
- Selection Pane

Step 3
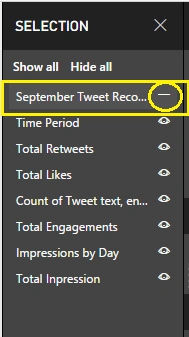
Go to View > Check "Selection Pane".
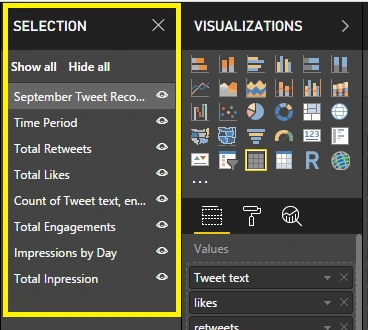
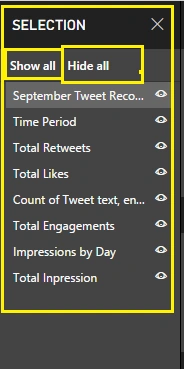
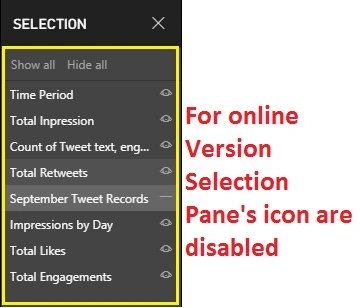
It will add the Selection pane just after the Visualizations tab.
Join the conversation! Your thoughts help the community grow.