

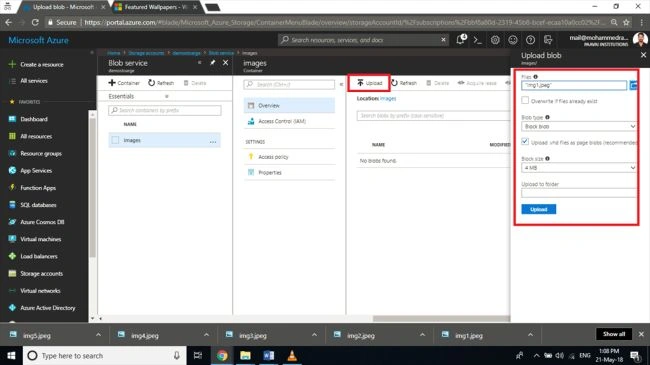
It is very easy to upload or download data to containers in the Blob through the portal. If you select the container you can see an option to do the same. You can click on upload and browse for an item from your local machine to add the blob, and in the advanced option you can select the blob type as Blob, Page or Append and specify the block size.
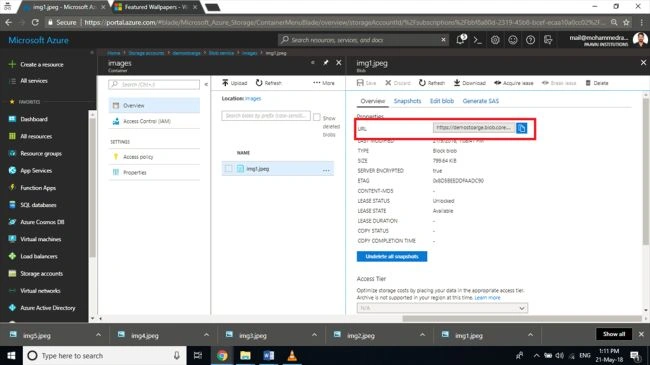
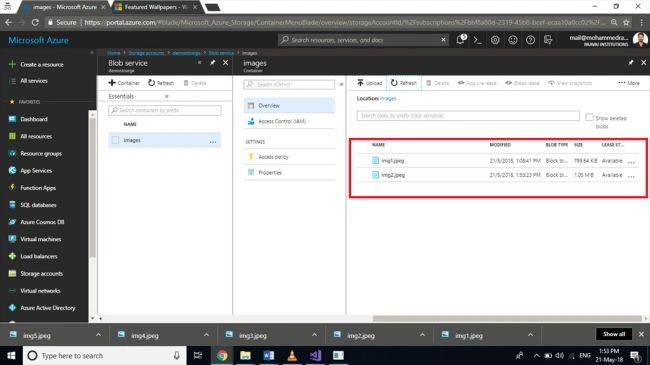
Once uploaded, the image will be listed in the container and on selecting you will be able to download the file through the portal and also you can get the URL to access the file for the public. If you scroll down you can see an option to add metadata also.
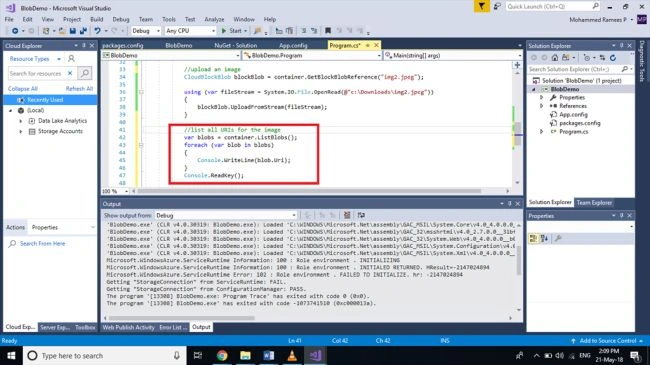
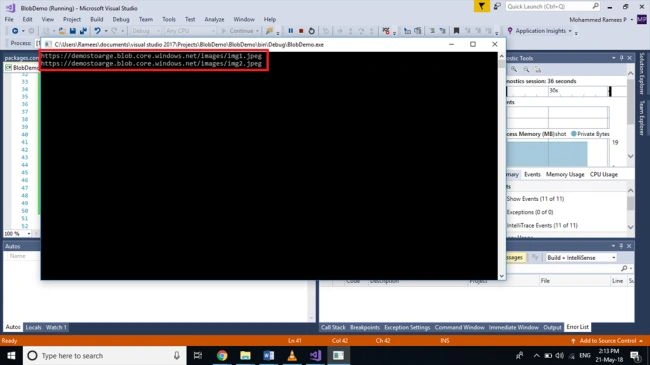
Now, here in this article, we will see how to download the existing image that we uploaded, upload a new image through a C# application and also list all the files in a container. Either you can work with the previous exercise or you can start a new project. If you are working with previous you only need to add new code and if you are working on a new project, you are required to do the connection string settings and adding the namespaces step.
Step 1
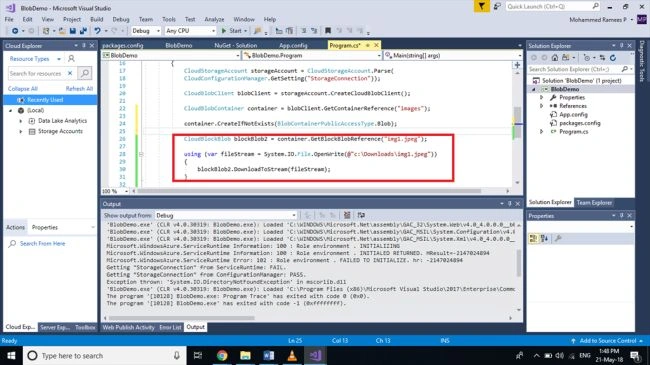
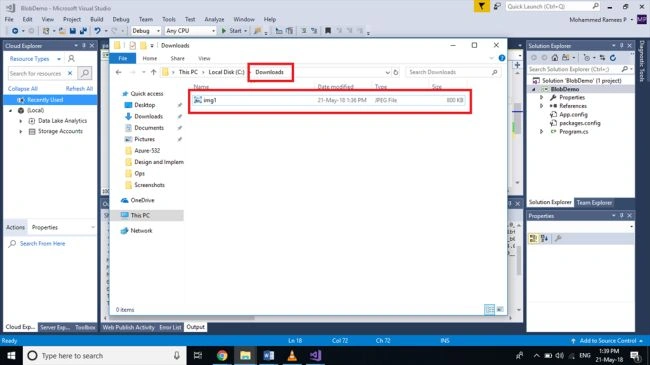
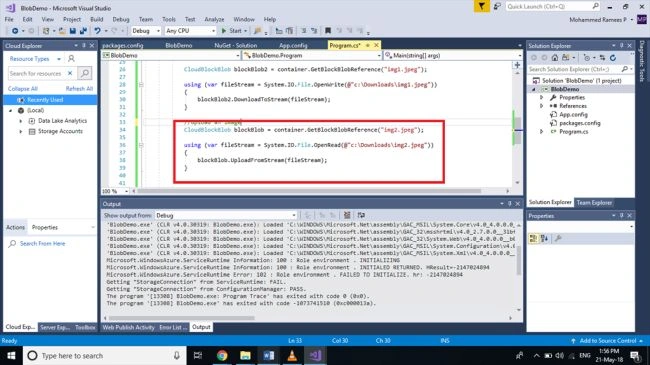
In this step, we will download the file that we just added (Make sure you are having the image in the container) to downloads folder on our C drive. Append the following code to your previous exercise in the Main method.
- CloudBlockBlob blockBlob2 = container.GetBlockBlobReference("img1.jpeg");
- using (var fileStream = System.IO.File.OpenWrite(@"c:\Downloads\img1.jpeg"))
- {
- blockBlob2.DownloadToStream(fileStream);
- }
Join the conversation! Your thoughts help the community grow.