

Introduction
In this article, we are going to see how to create Toasts in Android using the Android Studio. Toasts show you a request message; i.e., an interruption or warning message which is displayed on-screen.
So, let us begin.
Step 1
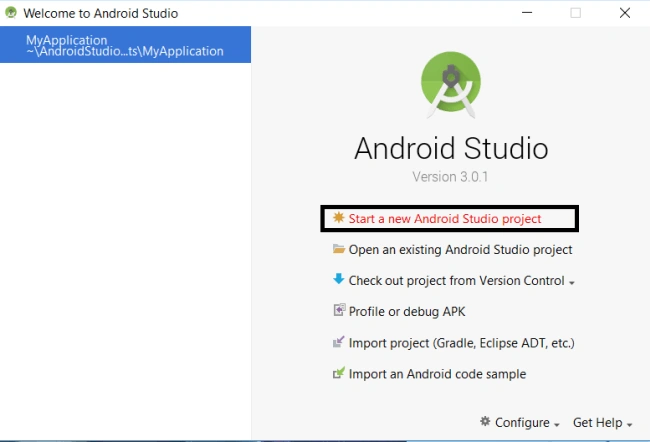
Create a new project in Android Studio.
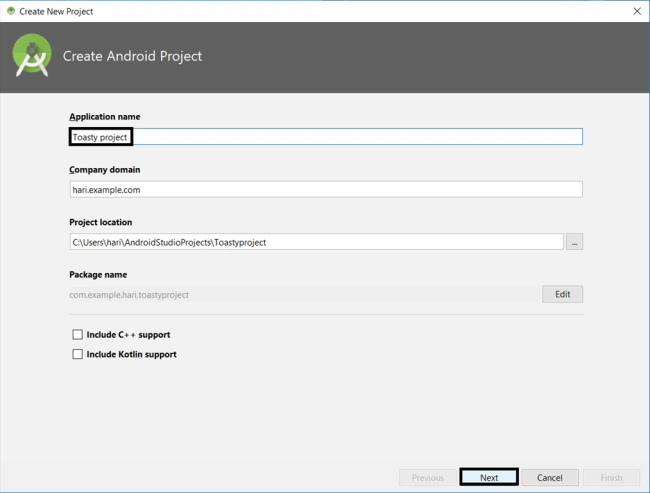
Give a name to the project and click "Next".
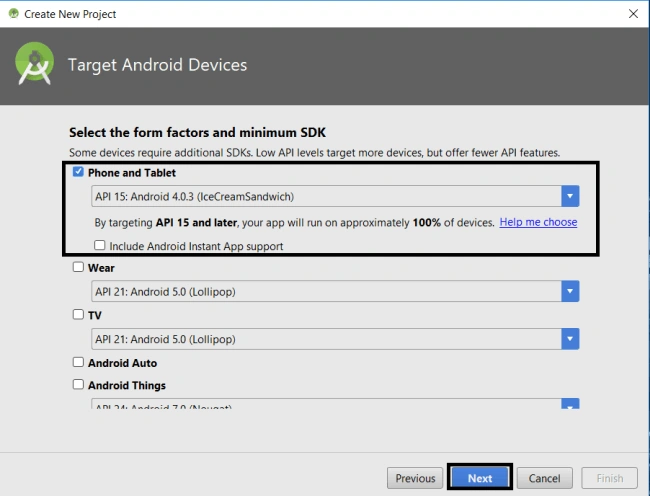
Select the "Phone and Tablet" and click "Next".
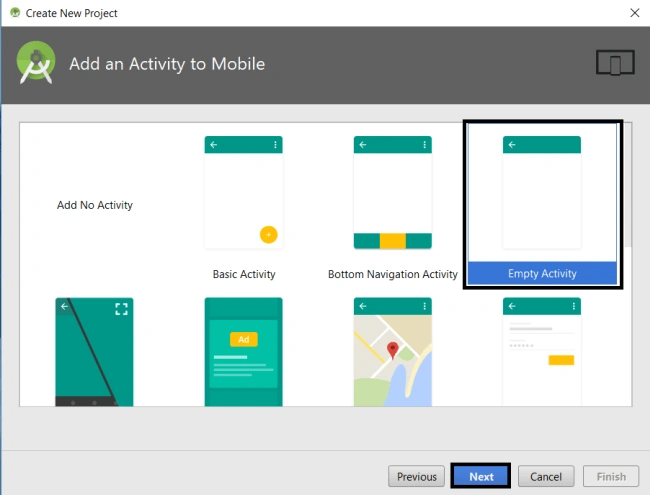
Select an empty activity and click "Next".
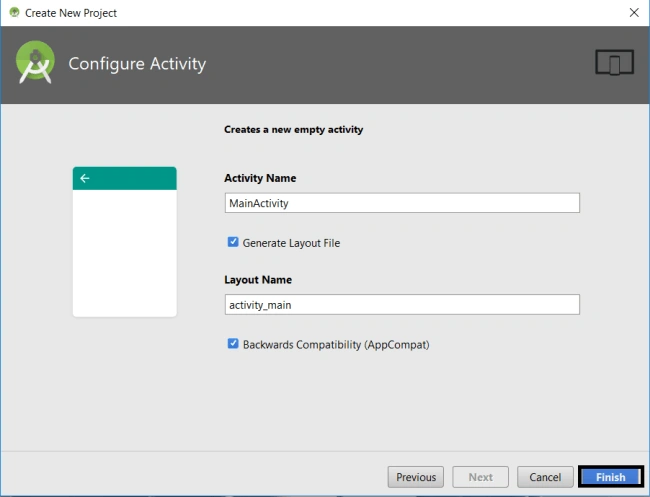
At last, give the activity name and click on "Finish".
Step 2
Setup the gradle by just locating the Gradle Scripts>>Build. Gradle 1.
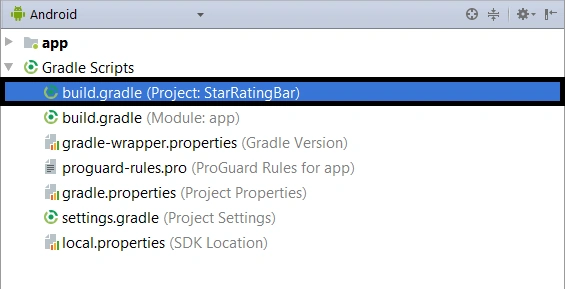
Type the following dependency in your app's build.gradle.
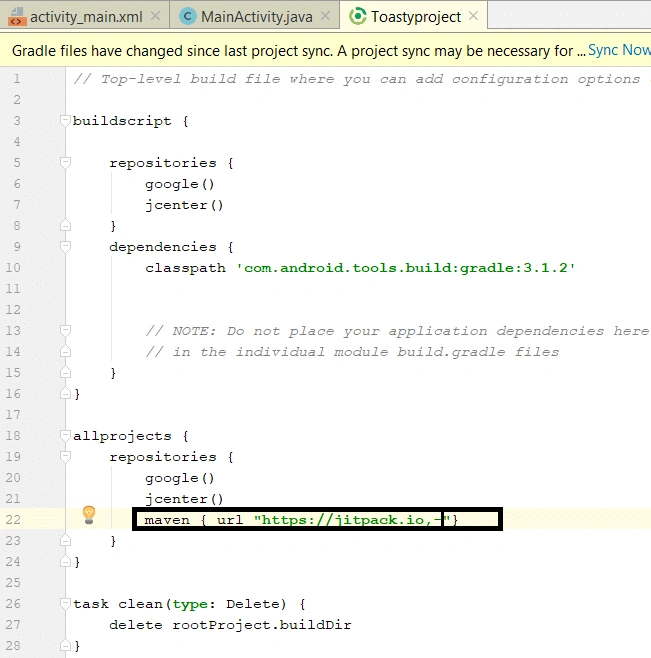
Code copy is here,
- maven { url "https://jitpack.io"}
Step 3
Locate the Gradle Scripts>>Build. Gradle 2.
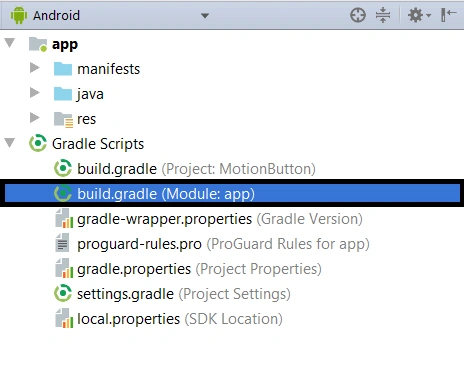
And, type the following dependency in your app's build.gradle.
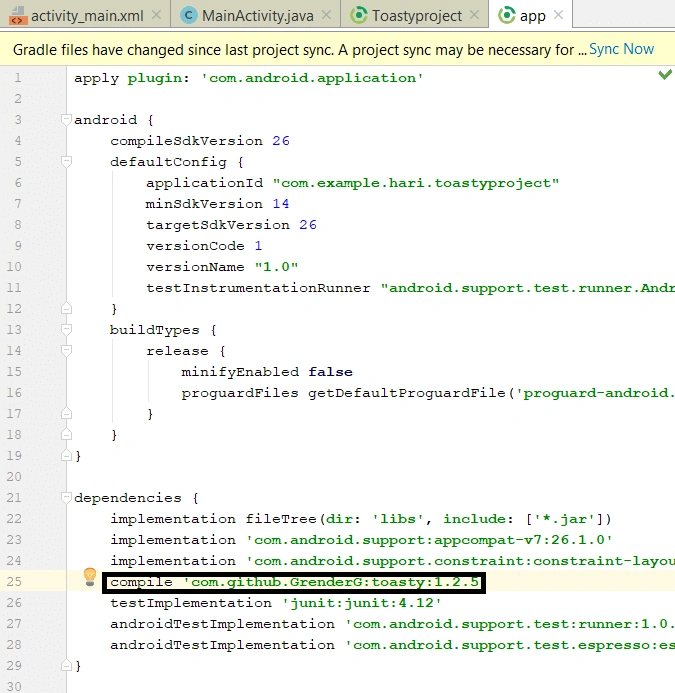
Code copy is here.
- compile 'com.github.GrenderG:tasty:1.2.5'
Step 4
Next, go to app >> res >> layout >> activity_main.xml. Select activity page.
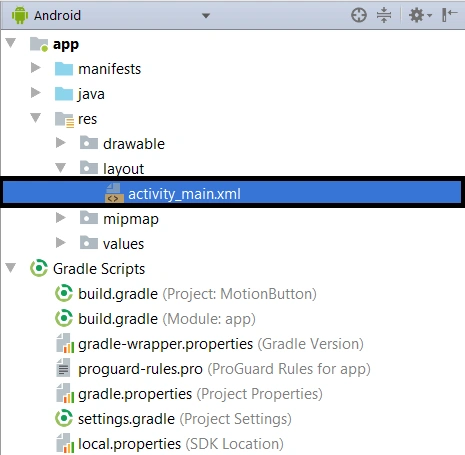
And just type the code as shown below.
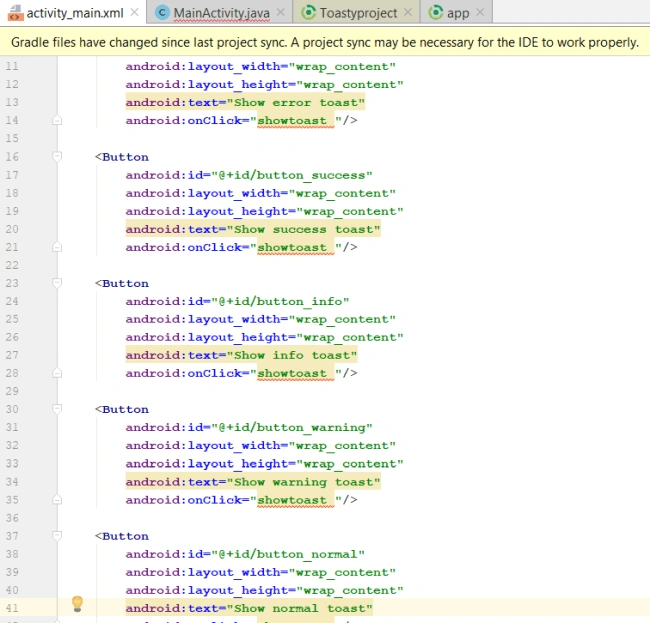
Code copy is here.
- <?xml version="1.0" encoding="utf-8"?>
- <Linearlayout xmlns:android="http://schemas.android.com/apk/res/android"
- xmlns:app="http://schemas.android.com/apk/res-auto"
- xmlns:tools="http://schemas.android.com/tools"
- android:layout_width="match_parent"
- android:layout_height="match_parent"
- tools:context=".MainActivity">
- <Button
- android:id="@+id/button_error"
- android:layout_width="wrap_content"
- android:layout_height="wrap_content"
- android:text="Show error toast"
- android:onClick="showtoast "/>
- <Button
- android:id="@+id/button_success"
- android:layout_width="wrap_content"
- android:layout_height="wrap_content"
- android:text="Show success toast"
- android:onClick="showtoast "/>
- <Button
- android:id="@+id/button_info"
- android:layout_width="wrap_content"
- android:layout_height="wrap_content"
- android:text="Show info toast"
- android:onClick="showtoast "/>
- <Button
- android:id="@+id/button_warning"
- android:layout_width="wrap_content"
- android:layout_height="wrap_content"
- android:text="Show warning toast"
- android:onClick="showtoast "/>
- <Button
- android:id="@+id/button_normal"
- android:layout_width="wrap_content"
- android:layout_height="wrap_content"
- android:text="Show normal toast"
- android:onClick="showtoast "/>
- </Linearlayout>
Step 5
Next, go to app >> java>>Mainactivity.java. Select Mainactivity page.
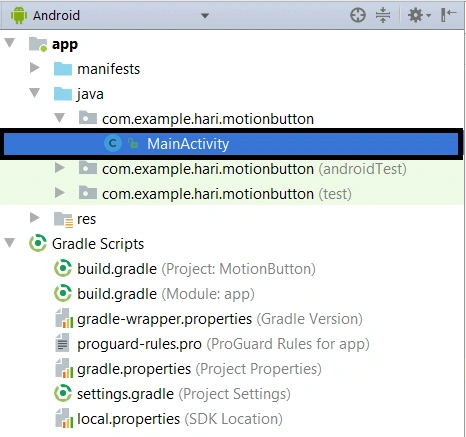
And just type the code.
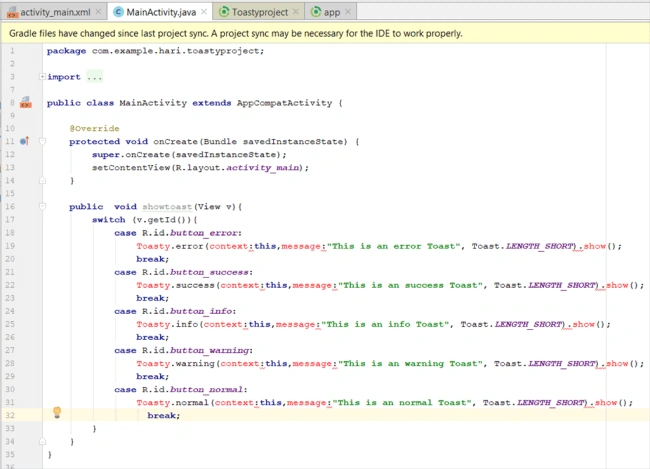
Code copy is here,
- public class MainActivity extends AppCompatActivity {
- @Override
- protected void onCreate(Bundle savedInstanceState) {
- super.onCreate(savedInstanceState);
- setContentView(R.layout.activity_main);
- }
- public void showtoast(View v){
- switch (v.getId()){
- case R.id.button_error:
- Toasty.error(context:this,message:"This is an error Toast", Toast.LENGTH_SHORT).show();
- break;
- case R.id.button_success:
- Toasty.success(context:this,message:"This is an success Toast", Toast.LENGTH_SHORT).show();
- break;
- case R.id.button_info:
- Toasty.info(context:this,message:"This is an info Toast", Toast.LENGTH_SHORT).show();
- break;
- case R.id.button_warning:
- Toasty.warning(context:this,message:"This is an warning Toast", Toast.LENGTH_SHORT).show();
- break;
- case R.id.button_normal:
- Toasty.normal(context:this,message:"This is an normal Toast", Toast.LENGTH_SHORT).show();
- break;
- }
- }
- }
Step 6
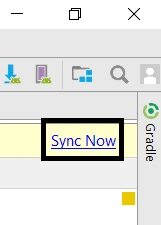
After step 4, sync all the dependency gradles and Mainactivity.java resource files by clicking the Sync button on the top right corner of the Gradle page.
Step 7
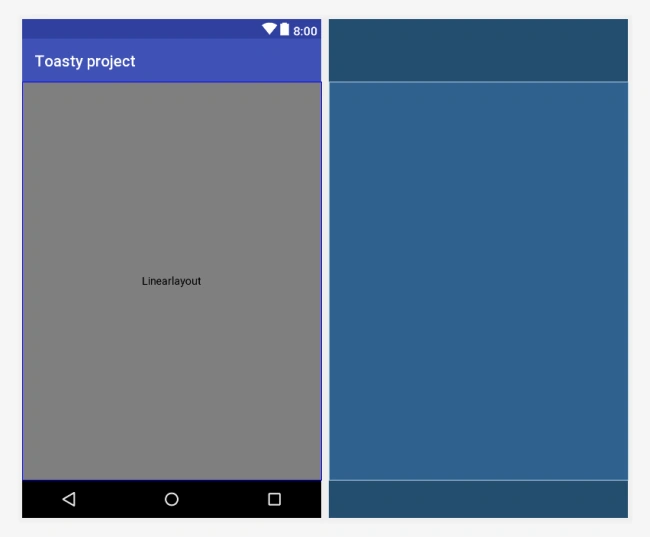
Verify the preview.
After the code is applied, the preview will appear like this.
Step 8
Next, go to Android Studio and deploy the application. Select an Emulator or your Android mobile with USB debugging enabled. Give it a few seconds to make installations and set permissions.
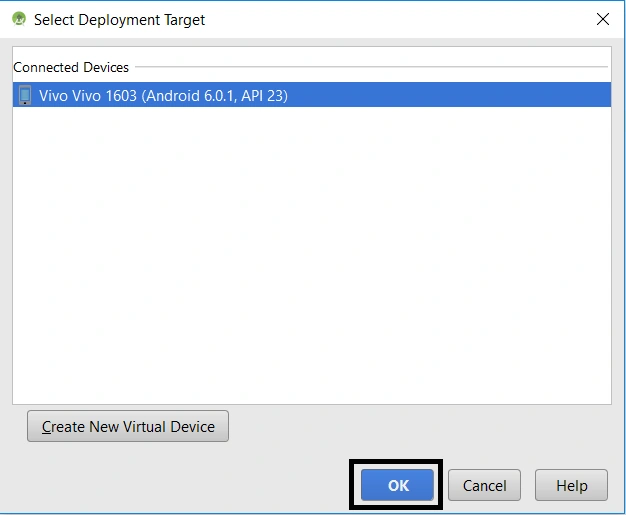
Run the application in your desired emulator (Shift + F10).

Explanation of source code
The source code provided in this article is just the dependencies of Toast activity and the code used in activity_main.xml will make the messages appear and to define its attributes.
Summary
In this article, we created the app named Toasty project. Then, we inserted a Gradle and we learned how to use the Toasts. Finally, we have deployed that as an output.
I hope you have liked this article.
Hadshana KamalanathanPosted Jul 22, 2018, 6:30 AM
Good article...
Munish APosted May 30, 2018, 11:21 AM
Nice article keep sharing......