

Step 1 - Create an event hub for Streaming Analytics input
We are using a Twitter WPF Client application to generate the events with the help of Twitter app and pushes them to an Azure event hub. Azure Event Hubs are used to pull and push data from other sources.
Log in to the Azure Portal.
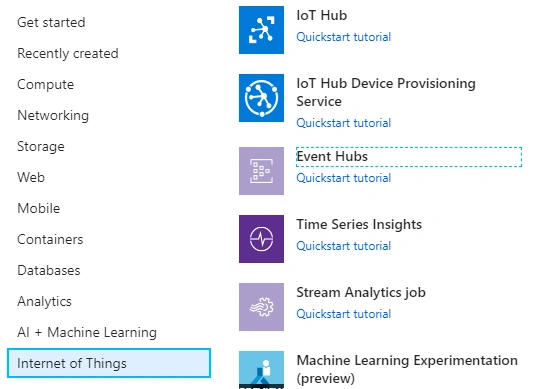
Create an event hub namespace. One event hub namespace can hold multiple event hubs.
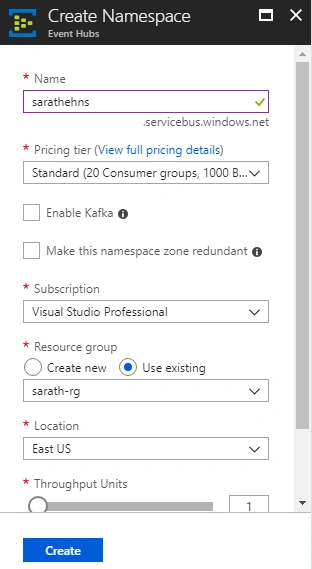
When the namespace has finished deploying, find the event hub namespace in your list of Azure resources.
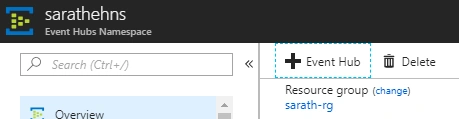
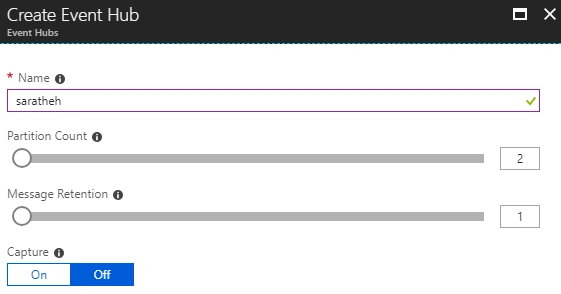
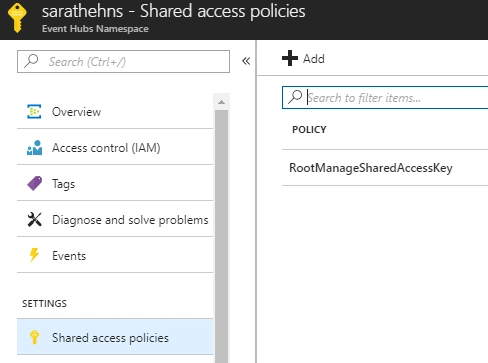
Grant access to the event hub in Shared access policies, click the Add button.
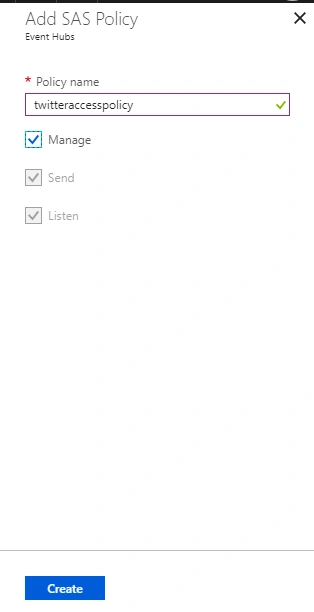
Add an SAS Policy name and click the "Create" button.
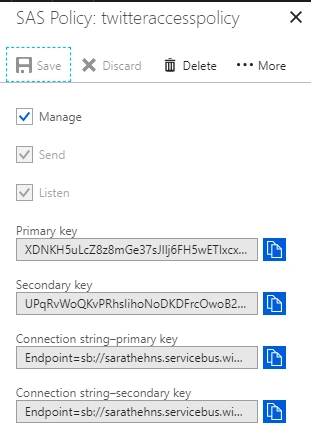
Now, our SAS policy is created. Please copy the connection string and save carefully. We will use this connection string later in with our Twitter WPF Client application.
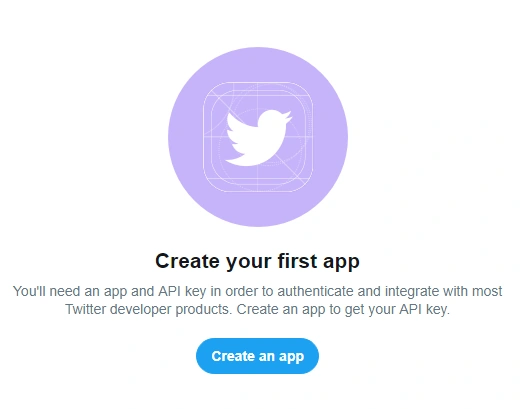
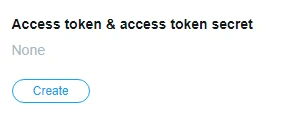
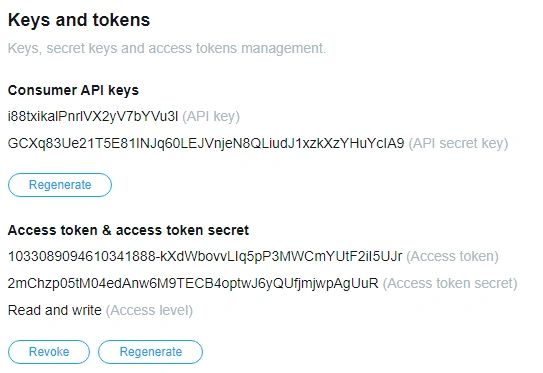
The client application gets tweet events directly from Twitter. To do so, it needs permission to call the Twitter Streaming APIs.
It is very easy to create a Twitter application. Please use this URL for that. You need a verified (Verify with your mobile number) Twitter account for this.
Step 3 - Configure the WPF Twitter client application
Please download the Twitter WPF Client application from here. I have already attached this zip file in this article too. Run the TwitterWPFClient.exe application. When the application prompts you, enter the following values -
- Twitter Consumer Key
- Twitter Consumer Secret
- Twitter Access Token
- Twitter Access Token Secret
Also, set EventHubName to the event hub name (that is, to the value of the entity path) and set EventHubNameConnectionString to the connection string.
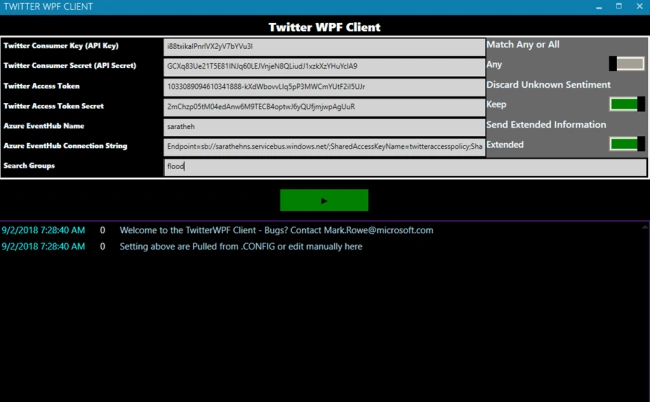
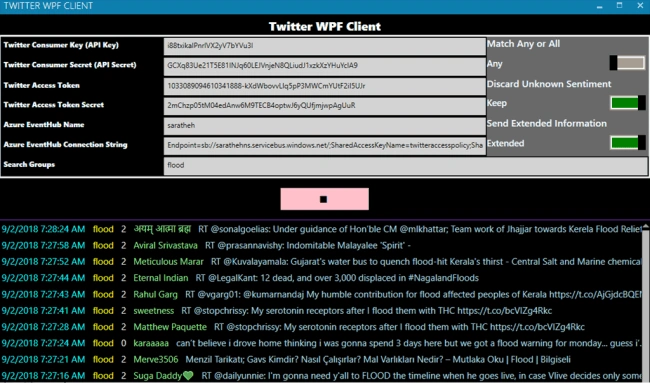
Enter the search group which we must analyze sentiments of from Twitter. I have added flood as search group. We will get more Twitter feed data related to the recent flood in Kerala.
Click the green "Start" button to collect the social sentiment data.
Step 4 - Create a Stream Analytics job
Now that tweet events are streaming in real-time from Twitter, we can set up a Stream Analytics job to analyze these events in the real time.
In the Azure portal.
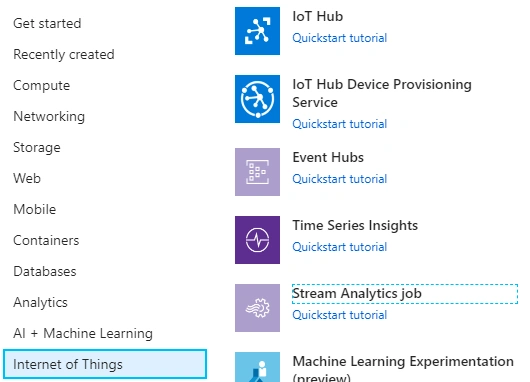
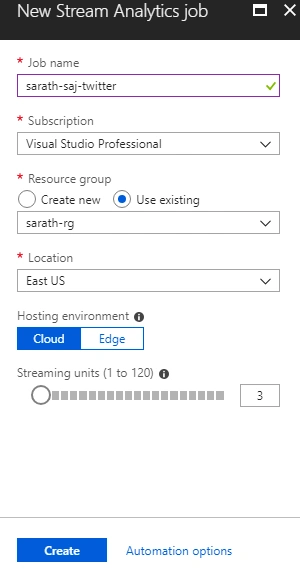
We have successfully created our Stream Analytics job now.
Step 5 - Specify the job input
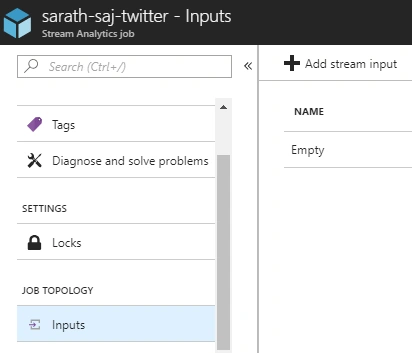
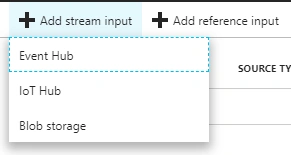
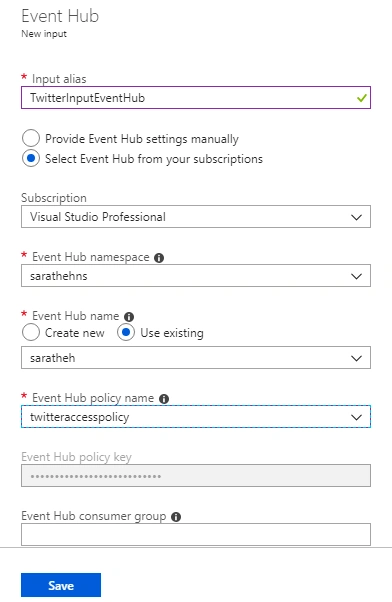
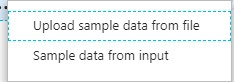
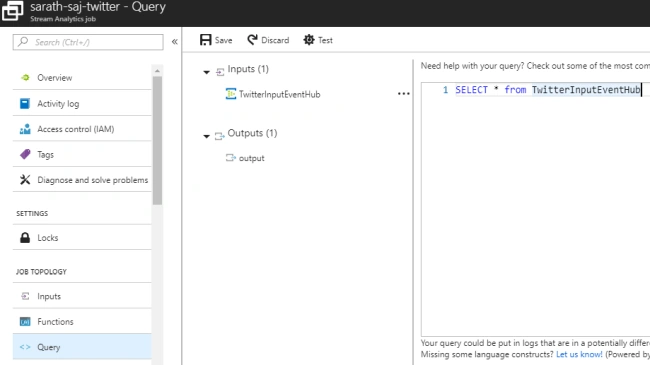
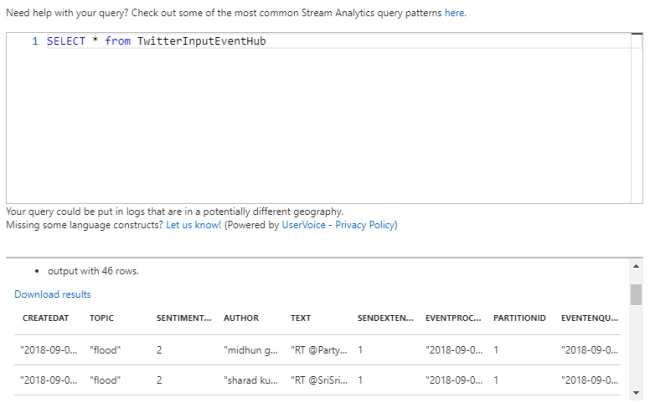
We can click the Query blade under Job Topology and give the SQL query as given below. I gave the input stream name as TwitterInputEventHub. We can query the data from this stream. This acts like a table. Please make sure your Twitter WPF Client application is running continuously. This client application is pulling the Twitter data and pushing to our Event Hub.
Step 6 - Create an output sink
We have now defined an event stream, an event hub input to ingest events, and a query to perform a transformation over the stream. The last step is to define an output sink for the job.
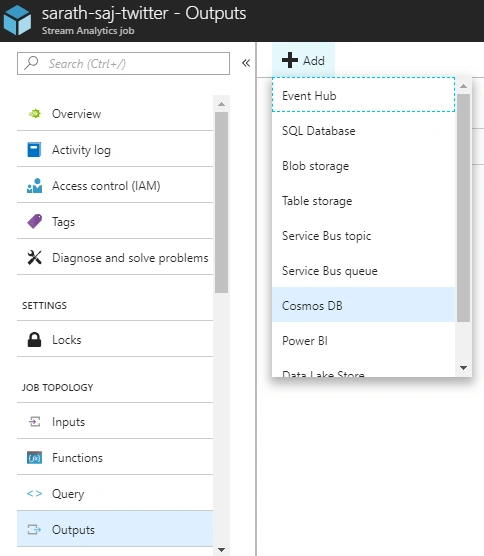
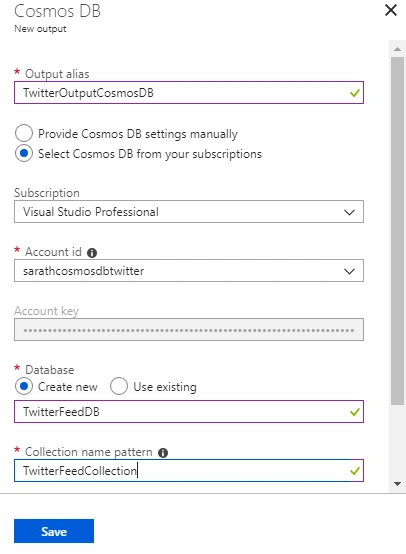
We have chosen Cosmos DB as our output sink. Please create a Cosmos DB account before doing it. Please enter all the required details and click the "Save" button.
Step 7 - Start the Job
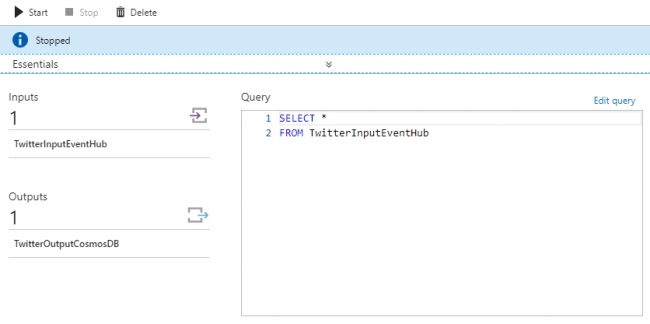
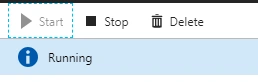
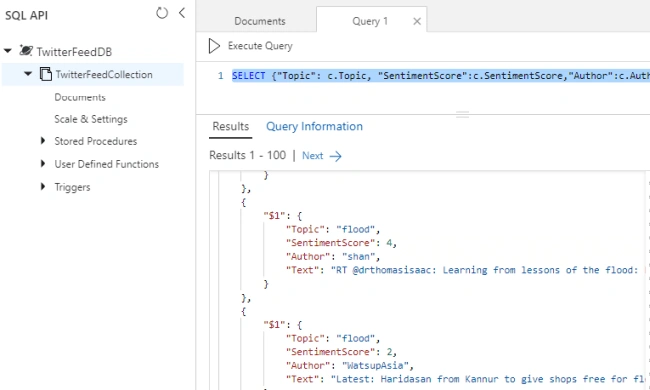
If you check the Cosmos DB data explorer, you can see that the live Twitter data is coming automatically. You can use the below query to get the data from Cosmos DB.
Step 8 - Query the data from Cosmos DB using a simple MVC application.
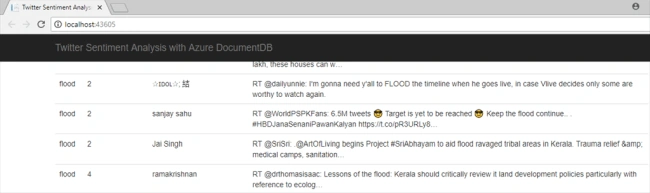
On a final step, we will create a simple ASP. NET MVC application and get the data from Cosmos DB. I have attached this sample project with this article. I have not yet used any pagination in this application. We will get all the data in a single page. I am planning to create an Angular app with proper pagination and more features and that is a matter of another article.
I hope you enjoyed the article and got a full idea of Sentiment Analysis with Azure Stream Analytics and Event Hub.
mengjie wPosted Oct 22, 2018, 11:49 PM
Wondering if possible to collect more data such as 'retweeted' ,'location','userid', etc ? It seems the program only extract CREATEDAT, TOPIC, AUTHOR, TEXT, SENDEXTENDED, EVENTPROCESSEDUTCTIME. Many thanks by the way! PARTITIONID EVENTENQU