

Note: This article was published on 10/05/2024.
This is a seres of articles about Angular Installation, Upgrading.
- Angular Installation and Environment Setup
- Update Angular For Environment And Project
- Update nx-angular:
- Update nx-Angular from 12 to 17 (1) --- Initial Point --- this article
- Update nx-Angular from 12 to 17 (2) --- in a nx environment
- Update nx-Angular from 12 to 17 (3) --- to Latest or Version by Version?
- Update nx-Angular from 12 to 17 (4) --- Debugging (1)
- Update nx-Angular from 12 to 17 (5) --- Debugging (2)
- Update nx-Angular from 12 to 17 (6) --- .Net updating and Angular updating
A - Introduction
This article is to discuss a upgrading process for an Angular app at initial point.
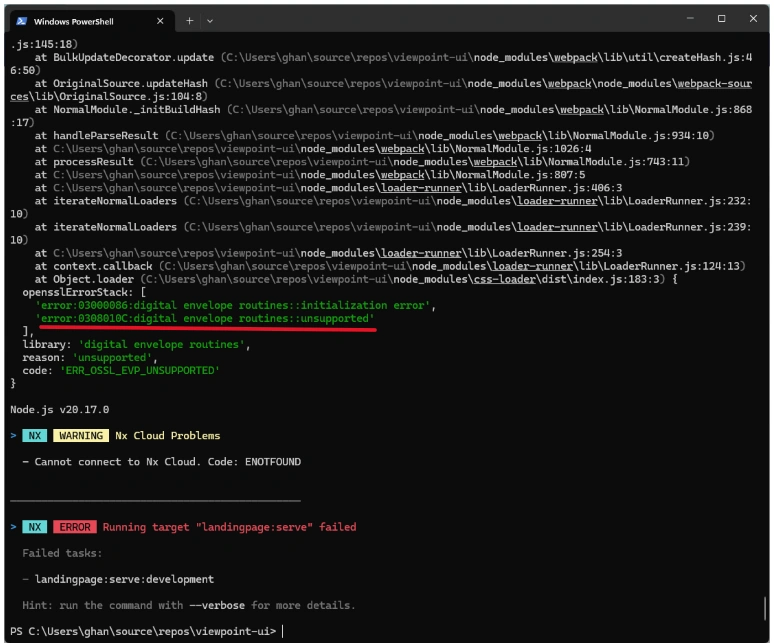
The content of this article:
- A - Introduction
- B - Setup Initial Environment
- C - Clone App from Git Repository
- C.1 - Get Code from Repository
- C.2 - Install Labraries
- C.3 - Run the App
B - Setup Initial Environment
For an angular development environment, we usually need the following:
- Node.js --- JavaScript Runtime
- npm --- Node Pachage Management
- TypeScript --- JavaScript with Optional Typing --- a typed superset of JavaScript that compiles to plain JavaScript.
- Angular --- a development platform, built on TypeScript
The logic amound these four
- Angular is a development platform, built on TypeScript.
- Both TypeScript and Angular are installed by npm
- npm (originally short for Node Package Manager) is a package manager for the JavaScript programming language.
- npm is installed associated with Node.js
So, we need to install node.js first, then using npm inside to install TypeScript and Angular.
- Installation of Node.js®
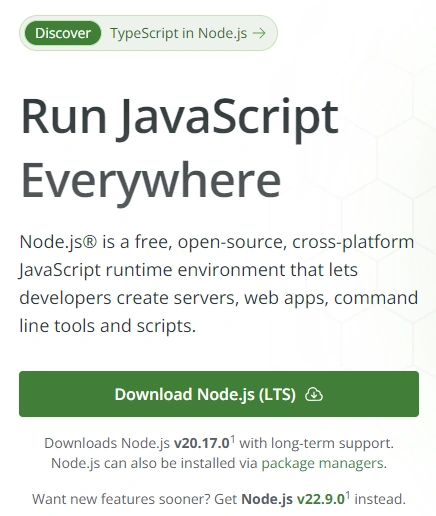
Download:
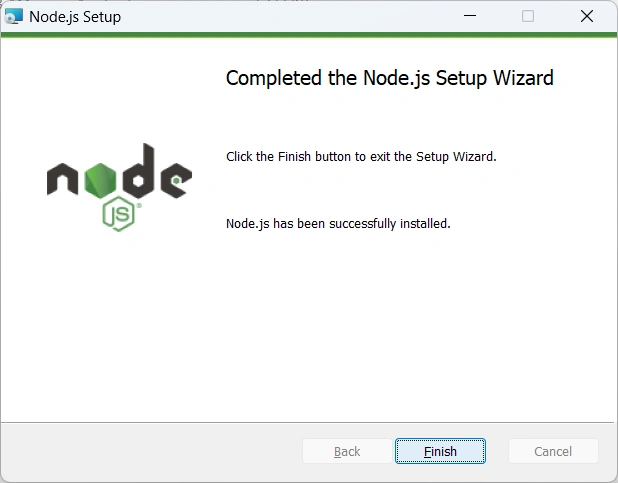
Run:
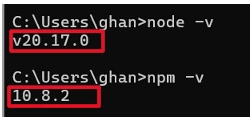
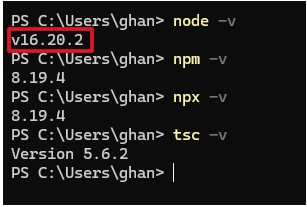
Check versions: both Node.js and npm
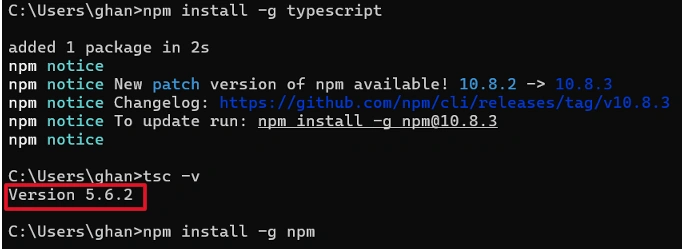
- Install TypeScript
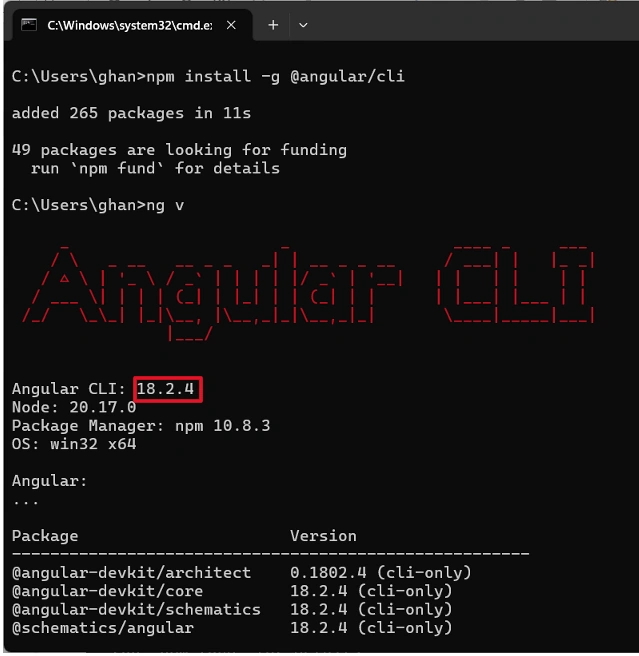
- Install Angular, latest version
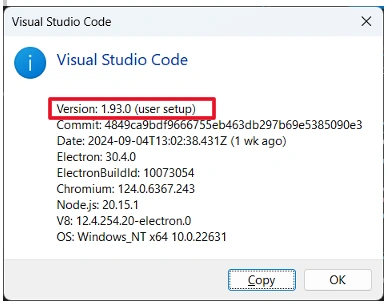

Join the conversation! Your thoughts help the community grow.